Art, Art activities, card making, Craft, DIY, Make, Create, & Share!, Painting, paper art

Suminagashi

Suminagashi is one of the oldest practices of marbleizing paper! This Japanese art form can be dated back to the 12th century and it’s name, “suminagashi”, means floating ink! Floating ink is exactly what we’ll be doing to create these fun pieces of paper!

What you’ll need:

  • Plain copy paper – Just regular printer paper I found worked best!
  • A large pan of water – I used cold water in a 9″x13″ glass baking dish
  • Sumi brushes or large soft round brushes
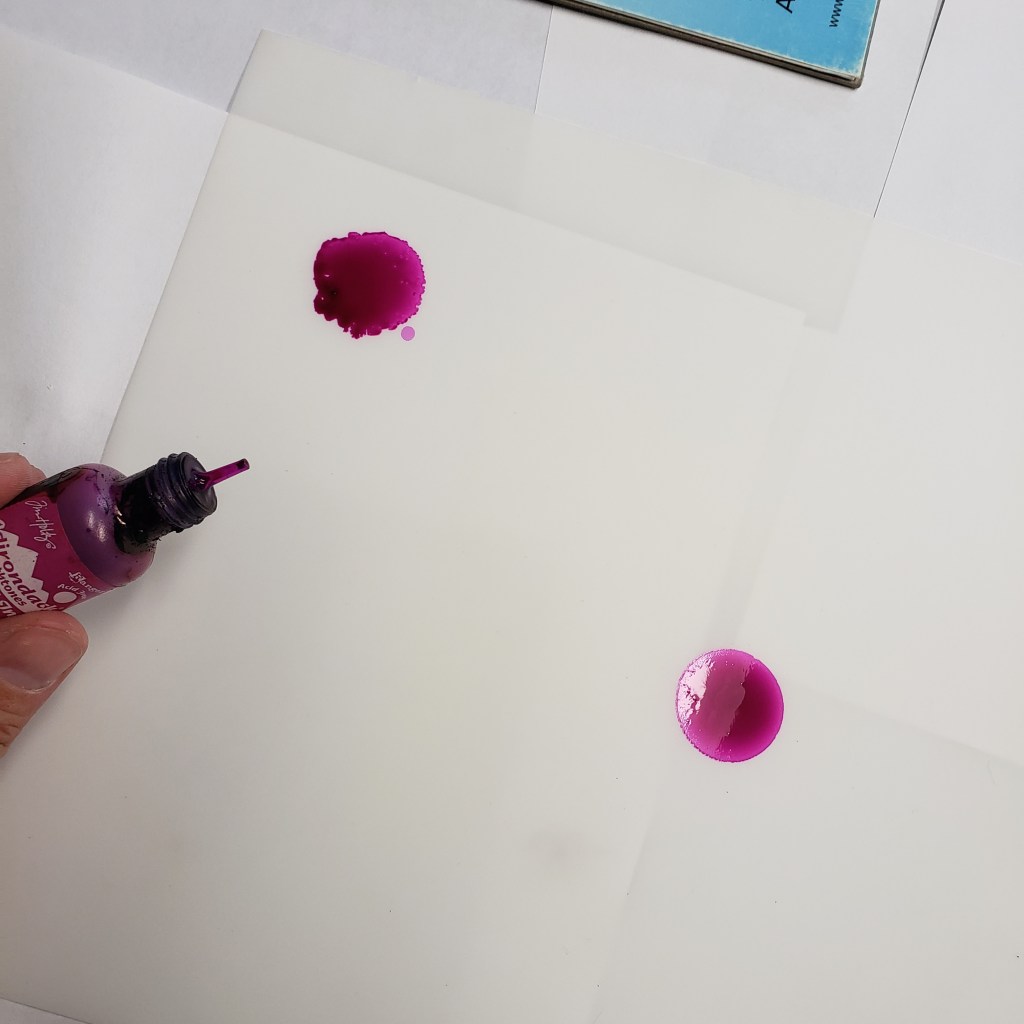
  • Sumi ink or Higgins ink – I suggest black when first getting started for the best contrast!
  • Liquid dish soap
  • Optional: Pieces of cardstock & Mod Podge to turn your suminagashi papers into cards, tags and more!

Step one: Gather all your supplies. Fill your vat with approx. 1-2″ of water. In a small clean cup or dish, mix together a little dish soap and water (a drop of soap in 1/2 cup of water should do).

Step two: Dip one of your sumi brushes into your ink (try to just get ink on the brush bristles & avoid getting ink on the handle) and gently touch the surface of your water in your vat with the ink. You should be able to see the ink spread on the water’s surface! If it sinks to the bottom, try again, being careful not to break the waters surface with your brush. This also works best if your water is still – watch out for a lot of movement of a wobbly surface or a fan!

Step three: Grab another brush and dip this one into your soap mixture. Gently touch the surface of your water again, this time with the soapy mixture, placing your brush in the center of the ink bloom you made in the previous step! (Note: it can be hard to see the ink at first on the water’s surface, this is why I used blue ink, but don’t worry – your ink is still there!).

Step four: Continue going back and forth between your ink brush and your soapy mixture brush, repeating steps two & three, placing each alternating medium in the center of the last bloom you created. As you add more and more, it will continue to spread and fill your vat! If you’re having trouble getting your ink to float, sometimes this can mean we have too much soap in our water – try starting over with clean water and less soap in your soapy mixture!

Step five: If you have multiple colors of ink you can create your designs in the same steps above – just add in another brush with your additional color! This photo also shows a spot of ink that sank to the bottom of my vat – that blue spot we see on the left….any ink that ends up sinking, will not show on your paper, on the floating ink will become apart of your pattern!

Step six: You can also create multiple spots/centers on your surface by creating the pattern with your ink & soap mixture in various places – in this picture you can see four areas where I repeated the ink & soap mix pattern. You can also gently blow on the water’s surface to “move” your ink around on the surface. Even a little air movement will naturally do this to your ink on the surface, as well as the movement to the surface you’ll create when adding your ink and soap mixture! Be prepared to have your ink move around on the water surface slightly!

Step seven: Once you have your ink design on the surface of your water, gently place a piece of your paper on top – I find the best way to do this is to roll the paper slightly, having the center hit the water first and then carefully let the paper unroll onto the water.

Step eight: Let your paper sit in your water until the ink shows through slightly (like in the photo here or in step seven), this will only take around 30 seconds.

Step nine: Carefully lift your paper out of the water – the paper will be fragile as it’s wet, try to support it with your whole hand.

Step ten: Lay your wet paper on a flat protected work surface to dry. You may find that once dry, your paper is wrinkly – you can remedy this by placing a heavy stack of books on your paper for 24hrs (just make sure your paper is completely dry first!) or by ironing your paper flat – use a piece of parchment paper under and on top of your paper to protect from the iron.

Turn your papers into cards, gift tags, collages, bookmarks, stationary, origami, or for scrap booking projects!

Check out this method for other marbleized papers and this one to marbleize eggs! Be sure to let me know if you’ve given this a try!

Art, Art activities, DIY, Make, Create, & Share!, Painting

Alcohol Ink & Yupo!

Experiment with mediums and surfaces in this project! Use alcohol inks on Yupo paper to create beautiful blooms of colors, then draw a design on top with a chalk pen! Yupo is actually polypropylene and allows the alcohol inks to sit on the surface and have fun reactions! Adding rubbing alcohol to the inks also creates more “blooming” effects!

What you need:

  • Yupo paper
  • Alcohol inks
  • Rubbing alchol
  • Paint brush
  • Chalk pens

Step one: Dot some colors of alcohol ink on your yupo surface!

Step two: Continue to add inks and begin to apply dots of rubbing alcohol with a paint brush – both on and around your alcohol inks.

Step three: Continue to apply inks and rubbing alcohol – I just added a section of color from corner to corner. Keep in mind, when choosing colors, your ink colors will begin to mix somewhat!

Step four: Let your ink dry completely!

Step five: Once the ink is dry, use your chalk pen to create a design on top of your ink!

Step six: Add details to your drawing – I just used a white chalk pen for the most contrast but you could use other colors as well!

Have fun creating blooms of colors! 🙂

Art, Drawing, illustrations

Westside Series

These are a series of small watercolor and pen paintings inspired by the area where I live here in Maryland. It’s a place that’s a bit outta the way and many think of it as the end of the earth – but I love it here. It’s full of history, plenty of nature & wildlife, it’s quiet, and you know your neighbors. Between where the Nanticoke & Wicomico rivers meet the Chesapeake Bay, we have several little towns including; Quantico, Tyaskin, Bivalve, Nanticoke, Waterview & Whitehaven – together known as the Westside. The Westside doesn’t have much in the way of stores or shops, however, we have a few post offices, a thrift store, the Westside Fire Department, Antique shop, Churches, community center, a Bed & Breakfast, marinas & parks, Campgrounds, Wades Repair, and a couple restaurants!

Bivalve Thrift Shop
Building at Roaring Point Campground entrance
Former Tyaskin School House (over 100 years old)
Tyaskin Post Office est. 1966

A lot of the houses and buildings here date back to the 1800’s and many of them are no longer in habitable conditions, though, we do still have quite a few from that time period that have been kept up. I like to think about what it may have look liked here a hundred years ago when it was a bustling port town, filled with people and shops – all the buildings new. Then, there were oyster houses, canning factories, general stores, a saw mill, skip jacks, schools, steamboats, and later a shirt factory, town hall, hotel, & seafood packing plant. And even before that, when it was home to the Native Americans – the Nanticoke Tribe, what it must have looked like.

The Culver House est. 1885
Wetipquin Chapel est. 1827
Spring Morning, Tyaskin
St. Mary’s Episcopal Church, est. 1798 (rebuilt 1845) –

The Westside is also filled with nature and wildlife. During a walk in the Spring you’re guaranteed to see Ospreys that have just arrived back from winter migration. Eagles and many song birds also call the Westside home – some of my favorite sightings are Bluebirds, flocks of Cedar Waxwings, Flickers, and Buzzards gathering to sunbathe. Fox, Deer, groundhogs, hawks, muskrats, frogs, rabbits, turtles, and snakes are often seen. Of course it’s also home to much marine life! And we can not forget about the insects – yes, there are days when some of these bugs make you regret going outside, but, butterflies, bees, praying mantis, & ladybugs, fill the gardens. The summer evenings glow with lighting bugs, cicadas and peepers, clear skies filled with stars. Not to mention the best sunsets all year round!

Osprey on the Nanticoke
Fishing at Wetipquin creek
Summer afternoon, Tyaskin
Winter Sunset, Tyaskin
Sail Boat Regatta, Bivalve

We may not have a lot in the terms most think of – and yeah, we’re a bit outta the way, but I can say we have a certain nostalgic community feel that not a lot of places can claim. It’s a place where time slows down, people wave and stop to talk, it’s a place that causes you to take in what’s around you – something I find inspiring!

Tyaskin Pink House and former Post Office building
Tyaskin Methodist Church est. 1895
Royal Oak Country Church, Quantico
Sunny Afternoon, Tyaskin
May Flowers, Tyaskin
Tyaskin Beach Cottage

I hope you enjoy these little watercolors from the place, and surrounding area, I call home. Prints and originals are available in the shop section – I plan to keep painting more!