


These window stars are easy, fun, and sure to brighten your home! Made from kite paper, also known as colored wax paper, these stars are vibrant and translucent, letting the light shine through and overlapping colors combine to create new colors! Perfect for color mixing lessons!
What you need:
- Kite paper – I get it from amazon
- Scissors
- Glue stick
- Hole punch & ribbon or string (optional)

Step one: Cut 8 squares of kite paper – all the same size. Try various colors! I started with 4″ squares for this example, however, you can make them any size you’d like!

Step two: Fold your square from corner to corner, crease, and unfold.

Step three: Fold the opposite corners together, crease, and unfold – your square should have a crease line from corner to corner, forming an X on your paper!

Step four: Fold one corner into the center of the X.

Step five: Fold the opposite corner to the center of the X.

Step six: Fold the right top edge to the center line as shown.

Step seven: Fold the left top edge to the center line.

Step eight: Repeat with all remaining 7 squares!

Step nine: Once you have all your squares folded, begin to glue them together – the point you just created in the last step will be the outside points of your star! Use a glue stick, starting on one side of the center line, from the wider tip of your origami, up to where the folds begin.

Step ten: Place a second folded piece on the center line and lining up the tips.

Step eleven: Continue to glue 7 pieces of your star together, making sure each one lines up on the center line of the last one and all tips meet in the middle.

Step twelve: Your eighth, and final piece, will be placed with one half on top and the other half underneath your star (or under the first piece you started with) to complete the pattern.

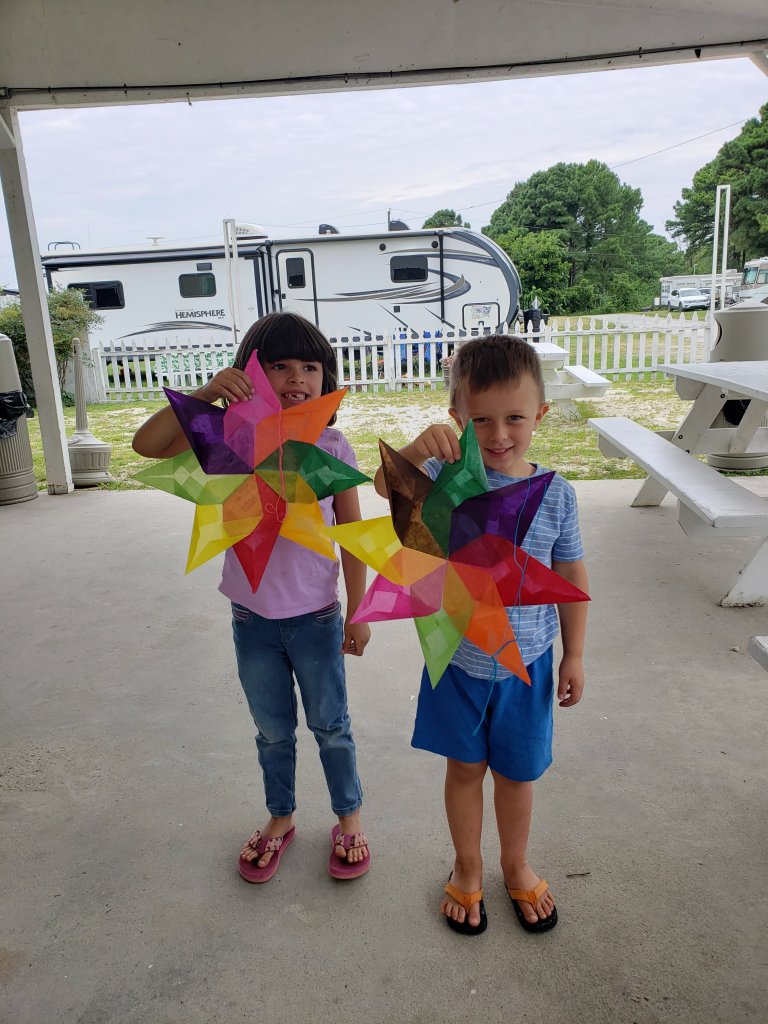
Step thirteen: Complete your star by punching a hold and adding a string or ribbon to hang it from!


Love this, and I bet the student did also.