


Most of you know I’m into art, some of you know I’m into food……if I can mix the two together – I will 😉 I enjoy cooking and making meals but I like baking most, and especially have fun with cake making. Specialty birthday cakes have always been a thing in my family and I can remember getting an awesome cake each year on my birthday as a kid. We’ve kept the cakes going…..and luckily I have decently sized family so there’s a fair amount of cakes to be made every year for birthdays and gatherings! My siblings also get in on the action to help with the cake creations so these cakes are definitely a collaborative effort – and it’s always nice to be able to get creative with them!

Most of our cake endeavors are purely trial and error mixed with a bit of research. And there have definitely been some cake fails over the years but they’ve only made us more creative with “cover ups”!
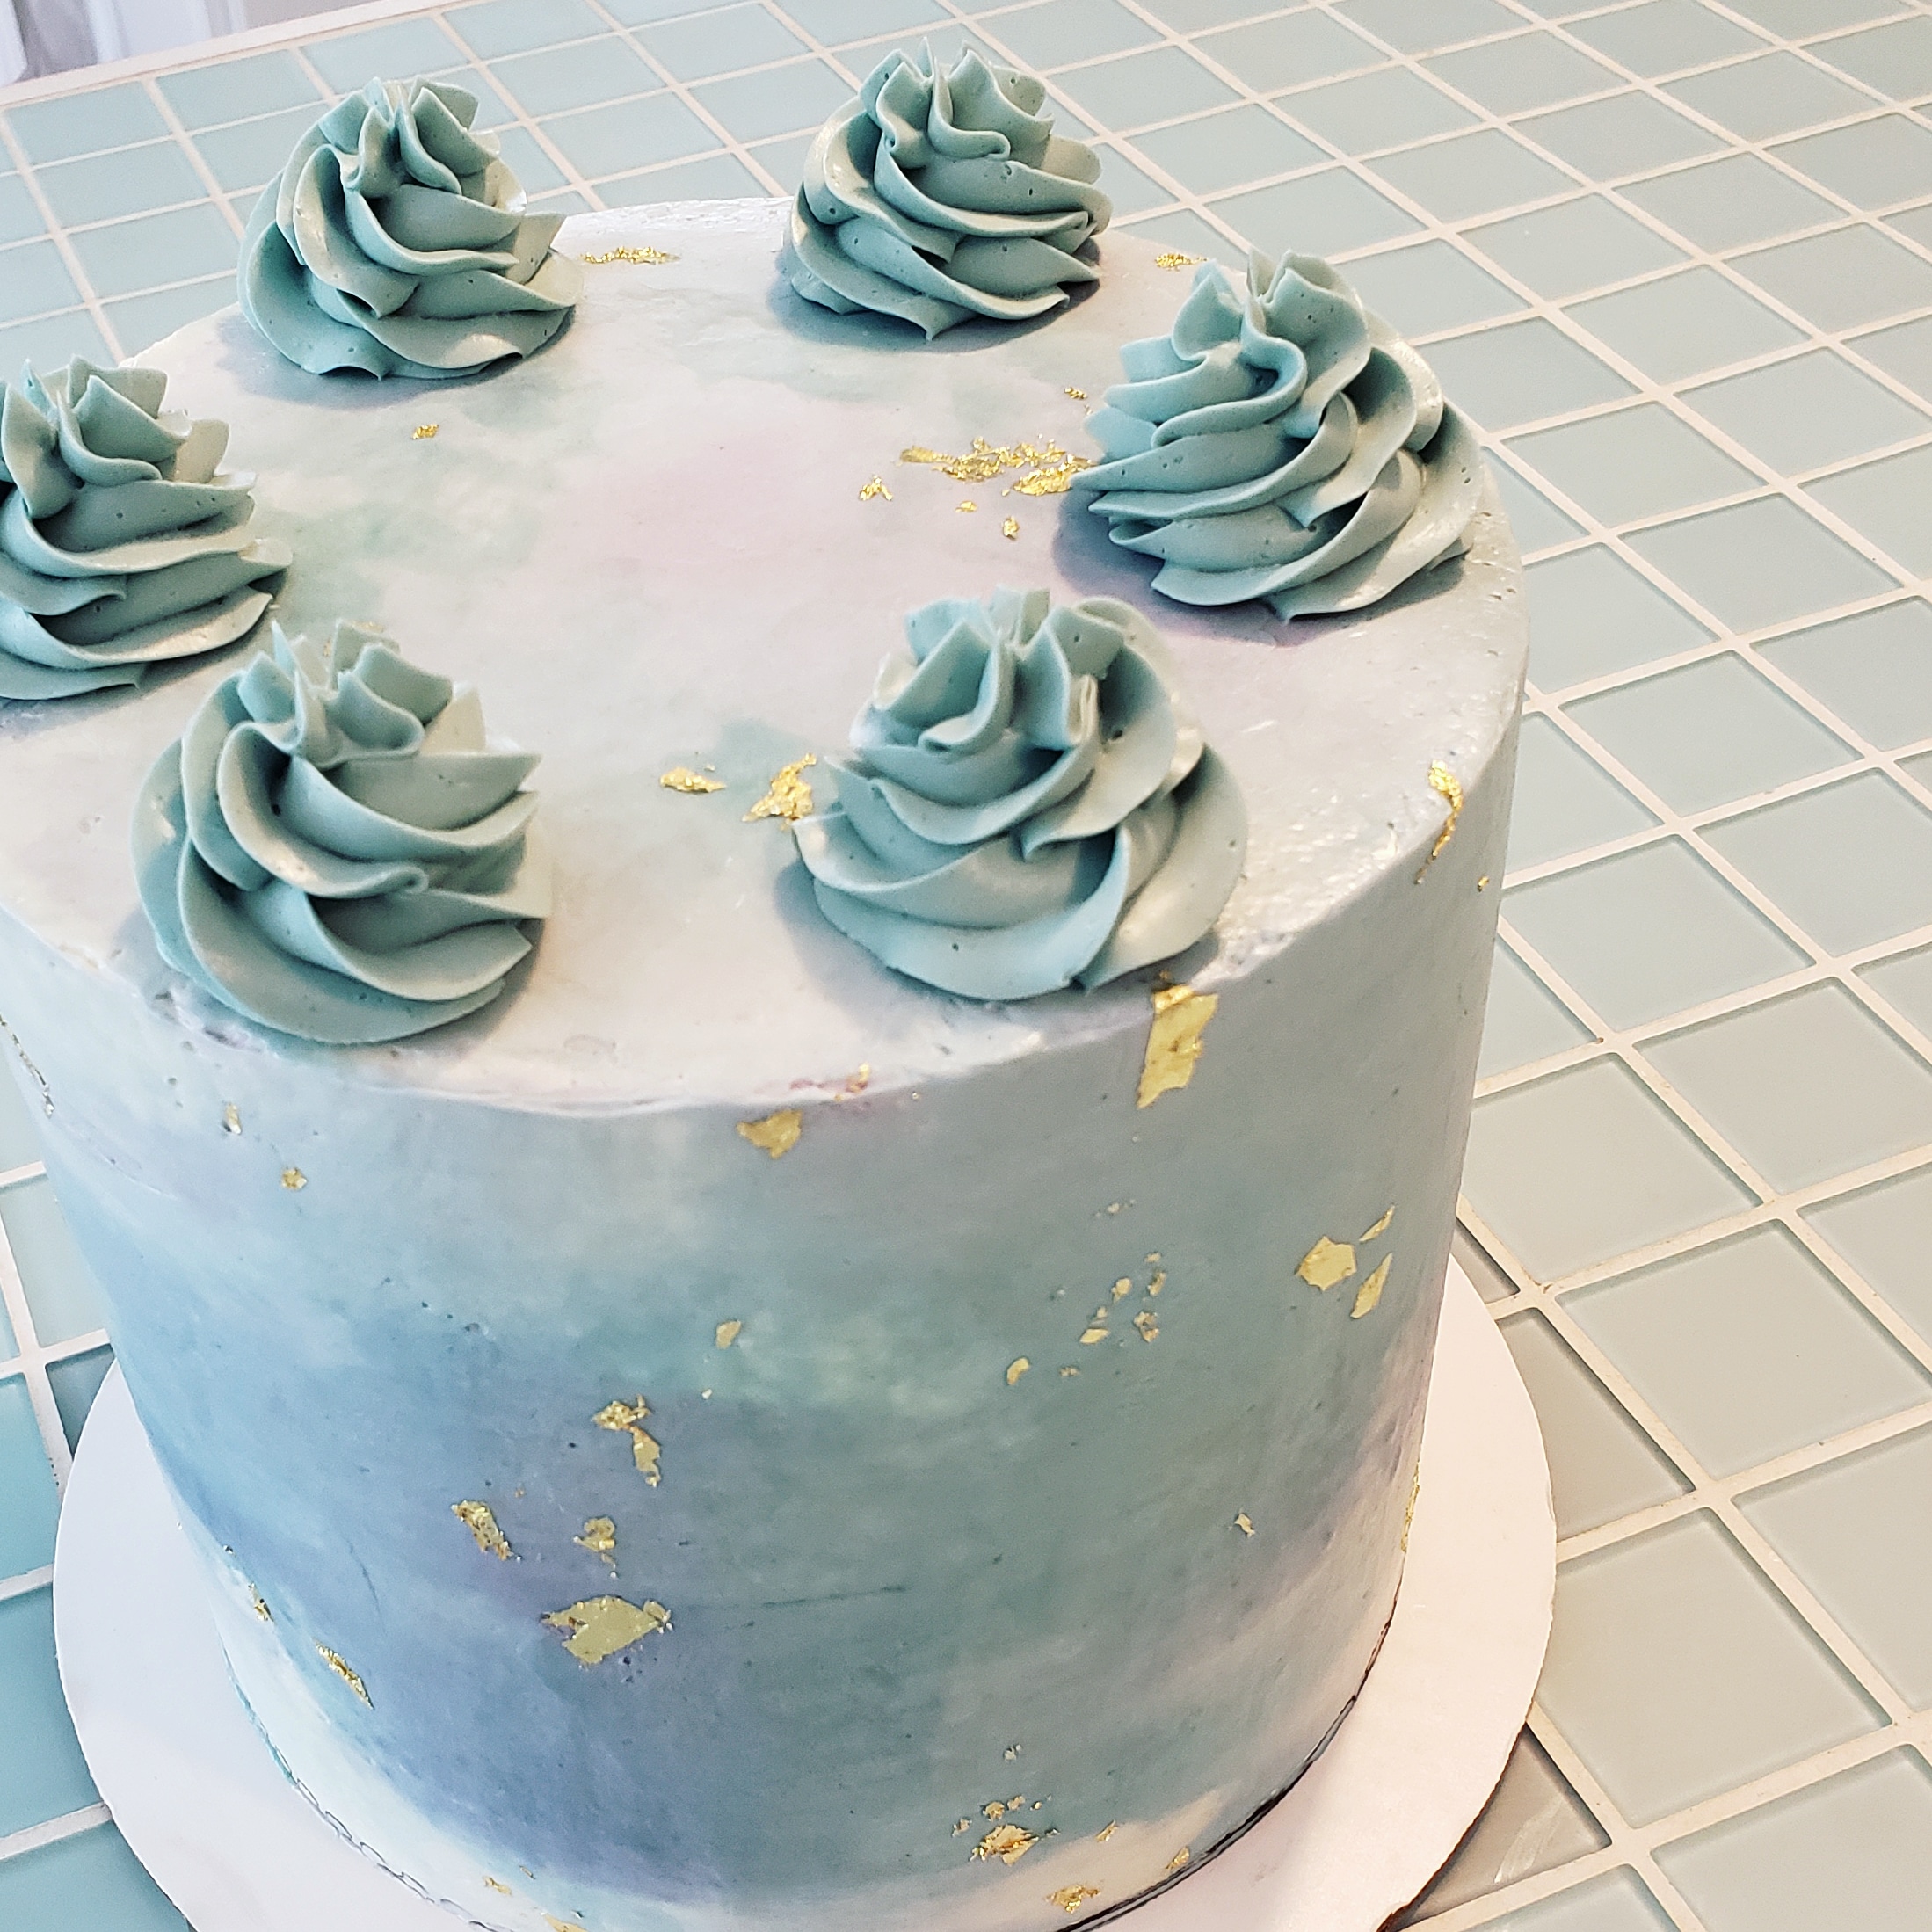
We use cake central a lot for recipes and tutorials, my favorite, quick, recipe for cake building and stacking is the original WASC cake. It’s easy, delicious, dense enough to carve, and it’s simple to make various flavors. This is typically the buttercream I use but it varies depending on what it’s being used for!


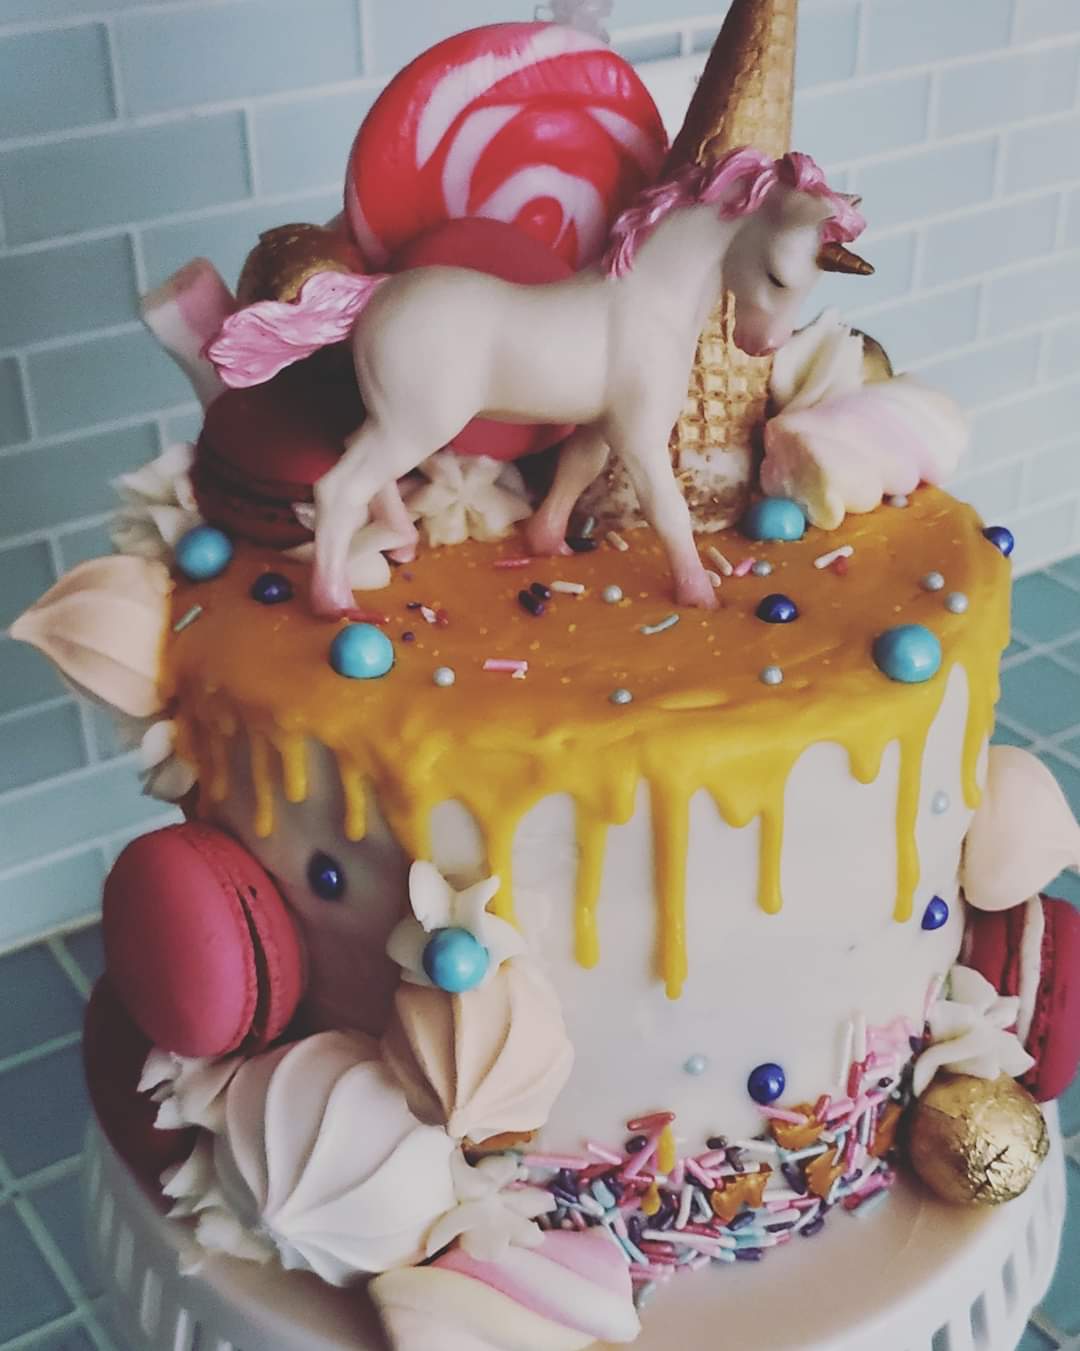
We “cheat” and use pre-packaged fondant & gum paste! – Fondant is what we’ve used to cover our cakes and create some of the sculptures with. Most fondant sculptures require an armature of some sort to support the fondant, while it does firm up some after setting out, larger pieces need some sort of support to keep it’s shape, and sometimes even with that we run into issues – humidity doesn’t help! For smaller, more delicate decorations, we use gum paste. You can make this paper thin to create flowers, cover armatures, and make toppers. The gum paste will dry out and become hard much faster than the fondant. Wilton brand is what what we use for both. Their fondant comes in large blocks of white and you can create your own colors or they have smaller blocks of various colors! The gum paste comes in a smaller tub of white and we mix our own colors. You can use regular food coloring but gel coloring works best! We use corn starch to keep our fondant and gum paste from sticking and a very small amount of water applied with a paint brush to stick pieces together.


Some additional cakes that use fondant…….


Armatures are created out of rice crispy treats or tin foil – depending on how edible we want our cake to be! As well as tooth picks, skewers, dowels, foam, & wires have all been used to make some of our armatures. Smaller creations don’t really need an armature but it’s nice to have a toothpick or dowel on toppers to make them easy to attach!


Recently we’ve upgraded with an airbrush for some of our coloring techniques but for the longest time we used Wilton color mist and still do for some projects 🙂 We also use gel colors and petal dust for some of our decorations.


Decorating or using candies and other food for cakes is also a fun way to get creative – the one below was inspired by Roy Lichtenstein’s pop art style that uses Benday dots and is an easy one to try at home – frost a sheet cake with white or light colored frosting. Create an outline of what you’d like to be on your cake with black string licorice, black fondant, or black frosting……since this style represents comic book art, some simple ideas would be a thought bubble, a word (like “ZAP”, “POW”, etc. in bubble letter form, or inside a thought bubble). This was a cake for my sister, so we did a portrait of her – comic book style 😉 Then use m&m’s and/or skittles to to create the Benday dots. You can see some areas where we had to cut the m&ms in half to fill smaller spots!

Cookies, cupcakes, and gingerbread – or really any desserts are just as fun too!! 🙂


In any case, definitely play with your food and turn it into a work of art 😉


