Follow along to paint your own sand dollar in acrylics! You can download the template for the sand dollar outline below or draw your own!
What you need:
Canvas (I used an 8″x8″ stretched canvas)
Acrylic Paints – I used Apple Barrel craft paints in Bright Blue, Teal, White, & Black
Paint brushes
Sand dollar template (unless you’re drawing your own) & Pencil
Paper towels
Step one: Draw your sand dollar on your canvas or download the outline below – cut and trace onto your canvas or use transfer paper.
Step two: Mix together a little black paint with some blue paint to create a dark blue and fill your background and inside details with it!
Step three: Pain the white portion of your sand dollar with teal paint. Then double dip your brush into the teal and dark blue and add a layer onto your background – it’s okay to see brush strokes and areas of different colors! Don’t wash your brush – we need it for the next step!
Step four: Using the same brush in the previous step, without washing out the dark blue/teal paint, paint your sand dollar with white paint (if you have a lot of dark blue or teal paint left on your brush make sure to wipe some off before applying the white). By using the same brush some of the dark blue & teal paint will come through on your sand dollar – creating a more realistic texture and a painterly style! Once your layer of white is dry you can add more white to brighten some areas if needed!
A look at some of my favorite mediums, brands, and supplies.
The surface on which you create your art is just as important as your mediums! There’s like a million papers to choose from – Also I may have realized I have a small paper collection while taking photo for this 😉 There are many different papers to use for all sorts of mediums, but these are a few of my favorite papers!
Bristol paper: Bristol paper is a thick card stock like paper, it comes in Smooth or Vellum surfaces. I use both depending on what I’m drawing! I use this paper for several mediums too, including, pen, marker, graphite & charcoal. The vellum surface has a little more tooth to it and takes more layers than the smooth. We use this paper a lot in classes!
The first two pieces were creates with mixed media (watercolor, colored pencil & pen) on bristol smooth & vellum. Then graphite and charcoal both completed on bristol smooth.
Watercolor paper: When I was first introduced to watercolors they weren’t my favorite medium….then I was introduced to Arches watercolor papers and watercolors quickly became one of more favorite mediums – all because of the surface. Arches is super expensive but totally worth it! The paper holds up to washes, layering and lifting techniques like no other. It comes in hot press or Cold Press in multiple weights. I prefer 140lb in cold press for paintings like my Westside series and hot press for any paintings where I don’t want as much surface texture. As it is rather costly, when starting out with watercolors in classes and for making simple little hand made cards or quick paintings I always use Canson XL watercolor paper – it’s a great paper that holds up well with watercolors and we also often use it for color pencils & mixed media!
Watercolors completed on Arches cold press and hot press papers.
Stonehenge: Is one of my more recent discoveries. I’ve only used it with color pencils and it’s amazing how many layers this paper can take and still have a pretty smooth surface texture!
Work in progress and completed work both on Stonehenge with colored pencil.
Pastel Paper: Pastels are one of my all time favorite mediums. I started off using Canson Mi-tenis papers and still use them on occasion (this is also the paper I use in classes), however, most of my pastel work is completed on PastelMat. It’s an amazing surface that has a velvety texture and takes layers upon layers of pastels. It also holds the pastel well and comes in various colors.
Soft pastels created on Mi-Tenis and PastelMat.
These are just a few of my favorite papers to work with my favorite mediums but there are so many to choose from – what are some of your favorite surfaces?
This is an easy method to create a stained glass like piece of art! Stained glass artwork can be dated back thousands of years. Most traditional stained glass is created from cut pieces of colored glass brought together to create panels for decorative windows. For this project we will be inspired by stained glass to create a fun piece you can display in your window!
What you need:
Picture frame (Mine is 8″x10″ and came from the dollar store)
Colored tissue paper
Black construction paper or black card stock
Mod Podge (I used matte)
Paint brush
Scissors
Pencil
Stencil or template for your design
Step one: Cut out your design out of your black paper! You can use stencils, create templates or use cookie cutters to trace!
Step two: Take the backing off of your picture frame and carefully remove the glass. Glue your cut out on the glass with Mod Podge – applying a layer in the glass and then over your cut out.
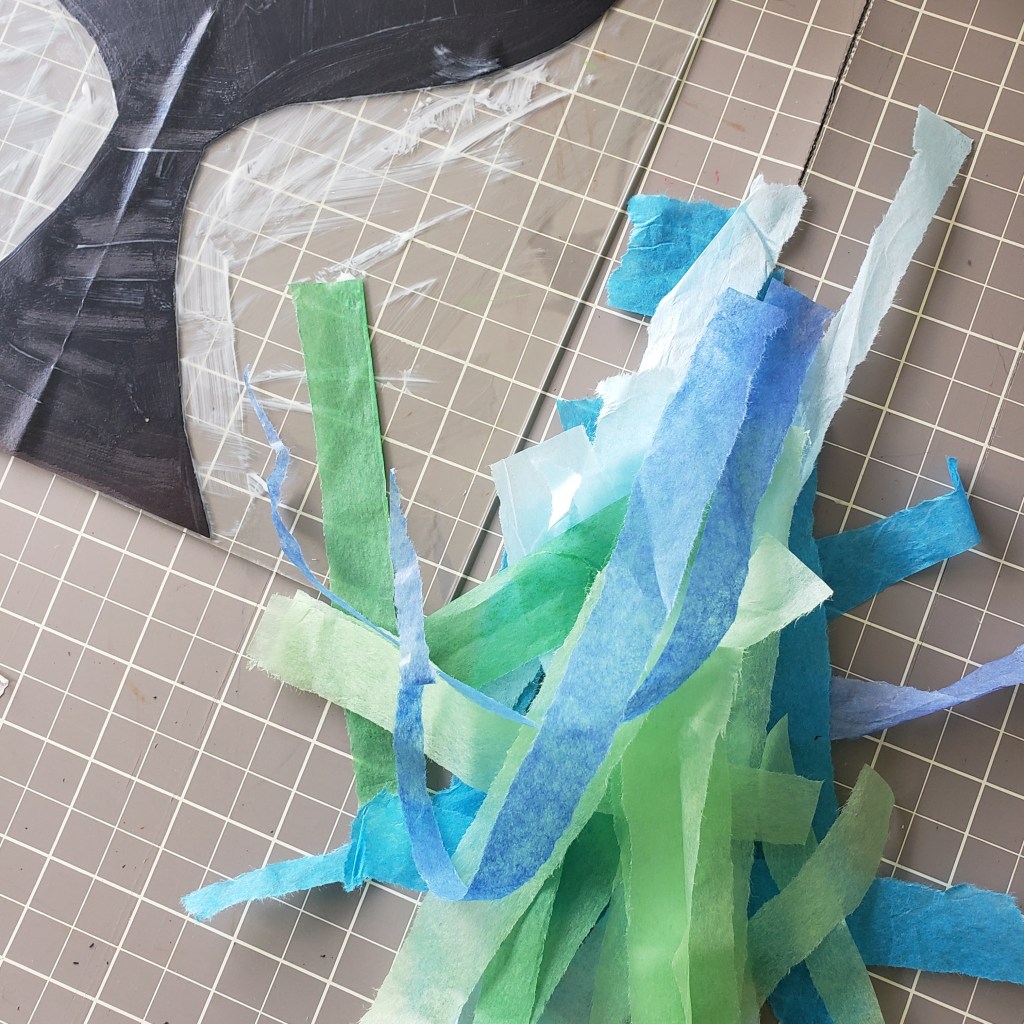
Step three: Tear your tissue paper into smaller pieces – I tore mine into strips but you can make them any shape and in various sizes!
Step four: Using the Mod Podge, begin to glue down your tissue paper on your glass. It’s okay if your tissue paper covers your cut out and goes off the edge of your glass. You can also overlap your tissue paper – just keep in mind by overlapping new colors will be seen when held up to the light! Also be sure to add layers of Mod Podge between any overlapping tissue paper.
Step five: Once you have all the tissue paper you’d like on your glass, apply a layer of Mod Podge over the whole thing and let it dry!
Step six: Flip your glass over and trim off any pieces of tissue paper that went over the edge.
Step seven: Place your glass back in the frame – don’t add any of the backing, we want it to be just the glass so the light can come through! If needed, you can use some E6000, Goop Glue, or hot glue, to secure your glass in your frame!
Step eight: Set your picture in a sunny window! You can also glue a ribbon to hang it from, or depending on your frame, add eye hooks to attach a ribbon, chain or string.
Each month I will be spotlighting one of my students – past or present, and their artistic ventures! I work with students of all ages and abilities and you’ll get to learn a little bit about these amazing artists and their work!
Our July spotlight is on:
Haley Clark
My name is Haley Clark, and I just recently turned 16 years old. I started home schooling in 7th grade, and I absolutely love every minute of it. This upcoming school year I will be going into the 11th grade. I’ve always loved the arts because I feel that I really can express myself through dance, music and my art work. I’ve been dancing since I was 3, and I can definitely say that dance is my passion. This year I was even given the opportunity to teach dance to younger kids at my dance studio. My goal is to become a Radio City Rockette. I even danced with them this past fall at Radio City Music Hall in NYC. I have been taking art with Ms. Jenell for the past 3 years working on various types of mediums including textiles, painting & pottery. Growing up, my dad was always amazing at art. I think somewhere along the road, I wanted to try my hand at it. Being able to express myself through bright and uplifting pieces of art just inspires me even more to create. Being able to express myself through my art is something that is very special to me.
Title: Tarzan and Jane Medium: Acrylic paint Description: “I’ve always enjoyed animated movies and Tarzan is one of my favorites. I decided to use my love for art to paint one of my favorite scenes from the movie. I not only wanted to recreate the characters themselves, but the mystery of the setting behind them.”
What are your favorite subjects for your artwork? “I absolutely LOVE to paint Marvel movie characters and Disney characters and animals etc.”
When you’re making your art do you like to listen to music? “I always listen to music while painting! It really inspires me to be creative. My favorite group is Maroon 5.”
Title: The Antique Keys Medium: Pastels Description: “My goal for this piece was to make the keys look as antiqued as possible. I wanted to recreate an aged effect. Using pastels, I feel that I was able to achieve this visual effect.”
How long does it take you to complete your artwork? “The time it takes to complete a piece of art really depends on the piece itself. The painting I have been working on and completing at home usually take 2 to 3 hours.”
Do you enter your art in any shows or contests? “I have entered my art in several contests and/or shows with Ms. Jenell. Some of the shows have been in Chincoteague VA as well as at the Ward Museum in Salisbury.”
Title: Sunflower Medium: Acrylic paint and textiles Description: “Using wire and fabric, I was able to turn a normal acrylic painting of sunflowers into an eye catching 3D piece. To the best of my ability, I created a 3D sunflower that was as similar to my painted sunflowers as possible. My mom loves flowers, so I guess you can say she was my inspirations for this piece.”
Is there a certain type of art you would like to try in the future? “I would love to experiment more with various textiles.”
Haley’s upbeat and fun loving nature comes through in her artwork – bringing a sense of joy to the viewer! She has an openness in trying new mediums and techniques. This, along with her positivity & natural ability, cause her to be successful in artistic endeavors. She also has a unique knack for sharing and encouraging these abilities in others, creating inspiration as she follows her passions!
Create some colorful window art with this simple method! You can hang your creations in a window or make them into a mobile! You can also use your colorful translucent wax papers for scrap booking and collage projects!
What you need:
Wax Paper
Crayons – with papers peeled.
Iron
Newspaper
String
Hole punch
Handheld pencil sharpener or Crayon sharpener
Scissors
Stencils, templates, or cookie cutters to trace for your shapes!
Pencil
Step one: Cover your work surface with newspaper and lay a piece of wax paper on top!
Step two: Using your hand held sharpener, sharpen your crayons over your wax paper. We want all the little shavings from the crayons on your wax paper! Keep in mind your crayon colors will get mixed together in our next steps!
Step three: Once you have quite a bit of crayon shavings covering your wax paper, lay another piece of wax paper on top and cover with more newspaper.
Step four: Carefully iron your wax paper to melt all those crayon shavings between your wax papers!
Step five: Let your paper cool off slightly and then remove the newspapers. Check out your awesome piece of translucent wax paper!
Step six: Use a stencil, template, or cookie cutter to trace a shape on your wax paper with a pencil. I made a fish template that I cut out of some card stock.
Step seven: Cut out your shapes, make a hole and add your string!
Step eight: You can hang your cut outs in a window just as they are or you can add them to a dowel or hoop (like an embroidery hoop) and create a mobile!
These colorful wax papers are also fun to use in scrap booking or collage projects too!
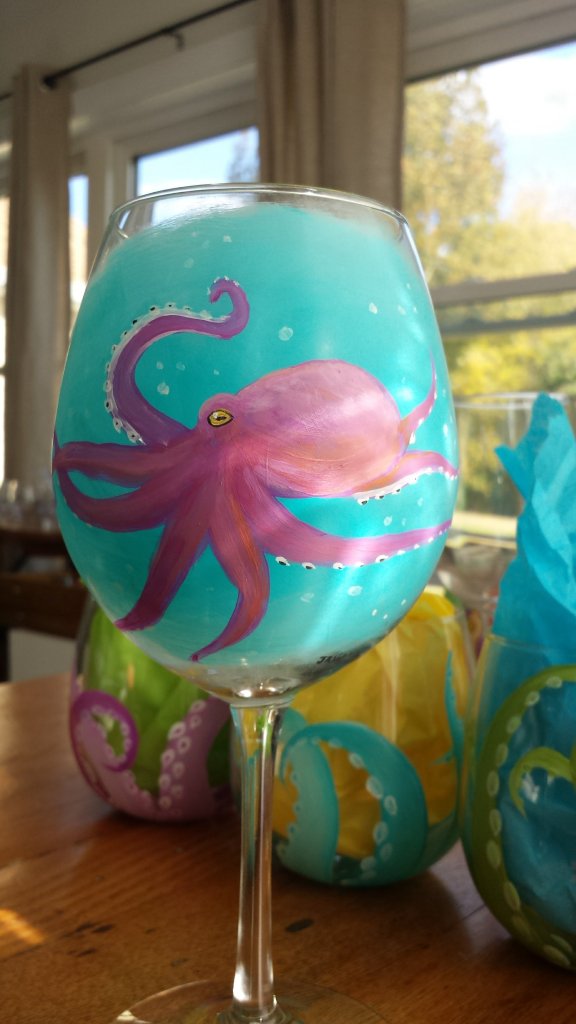
Hand painted wine glasses are a fun break for me from more traditional drawing and painting projects and commissions! These little paintings don’t often take more than an hour or two to complete and make a fun gift!
I use Martha Stewart Multi-surface craft paint for all my painted wine glasses. I find it holds up well and I like the Satin finish on the glass to give some contrast. I first clean the glass surface with rubbing alcohol. And then begin to paint!
Most of the time I apply more than one layer of the paint to the glass – some colors need more layers than others to make them more opaque. I let each layer dry before applying the next….so often times I work on multiple glasses at a time. Any mistakes can be easily cleaned up with a little rubbing alcohol on a paper towel or q-tip 🙂
After layering, I add the final details with a tiny round brush – sometimes I find I need to add a little water to thin out the paint for this step. Then, to cure the paint on the glass, it needs to set out for 21 days, or be baked in an oven at 350*F for 30 min.
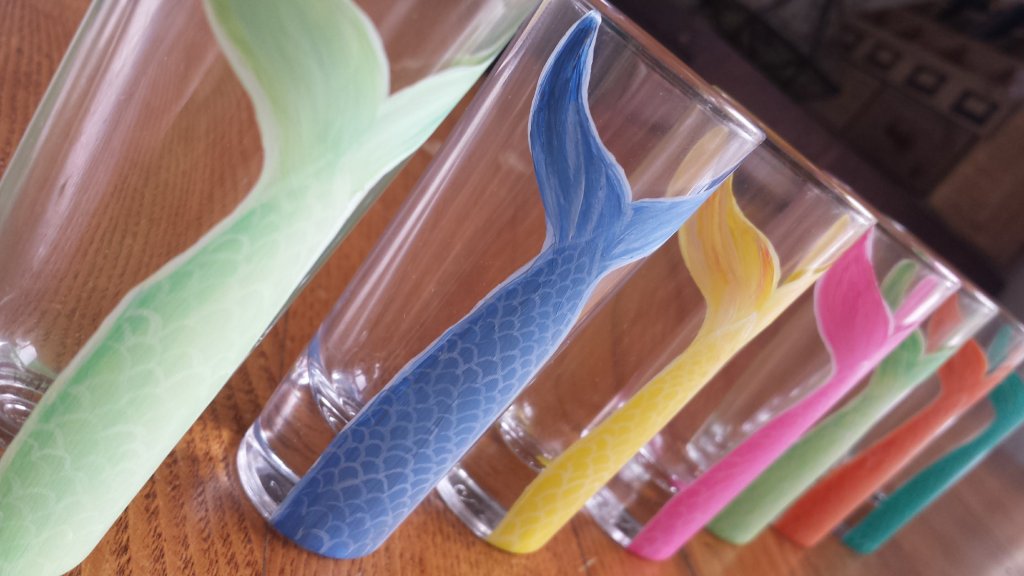
Besides wine glasses, I’ve also use glass mugs, beer steins & shot glasses. For me these are something a little different to get creative with and they also make a fun paint night project & class! 🙂
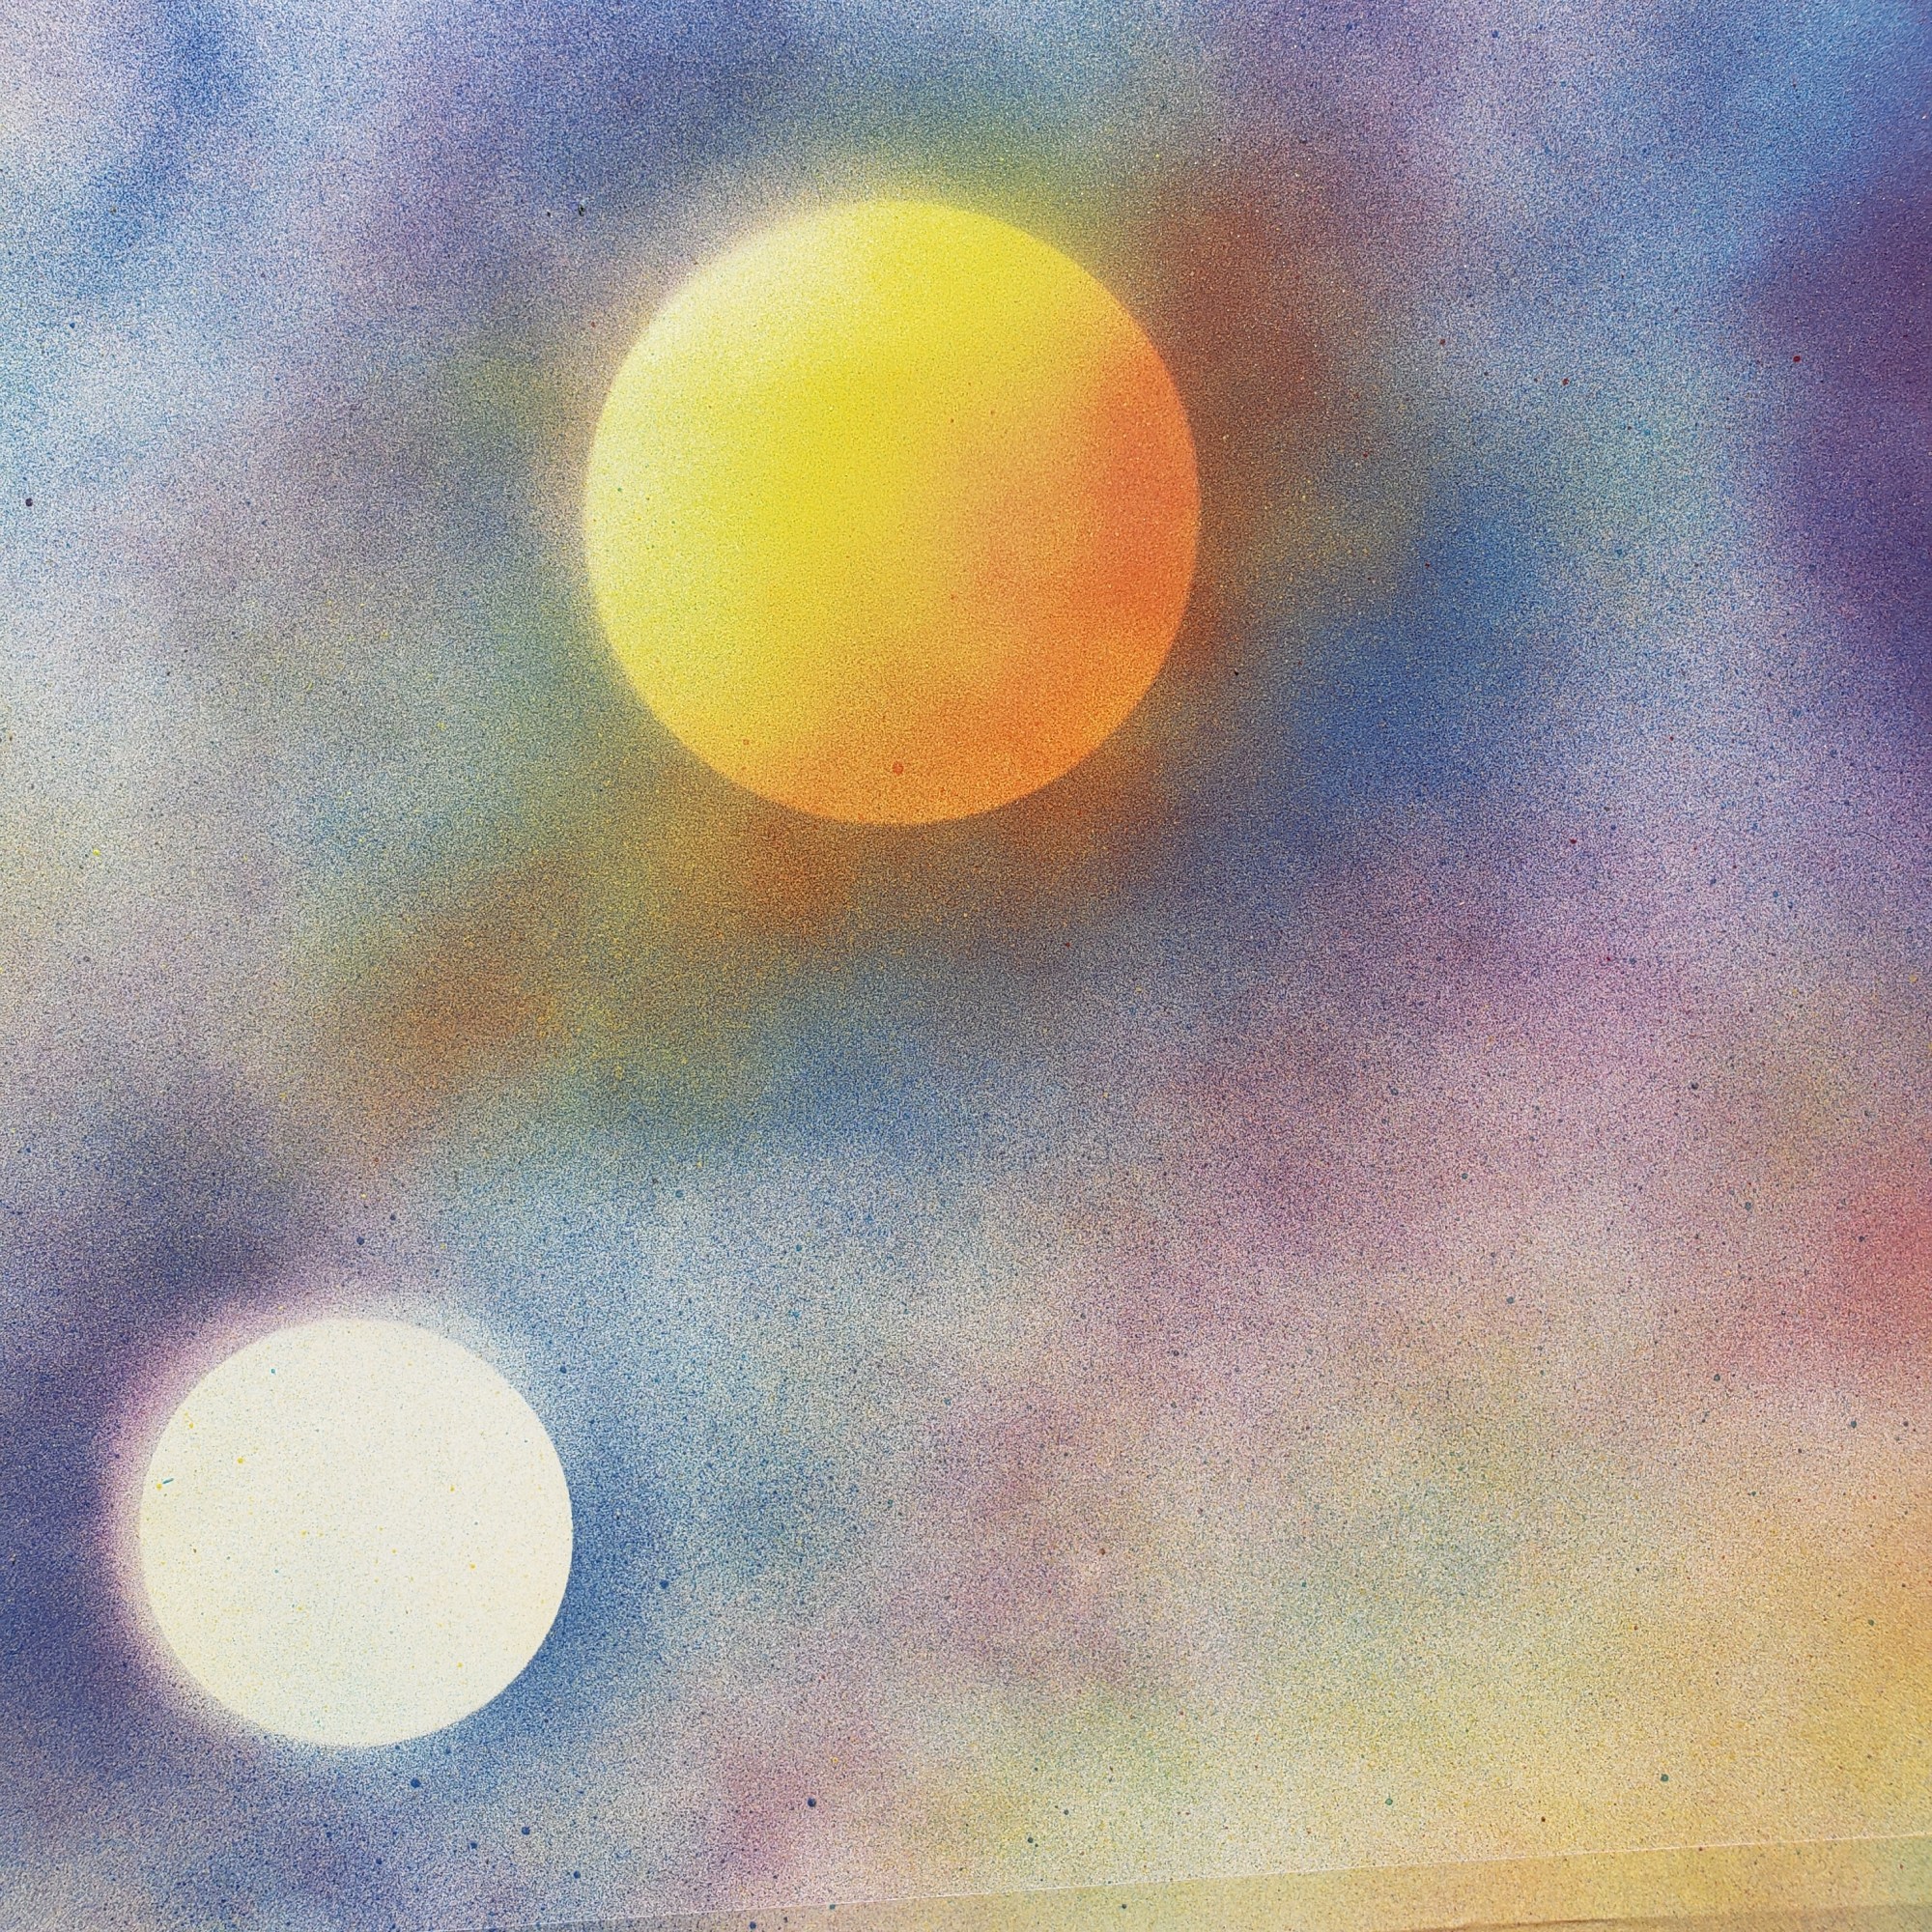
Create these awesome galaxy paintings just with some spray paint!
What you need:
Poster board (cut to your desired size)
Masking tape
Round lids from containers/jars, plastic bowls – These will get spray painted!
Plastic bag
Disposable gloves
Spray paint in various colors – I used yellow, blue, red, purple, black and white.
Step one: Make sure you have a work space set up outside – Spray paint travels, make sure you have a lot of space away from everything! You will need tape your poster board down, Glossy side up! I used a piece of plywood to tape mine to, cardboard would work as well! The tape will hold your paper flat and still as we work and also create a white border on you paintings!
Step two: Add a little color to your poster board with some of your spray paint. I used yellow and blue (we still want to see some of your paper).
Step three: Place some of your lids/bowls on your slightly colored poster board. These will become our planets and moons! Then spray your paper with some of your colors – it doesn’t need to be super dark yet, however, we can cover most of the white! Once you have it colored then remove your lids!
Step four: Spray paint your planets & moons! I like to keep one side of my planets lighter and make one side darker – this makes them look more like a sphere!
Step five: You can also create texture on your planets or moons by layering some colors quickly, then crinkle your plastic bag up and press it into the still wet spray paint. Immediately remove the plastic carefully.
Step six: Once you have your planets complete, cover them back up with your lids and bowls. Now spray your paper with black! Add other colors too to create nebula! I used blues, purple & pink! Overall we want your paper to be fully colored and on the darker side!
Step seven: When you’re happy with your background we’ll add stars! Make sure you have gloves on for this part! With your white spray paint, spray some paint onto your gloved finger tips – flick the paint onto your painting! Keep adding more until you have enough stars! Let your painting dry!
Step eight: When your paint has dried, remove the lids/bowls to reveal your planets and carefully remove your tape!
Most of you know I’m into art, some of you know I’m into food……if I can mix the two together – I will 😉 I enjoy cooking and making meals but I like baking most, and especially have fun with cake making. Specialty birthday cakes have always been a thing in my family and I can remember getting an awesome cake each year on my birthday as a kid. We’ve kept the cakes going…..and luckily I have decently sized family so there’s a fair amount of cakes to be made every year for birthdays and gatherings! My siblings also get in on the action to help with the cake creations so these cakes are definitely a collaborative effort – and it’s always nice to be able to get creative with them!
Most of our cake endeavors are purely trial and error mixed with a bit of research. And there have definitely been some cake fails over the years but they’ve only made us more creative with “cover ups”!
We use cake central a lot for recipes and tutorials, my favorite, quick, recipe for cake building and stacking is the original WASC cake. It’s easy, delicious, dense enough to carve, and it’s simple to make various flavors. This is typically the buttercream I use but it varies depending on what it’s being used for!
We “cheat” and use pre-packaged fondant & gum paste! – Fondant is what we’ve used to cover our cakes and create some of the sculptures with. Most fondant sculptures require an armature of some sort to support the fondant, while it does firm up some after setting out, larger pieces need some sort of support to keep it’s shape, and sometimes even with that we run into issues – humidity doesn’t help! For smaller, more delicate decorations, we use gum paste. You can make this paper thin to create flowers, cover armatures, and make toppers. The gum paste will dry out and become hard much faster than the fondant. Wilton brand is what what we use for both. Their fondant comes in large blocks of white and you can create your own colors or they have smaller blocks of various colors! The gum paste comes in a smaller tub of white and we mix our own colors. You can use regular food coloring but gel coloring works best! We use corn starch to keep our fondant and gum paste from sticking and a very small amount of water applied with a paint brush to stick pieces together.
Gumpaste Flowers
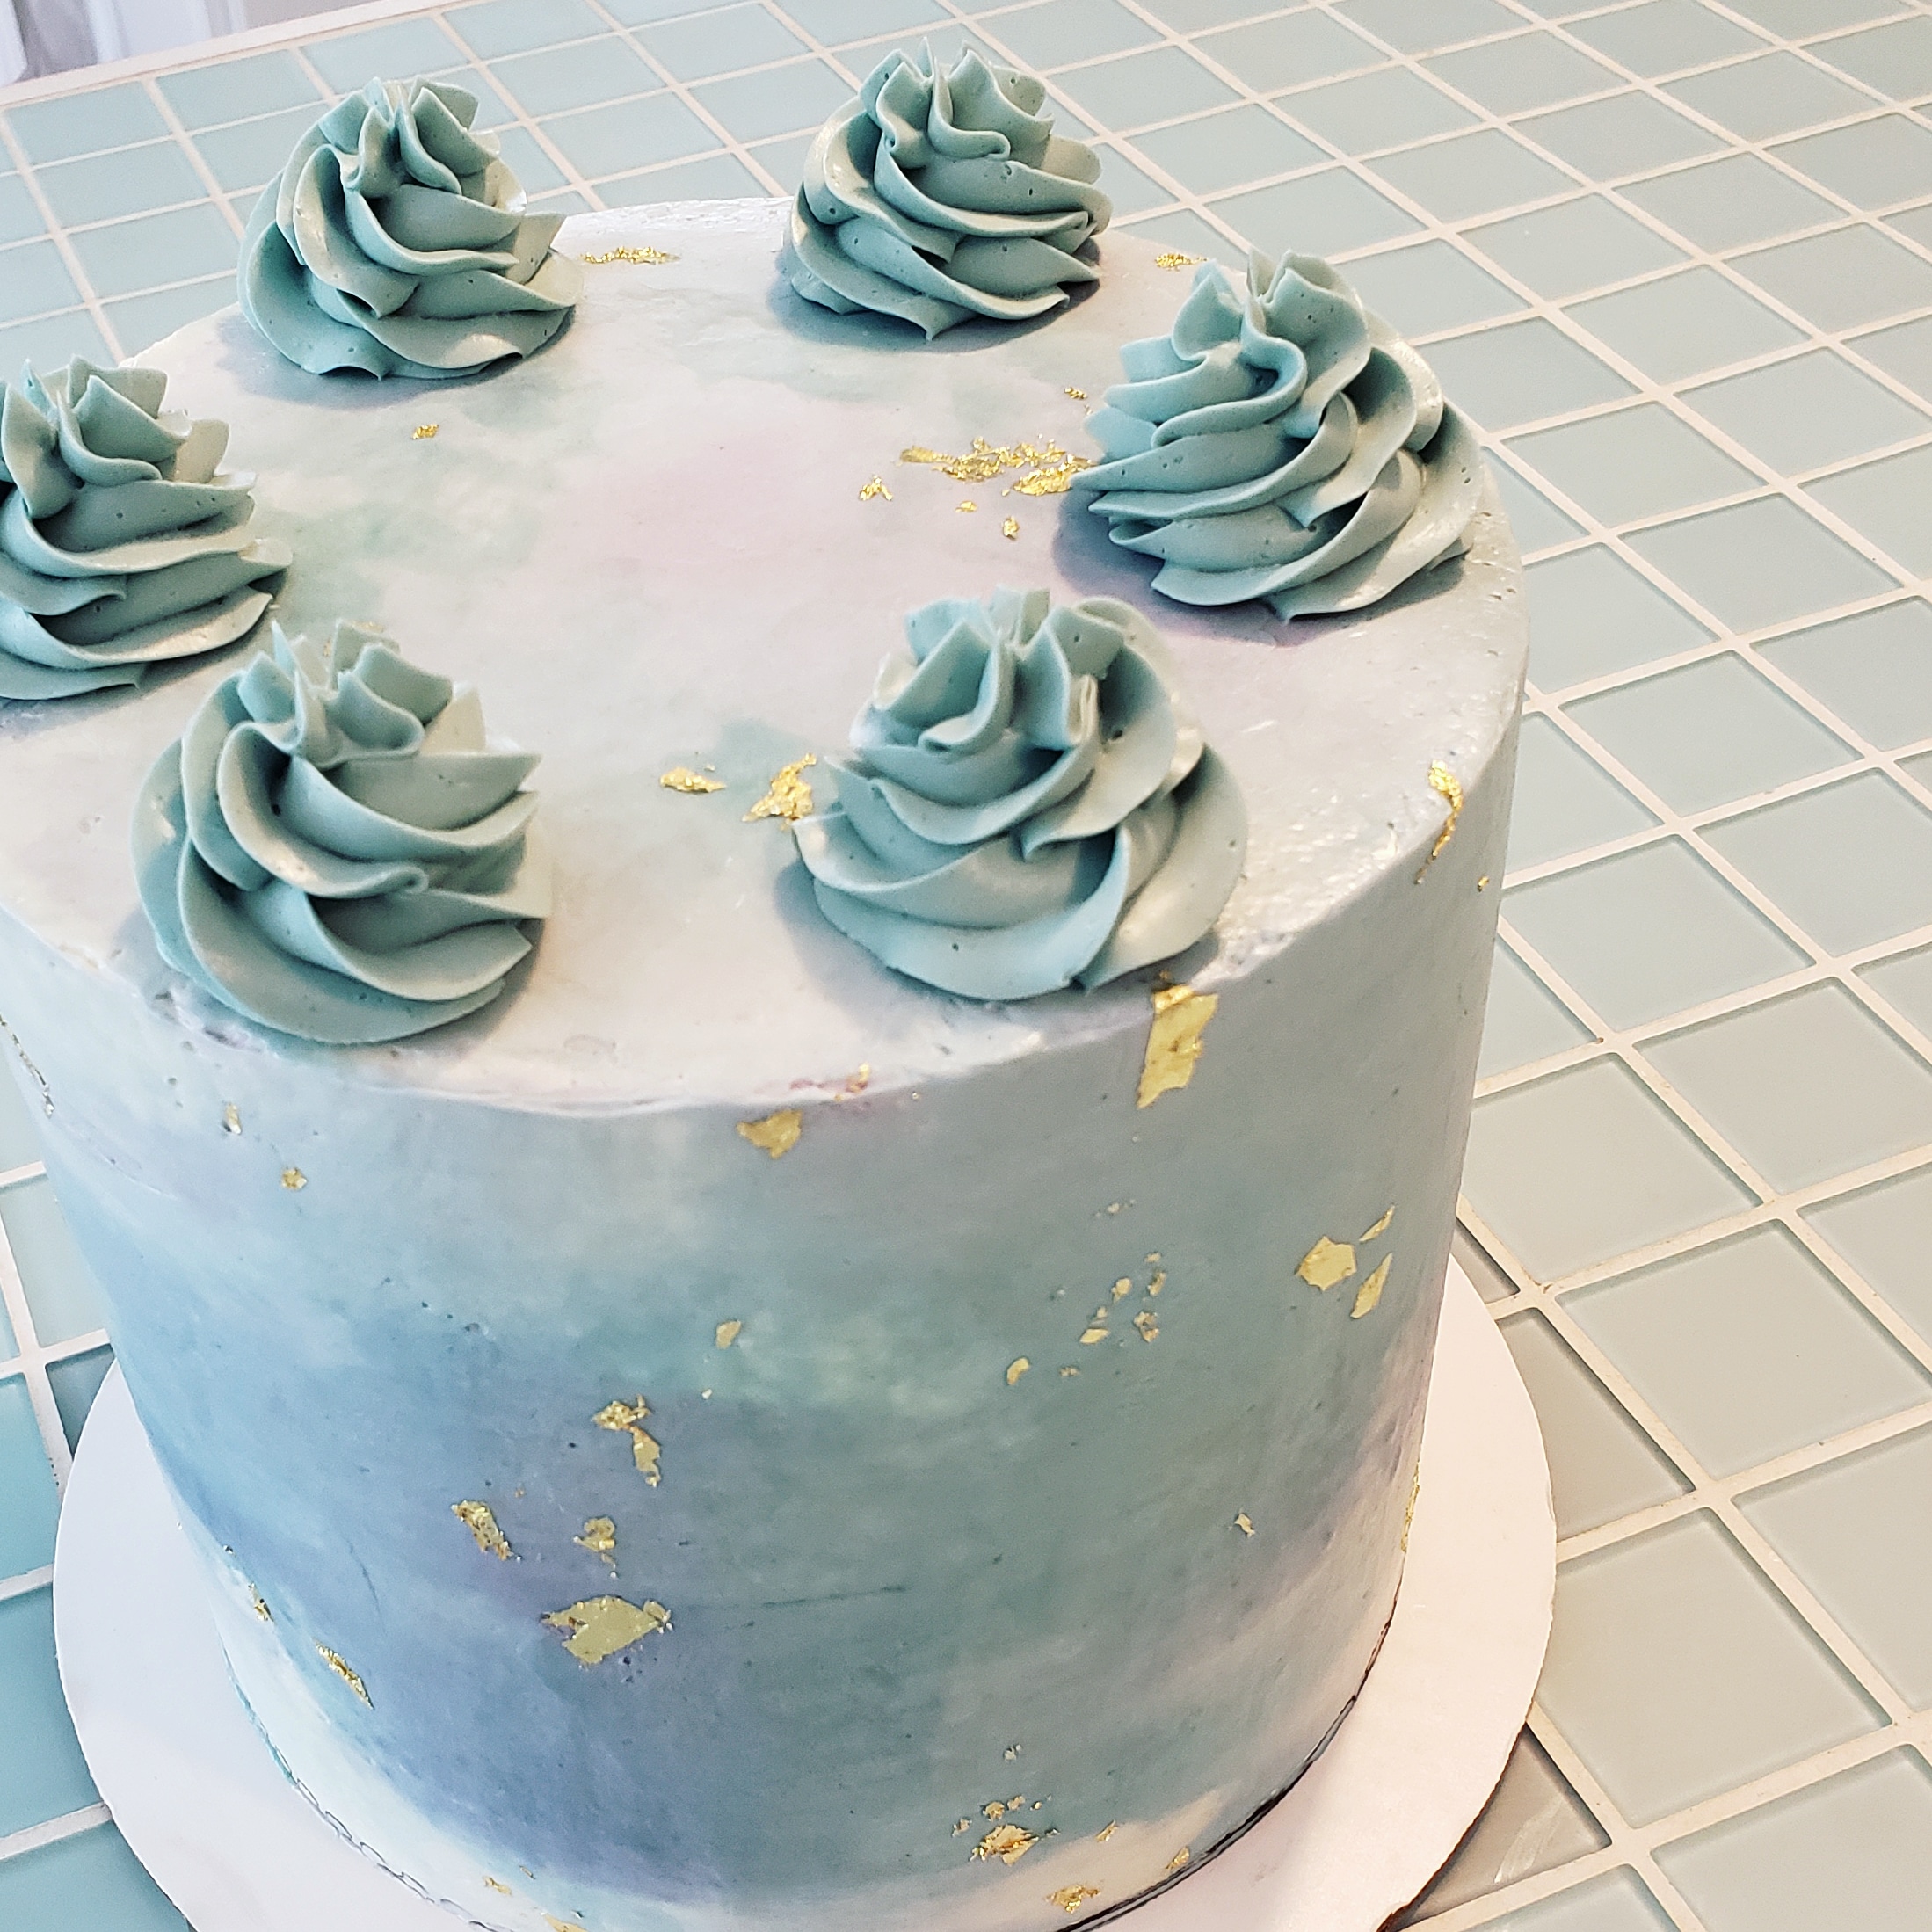
Buttercream covered cake with fondant decorations
Gumpaste flowers with petal dust coloring
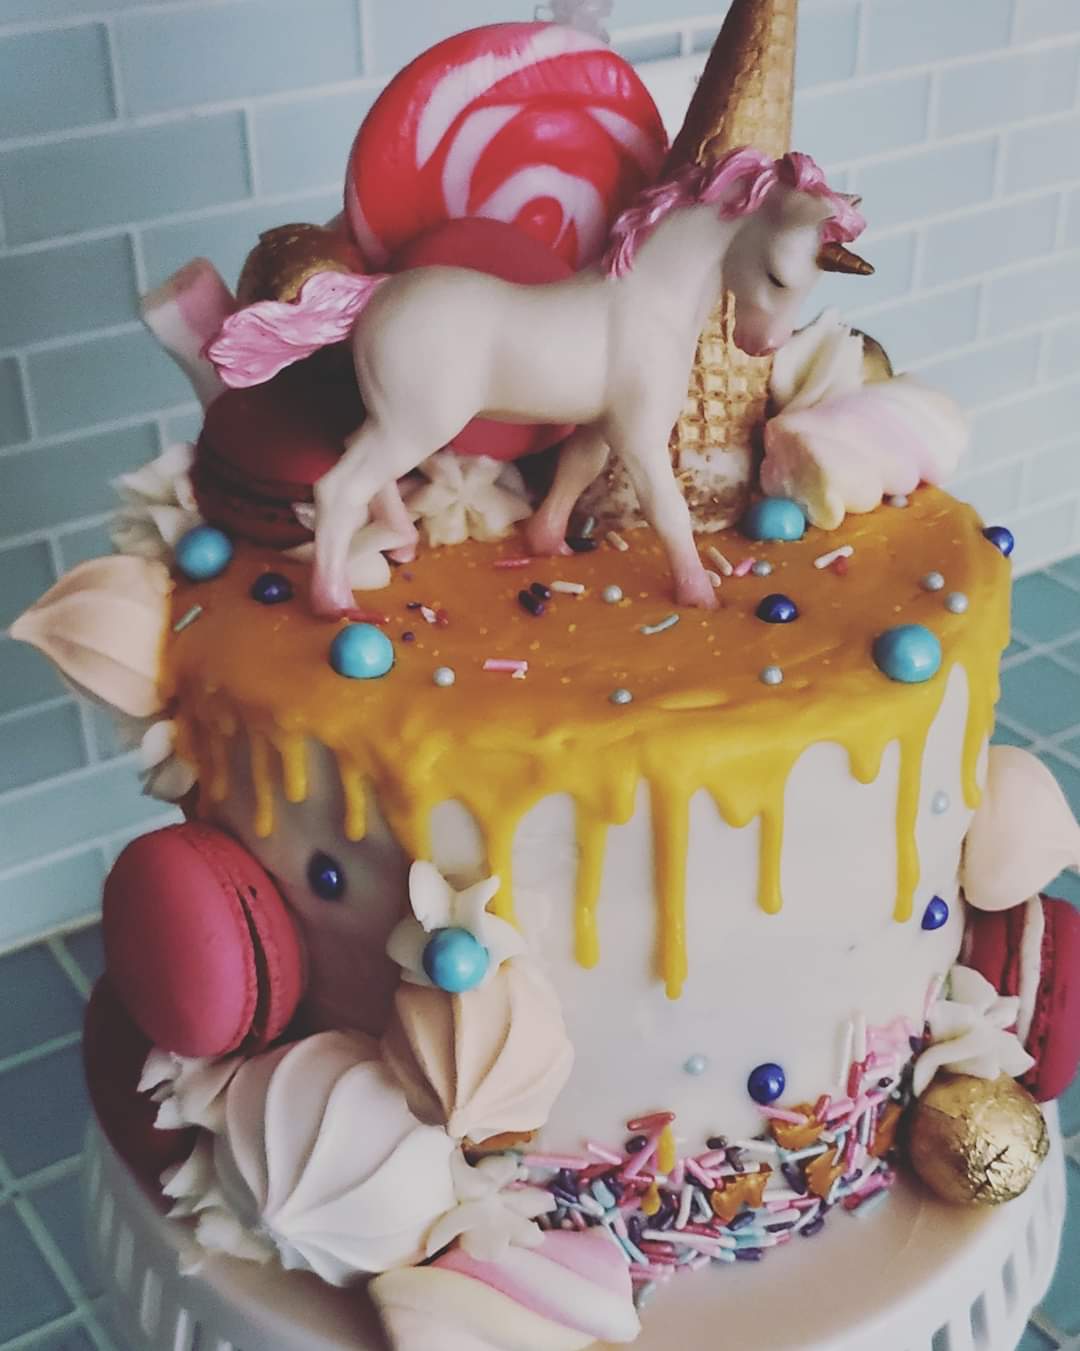
Some additional cakes that use fondant…….
Armatures are created out of rice crispy treats or tin foil – depending on how edible we want our cake to be! As well as tooth picks, skewers, dowels, foam, & wires have all been used to make some of our armatures. Smaller creations don’t really need an armature but it’s nice to have a toothpick or dowel on toppers to make them easy to attach!
This guy was made from rice crispy treats and covered with fondant
For this cake we used a piece of plywood as the base and attached a length of wire covered with tin foil and fondant create the gravity defying effect!
Recently we’ve upgraded with an airbrush for some of our coloring techniques but for the longest time we used Wilton color mist and still do for some projects 🙂 We also use gel colors and petal dust for some of our decorations.
Gel coloring painted on a gumpaste cutout Airbrushed background with buttercream succulents!
Decorating or using candies and other food for cakes is also a fun way to get creative – the one below was inspired by Roy Lichtenstein’s pop art style that uses Benday dots and is an easy one to try at home – frost a sheet cake with white or light colored frosting. Create an outline of what you’d like to be on your cake with black string licorice, black fondant, or black frosting……since this style represents comic book art, some simple ideas would be a thought bubble, a word (like “ZAP”, “POW”, etc. in bubble letter form, or inside a thought bubble). This was a cake for my sister, so we did a portrait of her – comic book style 😉 Then use m&m’s and/or skittles to to create the Benday dots. You can see some areas where we had to cut the m&ms in half to fill smaller spots!
Cookies, cupcakes, and gingerbread – or really any desserts are just as fun too!! 🙂
In any case, definitely play with your food and turn it into a work of art 😉
One point perspective lettering is a fun and easy way to get started with perspective drawing and an element you can apply to other works of art! Check out the instructions and video below to create your own one point perspective words!
What is perspective drawing? When we look at something we see things a little differently then how they actually are – for example, we know that the edges of a road are parallel, but if we’re looking down the road, the edges seem to eventually come together and vanish at a certain point in the distance, making the road appear to get smaller and smaller the further away it gets. The same can be said if you look at houses lined up on a street – the house you’re closest to appears to be largest and the houses way out in the distance appear to be smaller, even though if you were to walk up to the houses in the distance, they would actually be the same size as the house that you’re closest to now! So in artwork when we want to achieve a realistic or dimensional look, if we’re able to create the appearance of what we see, rather than what we know, we can make a more convincing piece of art.
We know the edges of a road are parallel….
but when we look down a road, the edges seem to meet and disappear at a vanishing point in the distance.
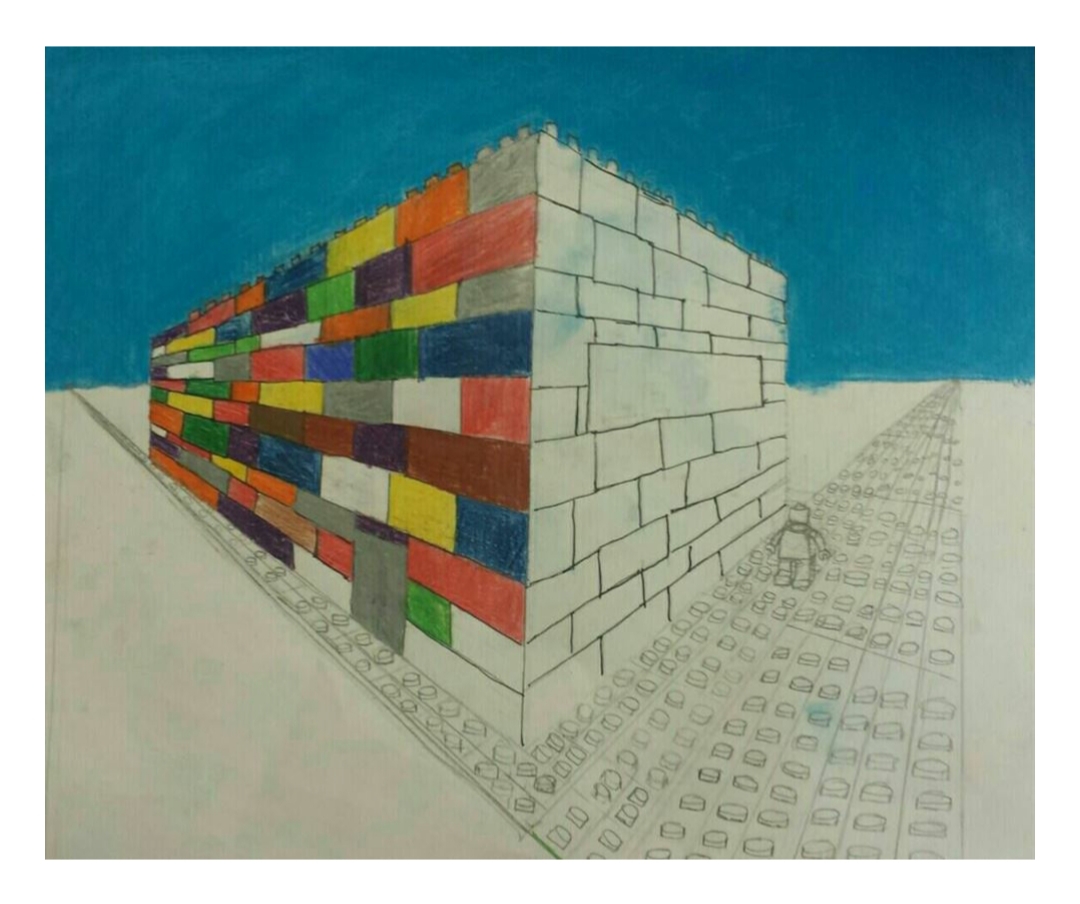
VANISHING POINT: The vanishing point is that point in the distance where, in the example above, the edges of the road seem to disappear. In one point perspective drawing we only have one vanishing point – so we’re drawing objects or scenes directly from the front, or their true shape. For example (in the photos below) a cube with one point perspective will show a square at the front, whereas two point perspective will show the cube with the corner edge closest to you, making us able to see two sides of the cube, which each require their own vanishing point far off in the distance.
One Point Perspective
Two Point Perspective
EYE LEVEL LINE: We also use an eye level line (or horizon line) in perspective drawing. The eye level line is the height where your eye level is – we can determine if objects in your drawing are at eye level, above eye level, or below eye level, simply by drawing your objects on the eye level line, above or below the eye level line.
We can see the top of the bottom box because it’s below our eye level line. The box at eye level we can’t see the top or bottom of, only the side. And the top box we can see the bottom of but not the top because it’s above our eye level line – we have to look up at it!
Once you understand one point perspective it’s a lot easier to understand two point and multiple point perspective drawing!
In the video below I use one point perspective to make a word look 3D. You could also do your name or initials or apply the same method to geometric shapes! This is also only one way one point perspective can be used – you can also use one point perspective to create a landscape and other works of art too!
Ideas & Tips:
You can be more precise and measure out the area where your letters will be placed so they’re even in size!
If you have a longer word or your letters are closer together – Start with the letter that’s closest to the vanishing point when drawing the lines from the letter back to the vanishing point. Then work out from that letter. Letters that are closer together will often overlap when drawing the lines to the vanishing point. (For example the ‘E’ in ‘DREAM’ below overlaps the ‘R’ and the ‘R’ overlaps the ‘D’).
Try changing where your eye level line and/or vanishing point are on your paper to create different angels.
Stagger your letters so you have some at, above, and below, eye level!
Instead of letters you can try the same method with geometric shapes.
Some Student examples of one & two point perspective drawing!
Morning Dove – PanPastel & pastel pencils, (7″x14″)
I received my first set of pastels when I was 10 – I don’t think I loved them quite so much at first, but now pastels are one of my absolute favorite mediums! They are what I use for most of my commission pieces and the medium I’m most likely to use for any of my own projects.
Pastels are created with pigment and a binder compressed into sticks – depending on how much binder is mixed with the pigment you get a harder or softer pastel. When I first started with pastels, and up until a few years ago, Prismacolor Nupastels were the only thing I used. These pastel sticks contain a higher amount of binder, making them a harder type of pastel – this allows me to achieve more details in my work than what I could with a softer pastel. These are also the pastels I use to teach with.
One of my earlier pastel pieces (2006?) completed with Nupastel on Canson Mi-teintes
I still use Nupastels in my pastel work but I also have a few other pastel mediums I like to use now too! For smaller detailed areas and textures I love Stabilo CarbOthello pastel pencils . They come in a wide range of colors and are a similar hardness to the Nupastels.
In the past couple years I’ve also started using PanPastels which are extra soft pressed pastels powders in a pan/cake form and are applied to your surface with soft sponge. I love how rich and smooth these go on! For the most part I use these in my backgrounds and base layers for larger areas and then add finishing details with the pastel pencils on top.
I also have used Sennelier extra soft pastels on occasion – I do enjoy them, however, they can be quite costly!
“Tux & Tsuki” – Completed with Sennelier soft pastels
The surface is probably the most important element though! I started to use Pastelmat a few years ago, it’s surface is velvety and does an amazing job of taking on layers upon layers of pastels. It also comes in a wide range of colors – I love using a darker surface with the PanPastels. I also find it holds the pastel so well that I don’t have to use a fixative on my finished pieces – which always seems to mess with the pastel surface anyway! There are certain times when I want a little texture to my pastel pieces though so I’ll use Canson Mi-Teintes pastel paper but definitely doesn’t give you the same effect!
Pieces completed on Pastelmat with PanPastels, pastel pencils & Nupastels