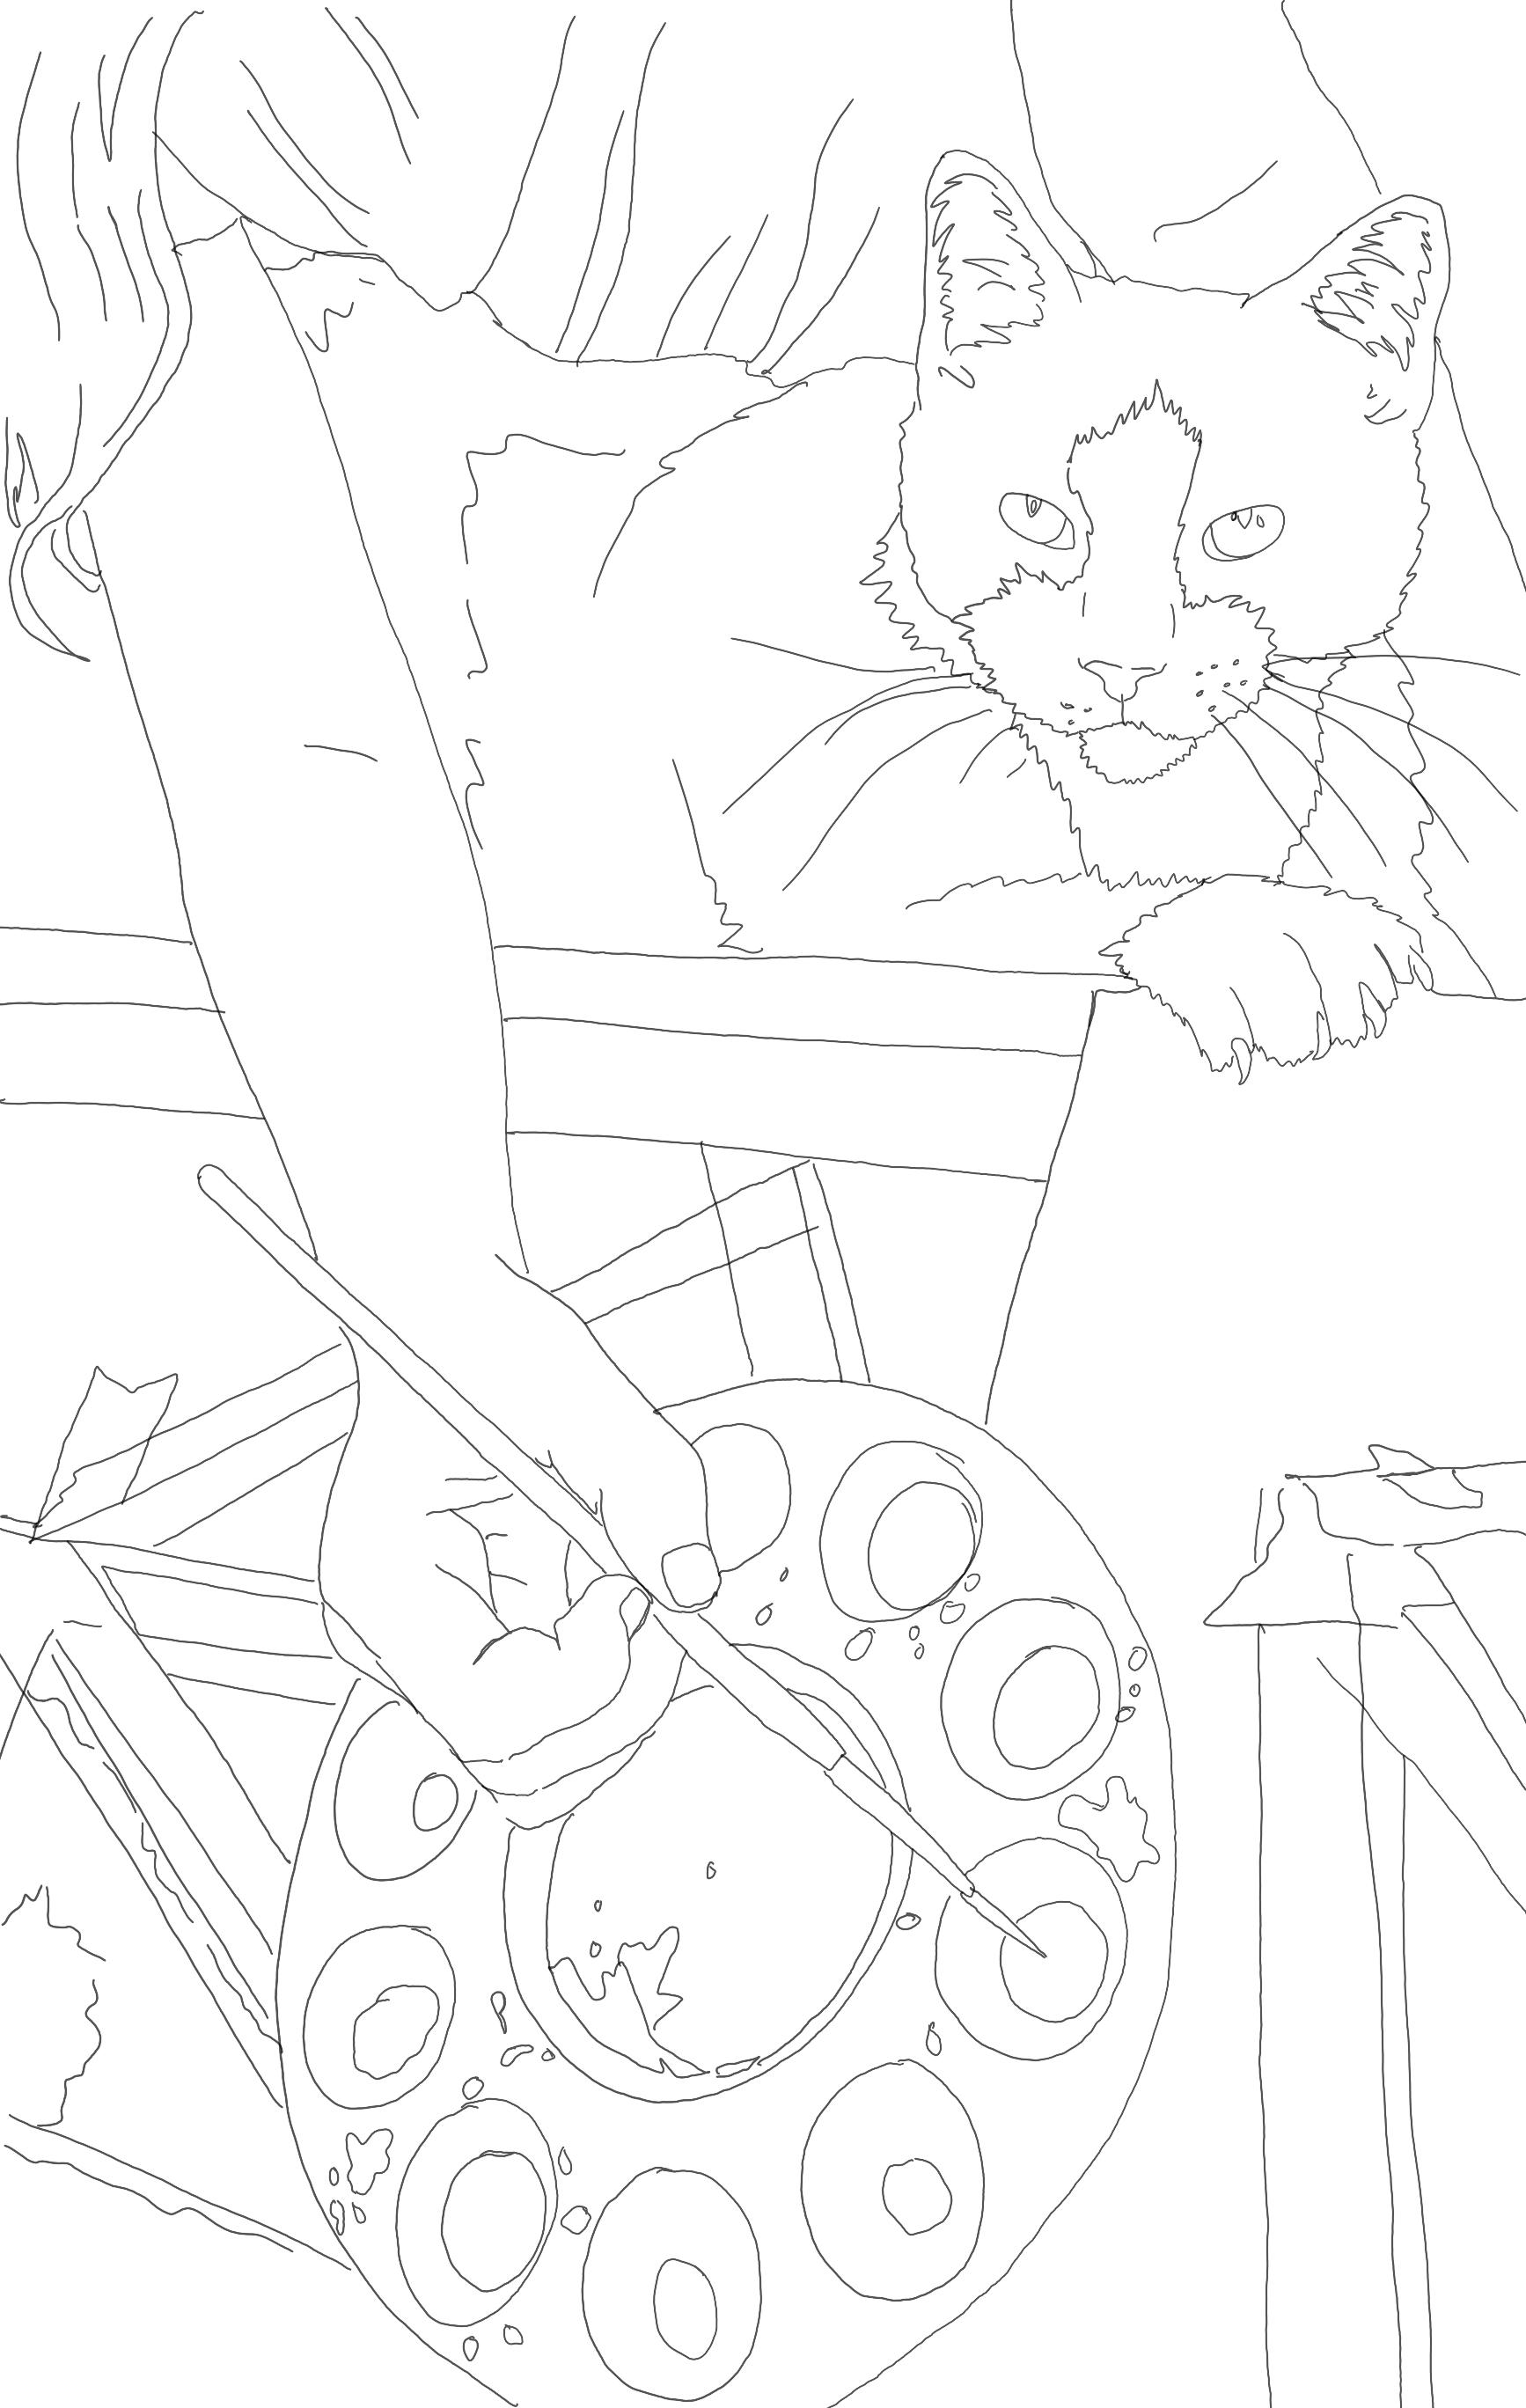
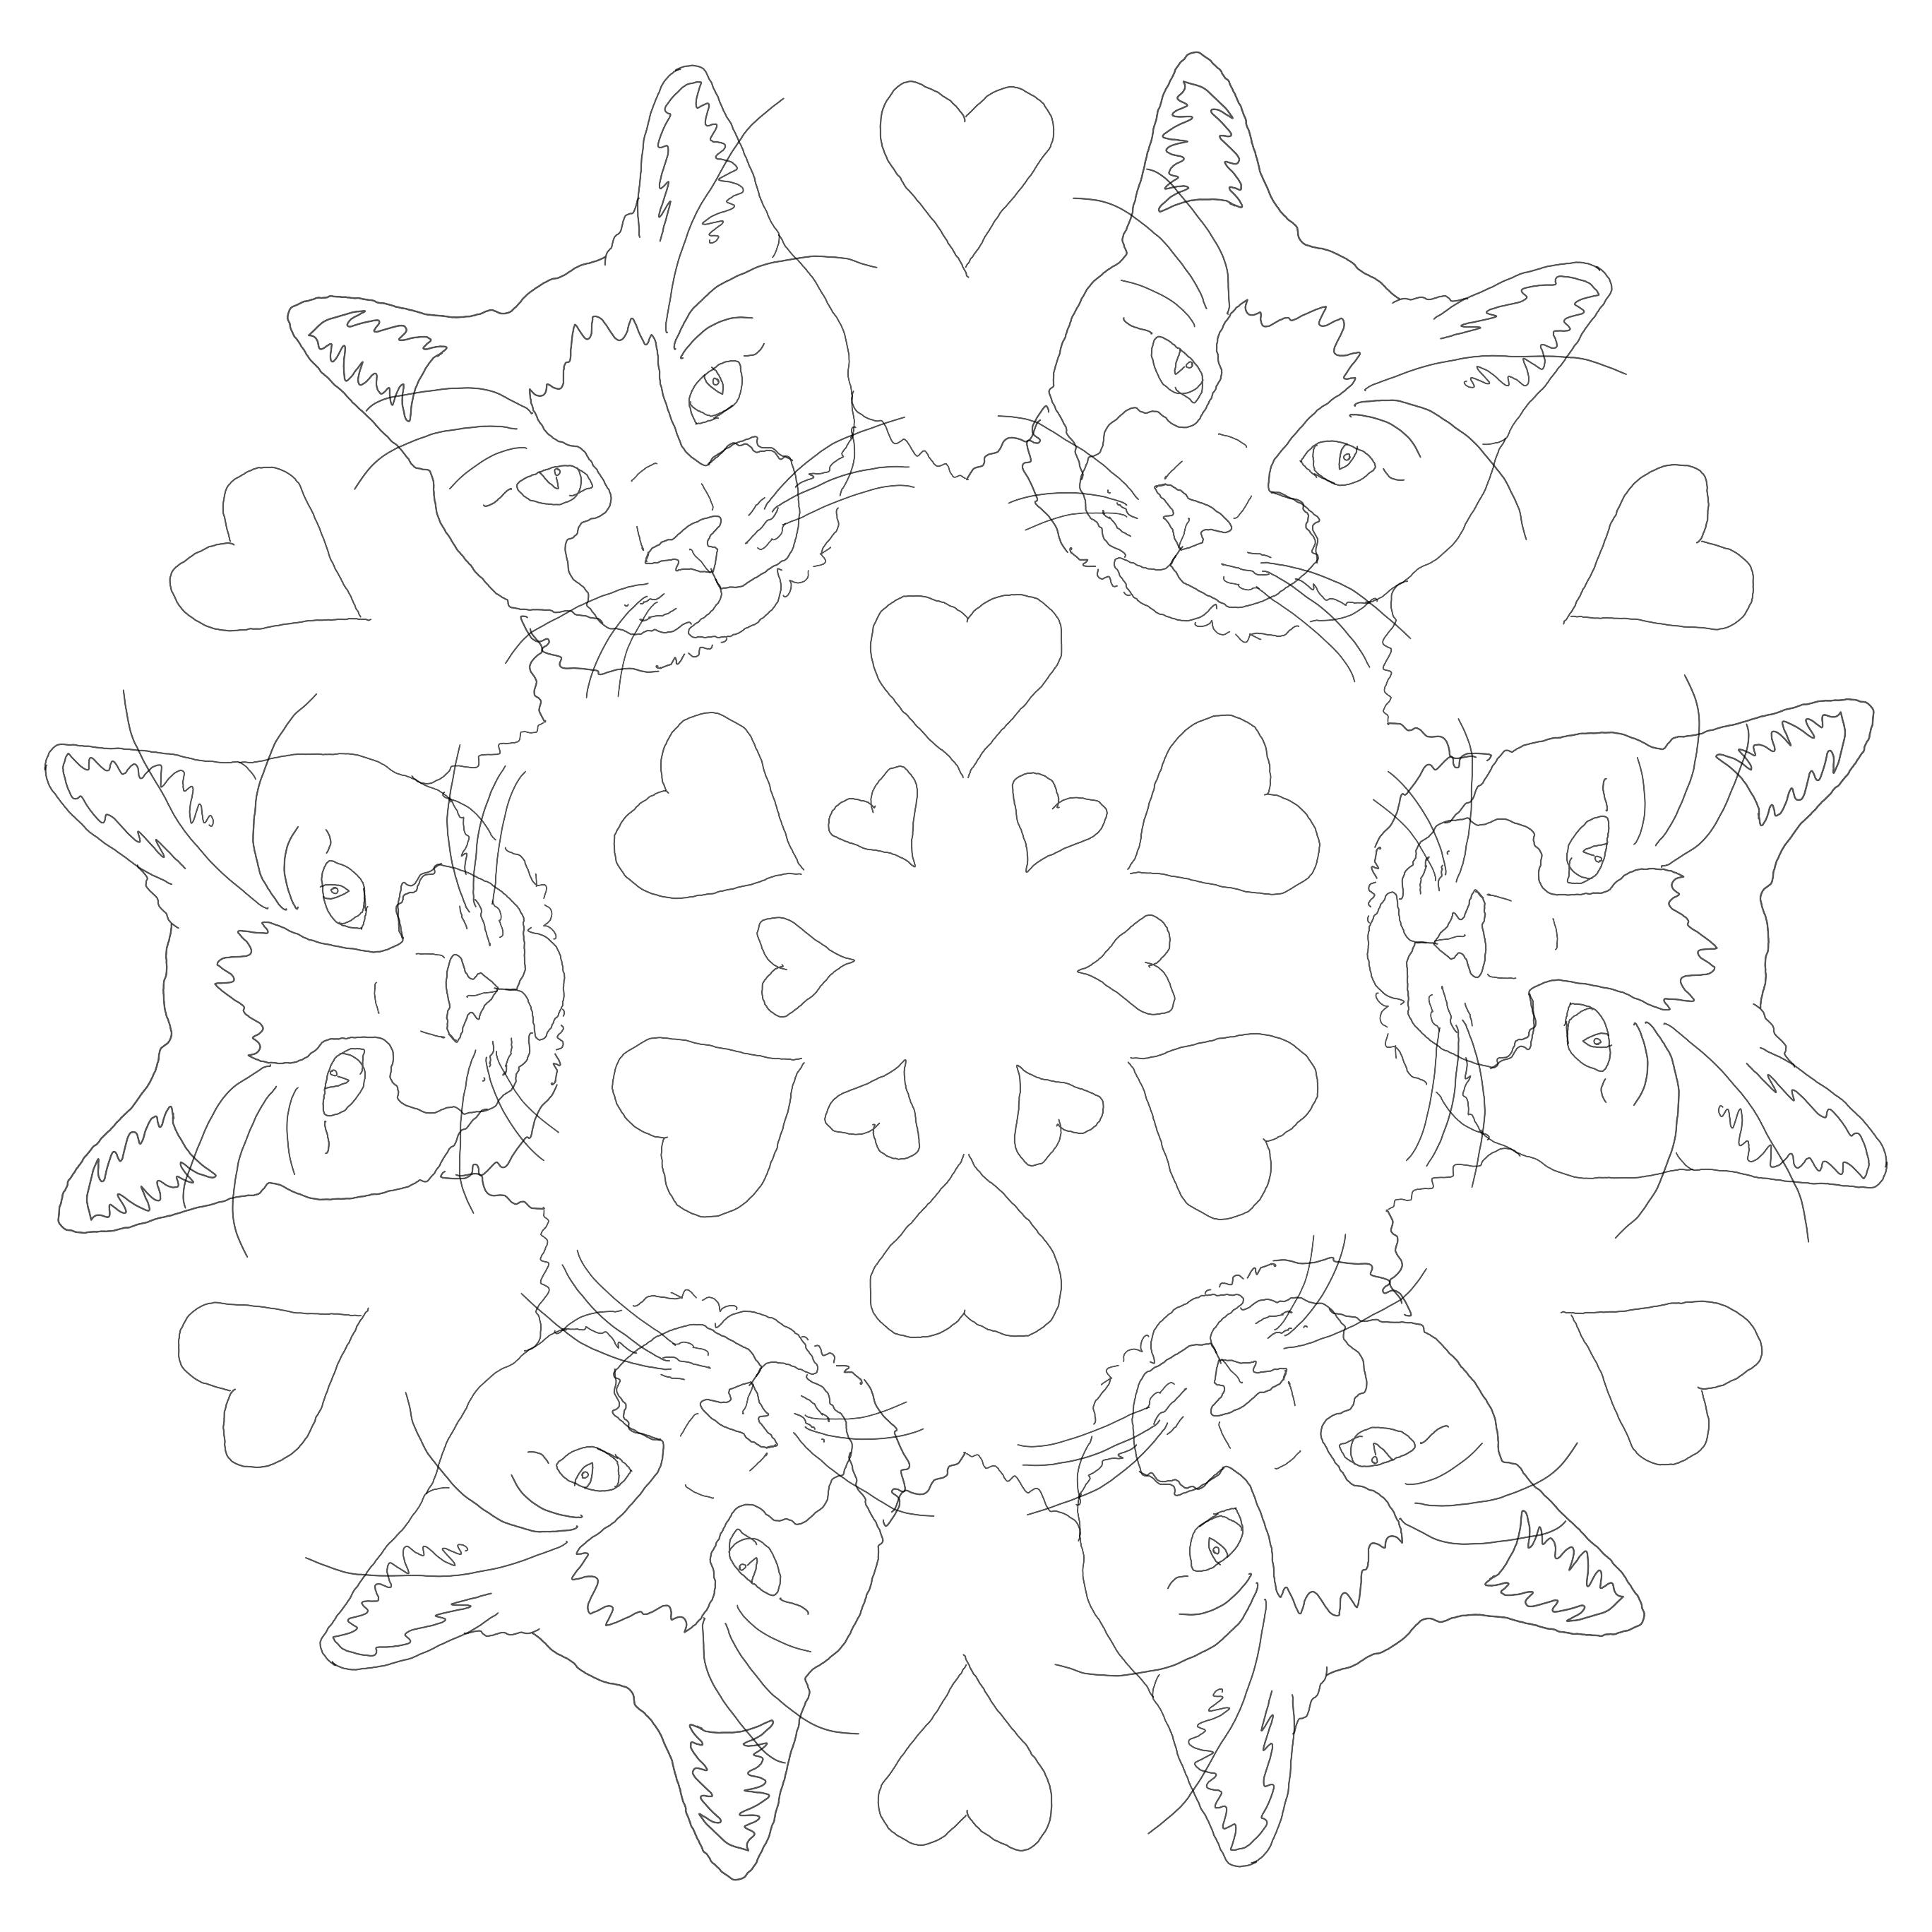
Tux has been so excited for classes to start this past month! Check out some of the cool coloring pages by students! Grab your crayons and colored pencils and download your own Tux coloring pages here!


Tux has been so excited for classes to start this past month! Check out some of the cool coloring pages by students! Grab your crayons and colored pencils and download your own Tux coloring pages here!


Take a scoop of the sea with you! Use a large shell to “scoop” up a piece of the sea – with ultra thick embossing enamel to encase your beach treasures and act as the water! You could also do the same method with resin! Finished scoops of the sea can be made into decorations, ornaments, jewelry, etc.!
What you need:

Step one: Clean and dry your large shell (you want to make sure it has a dish or spoon like shape to it – flat shells won’t hold our enamel!)

Step two: Make sure your large shell is sitting level – you can use a piece of shaped tin foil to hold your shell. *Note: the embossing enamel has to be heated in an oven……it’s easiest to make your scoop of the sea on the surface it will be heated on).
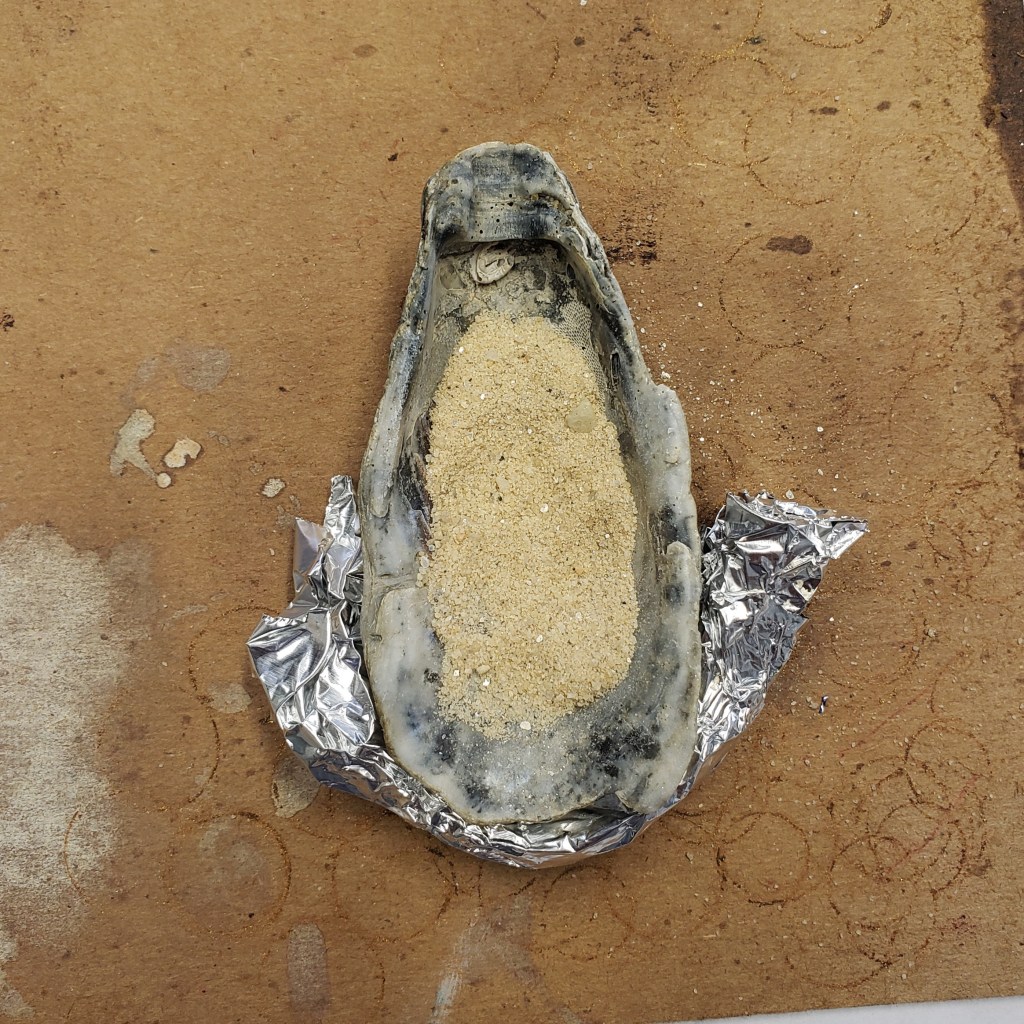
Step three: Add some sand to your shell – just enough to cover the surface! If you’re collecting your own sand make sure it’s super dried out first!

Step four: Add in other little shells, sea glass, or other beach treasures! You could also add in bits of papers with lettering or doodles on them too!

Step five: Cover the sand and items carefully with the ultra think embossing enamel.

Step six: Let the embossing enamel mound up in the center but don’t fill it all the way to the edges of your shell. *Note: You can gently blow or brush off any embossing enamel that got on your tray before baking – It will stick to surfaces somewhat once melted! (You can protect your baking surface with a layer of tin foil).

Step seven: Carefully transfer your shell to an oven or toaster oven. Bake at 350*F (watching closely) until the enamel just turns clear.

Step eight: Remove from the oven and let cool! If you have a lot of air bubbles form on the surface, you can use a heat gun to heat the enamel back up – this will remove the bubbles! Or leave the bubbles to create a fun foamy effect! If your sand and inside shells are not covered with enough enamel after it melts, you can add more powder on top and heat again to melt it! It’s also okay if your inside shells aren’t completely covered….you just don’t want your sand able to leak out!


Have fun creating your own scoops of the sea! What treasures will you include? 🙂


Experiment with mediums and surfaces in this project! Use alcohol inks on Yupo paper to create beautiful blooms of colors, then draw a design on top with a chalk pen! Yupo is actually polypropylene and allows the alcohol inks to sit on the surface and have fun reactions! Adding rubbing alcohol to the inks also creates more “blooming” effects!
What you need:
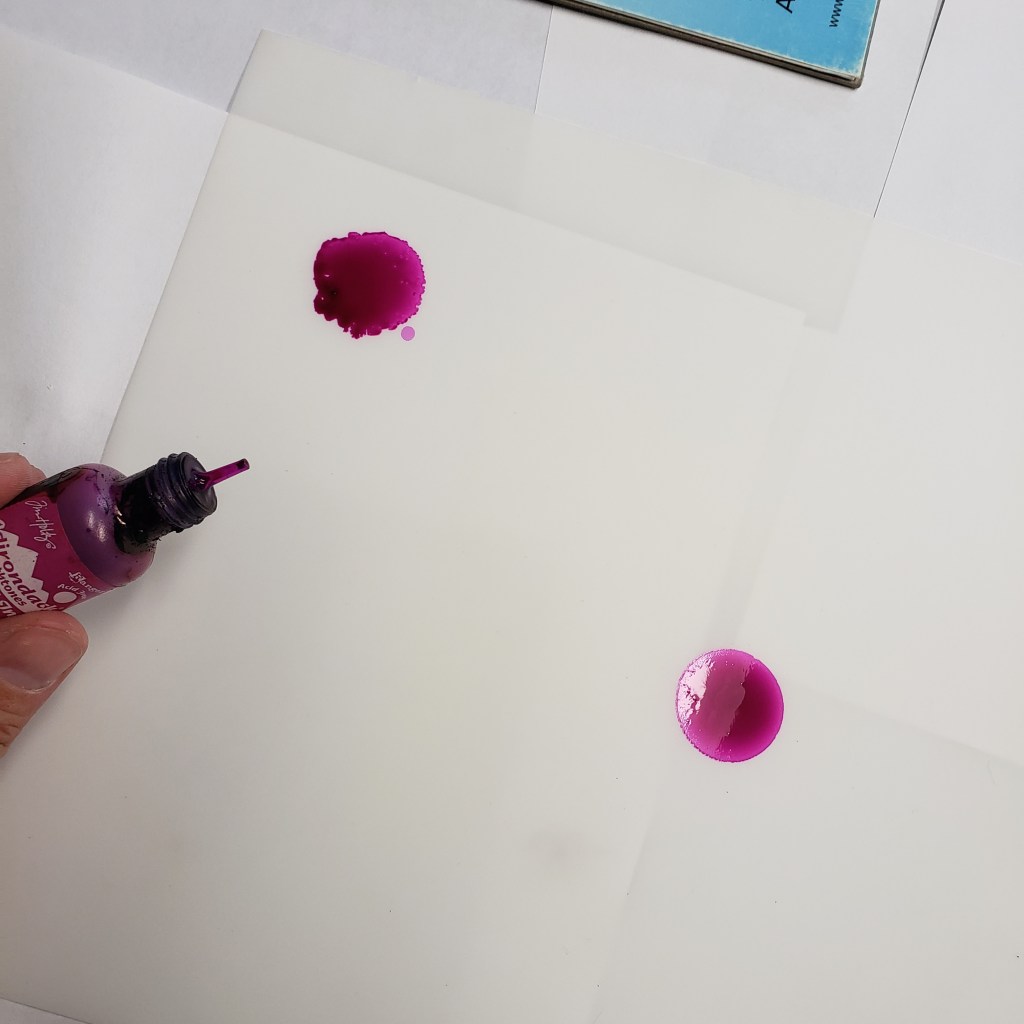
Step one: Dot some colors of alcohol ink on your yupo surface!

Step two: Continue to add inks and begin to apply dots of rubbing alcohol with a paint brush – both on and around your alcohol inks.

Step three: Continue to apply inks and rubbing alcohol – I just added a section of color from corner to corner. Keep in mind, when choosing colors, your ink colors will begin to mix somewhat!

Step four: Let your ink dry completely!

Step five: Once the ink is dry, use your chalk pen to create a design on top of your ink!

Step six: Add details to your drawing – I just used a white chalk pen for the most contrast but you could use other colors as well!

Have fun creating blooms of colors! 🙂


Create an out of this world moon painting with acrylics on canvas! In the video below I create my sky with multiple brushes/techniques (a stencil brush, sea sponge, flat brush & paper towel) you can use all methods or choose what you have on hand to create your sky with!
What you need:

Step one: Trace a circle on your canvas – I used a plastic plate. Paint your background all black!

Step two: Begin to add clouds to your sky with other colors – I used blue, red, & white (which made pinks and purples) – see the next step for more details!

Step three: Use a firm/stiff regular flat brush, round stencil brush, sea sponge or paper towel to create a cloud texture. “Pounce” or “Dab” your paint on your canvas with any of the tools listed to create this effect. You only want a little paint on your brush/tool. Dip in multiple colors or build layers of colors on your clouds.

Step four: If you have any clouds that are too bright, you can repeat the same technique, but with black paint to help it fade in. Be careful not to mix too many colors or your clouds can end up muddy! If that happens, let your paint dry, paint it over with black, and try again!

Step five: Water down a little white acrylic paint and splatter it on your sky for stars!

Step six: Mix white and a little yellow paint to create a cream color and paint your moon!

Step seven: Mix blue and little black paint together to create a dark blue paint and make random spots on your moon. These will be the moon’s craters!

Step eight: While the dark blue spots are still a little wet, take more of your cream color and blend the edges of your spots into your moon!

Step nine: Keep blending until you’re happy with your moon! Check out the video below for more details on creating your own moon painting!


A fun little technique to create some colorful pieces of art! These also make great pieces to add to collage techniques or are fun for art journaling too!
What you need:

Step one: Tape down your watercolor paper – the tape also creates a nice border to your artwork you can decorate later! I cut my paper to be a bookmark!

Step two: Create a design or picture on your paper with your crayons or oil pastels – press firmly!

Step three: You don’t need to fill in all of your paper – leave some areas white, this will be filled in with your paint color!

Step four: Prepare your watercolor paints and gently brush overtop of your crayon or oil pastel design!

Step five: The oil pastels or crayons will resist the watercolor paint and only stick to the white areas of your paper! I used warm color crayons and cool color paint for more contrast!

Step six: Let your paint dry and remove your tape!

This piece was created with oil pastels instead of crayons!


Turn some of those beach treasures into a lovely trinket dish! These make great personalized gifts too!
What you need:

Step one: Gather and clean your shells – ones that have larger, flat/smooth insides will be easiest to start with!

Step two: Find printed tissue papers, pieces of maps, origami papers, or any other thin paper to decoupage your shells with

Step three: If using tissue papers to decoupage your shell with, first paint the inside surface of your shell with acrylic paint. I used white, as my tissue paper was white with printed blue designs – this way the white parts of the tissue looks like it disappears in the back ground of my shell. You may need to apply more than one layer of paint to cover your shell with – if this is the case, let your paint dry between layers.

Step four: Cut your papers for your shells – if using tissue papers that match with the background of your shell, you don’t have to be too careful in cutting out the design precisely. If using papers that will completely cover the inside of your shell, cut it quite a bit larger than your shell!

Step five: If using tissue paper – Add Mod Podge to the inside of your shell and place your tissue paper on top

Step six: If using other papers – brush a layer of mod podge in your shell and on the back of your paper, then place in your shell

Step seven: Gently brush a layer of mod podge on top of your tissue paper or if you’re using paper follow the steps below!

Step eight: If using paper, vs. tissue paper, use your fingers to firmly press your paper into your shell…..start from the center of your shell and work out

Step nine: Use a firm brush to add a layer of mod podge on top of your paper – use the brush to help push and smooth out the paper on the shell surface! Just be careful not to tear your paper as it can become fragile!

Step ten: Let your mod podge dry and trim off any extra paper – you may also need to add in extra mod podge around the cut edges if you have some areas that are not quite stuck! Don’t worry if your cut edge is not perfect – as long as it’s glued down well, the cut edge will get covered with the metallic paints!

Step eleven: Use your metallic paints to create a painted outline on your shells!

Have fun creating these simple trinket dishes! You could also drill a hole and make them an ornament or add other elements in them like other shells, personal photos, sea glass, etc.!


Follow along to paint your own watercolor crab! My crab was created with just two colors – yellow and blue, however, you can make your crab any colors using these techniques! You can download the crab outline below and transfer it to your watercolor paper or draw your own crab outline (or outline of your choosing).
What you need:

Step one: Transfer the crab outline to your watercolor paper or draw your own outline! Download the crab outline above and follow this quick tip to transfer the crab outline here.

Step two: The crab is created with a wet on wet technique – I did sections of my crab at a time, starting with the shell, I brushed on a layer of water.

Step three: Before the water dries that you applied in the last step, add blue watercolor to your shell – the paint will spread wherever the water was placed.

Step four: While your blue paint is still wet, add dabs of green or yellow paints to your crab shell and let them spread! I used a little yellow painted mixed with my blue.


Step five: While your paint is still wet, sprinkle some sea salt on it! The paint pools under the pieces of salt, when the paint dries, we’ll gently remove the salt pieces and have a unique effect left on our papers created by the salt!

Step six: Repeat steps for all the crabs legs!

Step seven: If desired, flick paint, to add some interest to your background! I used watered down blue.

Step eight: Let your paint dry – I don’t recommend speeding up with a hair dryer when the salt is involved as it can blow the salt pieces around and disrupt the textured effect!
Step nine: Once the paint is completely dry, gently rub off the salt pieces. Enjoy your crabby painting! 🙂

Ever want to transfer a drawing or printed image to another piece of paper or copy it multiple times? I typically draw my outlines on just a plain piece of printer paper and transfer onto my final drawing paper with this method….you can easily and quickly transfer your drawings this way and the transfer is also erasable!
All you need is your drawing or image you’d like to transfer (these work best on thin papers), a graphite pencil & and the canvas, paper, or surface you want to transfer your drawing to! You may also prefer to have some tape handy to help hold your paper in place.

Gather all your supplies!

Turn over the drawing, or outline you’d like transfer. Using the side of your pencil tip, shade in the back of your outline. You only have to shade where the lines you’ll be tracing on the flip side are – you can check this by flipping your paper back over and holding it up to the light (looking through your paper) to see if you’ve missed any areas with the shading.
Once you have the backside shaded in, line up your outline on the surface you’d like to transfer it to. Use tape to hold your paper in place while you trace.

Pressing firmly, trace your outline with a pencil. You can take a peek to make sure the transfer is working or to check and see if you’ve missed any lines! You can also trace your outline with a colored pencil to clearly indicate where you’ve already traced!

Once you’ve traced your outline, carefully remove the tape and your paper to reveal your copy! Since this is a graphite transfer you can also erase or lighten any lines before using your transfer in a finished project! 🙂
This is also a great method to transfer the sand dollar template for this acrylic painting!


Brighten your garden with a colorful hand painted paver! Paint just one or paint many and create a fun path through your garden!
What you need:

Step one: Prime you paver – I used an outdoor primer, brushed it on & let it dry.

Step two: Draw your design onto your paver (you can also use stencils or templates).

Step three: Begin to paint your design! I like to start with my background and work forwards.

You may need to apply more than one layer of paint with certain colors – if this is the case let layers dry between new coats!


If you want to blend colors it’s easiest to do so while the paints are still wet – brush back and forth to help blend colors!

Create effects with your paint – like splatters for stars or texture by “flicking” your paint!

Fill in your foreground with base colors…

Add your details! Leave your stepping stone as is or add in some whimsy with additional lines, colors, & patterns!

Step four: Finish your stepping stone by sealing your paint with krylon indoor/outdoor gloss sealer!
Check out the video below for more ideas or join us for a stepping stone class to create your own!
Be sure to send along a picture of your finished stepping stone! 🙂


The fall schedule of classes is now available here! Tux, the art room kitty, is excited to get back to having some classes in the art room and being able to “help” out on some art projects! In celebration, enjoy some Tux coloring pages! Pages are downloadable below!


You can download all these pages below! Be sure to send me a photo of your colored in pages – I’ll add them to Tux’s fan art page! 🙂 Also check out more info on Tux here!