Art, Happenings, Make, Create, & Share!, student artwork

Student Spotlight! (August 2020)

Each month I will be spotlighting one of my students – past or present, and their artistic ventures! I work with students of all ages and abilities and you’ll get to learn a little bit about these amazing artists and their work!

Our August spotlight is on:

Ella St. Pierre

My name is Ella St. Pierre. I am 8 and a half years old and I’m going into 4th grade. I like to paint on the easel in my room, talk to my friends, go to the beach, swim, and jump on my trampoline. I also like to play board games including chess and Connect 4 and I love to play with my cat. Besides, visual arts, I like to sing and dance… and sing while dancing! I also like culinary arts. When I grow up, I want to be a surf instructor and a YouTuber.


“Party of two”, Acrylic Paint

The robot was having a party at night and no one came. He got sad, but remembered that God was at the party. This is a reminder that you can have fun even by yourself. Sometimes I look at this photo and think about the fact your never alone but with God.

How long have you been taking art lessons?
“I have been taking lessons for 4 or 5 years. I started taking art lessons because my mom signed me up! But I am really glad she did. It’s really fun.”

Who or what inspires you to make your artwork?
“I look around and get inspired by things I see or things that pop into my head.”

“Meteor Shower”, Remnant of my old lipstick

What are your favorite mediums or subjects for your artwork? “Pencil…. not colored pencils, but pencils, are my favorite medium. I also like puffy paint and I like to draw or paint with unusual items, like old lipstick or makeup.”

Is there a certain style, or type, of art that you’d like to someday try?
“Someday, I’d like to try sculpting with clay or throwing pottery.”

“Night Sky’s”, Paint

What is your favorite color?
“My favorite color is pastel yellow and pastel green.”

Is there an aspect of art you don’t like and why?
“I don’t like pastels because my pastel projects end up messy. I also don’t like colored pencil because of its texture and the detail.”

“Ocean Waters”, Stamp-making

Why do you think art is important? – Why is it important for you?
“The arts are fun! They are fun to learn and when I mess up, I laugh at it.”

Ella is creative and imaginative in her artwork! I’m always excited to see what she comes up with next – whether it’s her unique use of mediums, or the originality of the scenes, characters and subjects she creates within her artwork! Keep up with all the awesome artwork Ella! 🙂

Art, Art activities, Craft, DIY, Make, Create, & Share!

DIY Shell Trinket Dishes

Turn some of those beach treasures into a lovely trinket dish! These make great personalized gifts too!

What you need:

  • Clean shells – larger, smoother shells are easiest to start with!
  • Mod Podge – I used gloss
  • Paint brushes
  • Decorative tissue papers, or thin papers (like origami paper).
  • Scissors
  • Acrylic paints in desired colors
  • Metallic paints – I used Lumiere by Jacquard

Step one: Gather and clean your shells – ones that have larger, flat/smooth insides will be easiest to start with!

Step two: Find printed tissue papers, pieces of maps, origami papers, or any other thin paper to decoupage your shells with

Step three: If using tissue papers to decoupage your shell with, first paint the inside surface of your shell with acrylic paint. I used white, as my tissue paper was white with printed blue designs – this way the white parts of the tissue looks like it disappears in the back ground of my shell. You may need to apply more than one layer of paint to cover your shell with – if this is the case, let your paint dry between layers.

Step four: Cut your papers for your shells – if using tissue papers that match with the background of your shell, you don’t have to be too careful in cutting out the design precisely. If using papers that will completely cover the inside of your shell, cut it quite a bit larger than your shell!

Step five: If using tissue paper – Add Mod Podge to the inside of your shell and place your tissue paper on top

Step six: If using other papers – brush a layer of mod podge in your shell and on the back of your paper, then place in your shell

Step seven: Gently brush a layer of mod podge on top of your tissue paper or if you’re using paper follow the steps below!

Step eight: If using paper, vs. tissue paper, use your fingers to firmly press your paper into your shell…..start from the center of your shell and work out

Step nine: Use a firm brush to add a layer of mod podge on top of your paper – use the brush to help push and smooth out the paper on the shell surface! Just be careful not to tear your paper as it can become fragile!

Step ten: Let your mod podge dry and trim off any extra paper – you may also need to add in extra mod podge around the cut edges if you have some areas that are not quite stuck! Don’t worry if your cut edge is not perfect – as long as it’s glued down well, the cut edge will get covered with the metallic paints!

Step eleven: Use your metallic paints to create a painted outline on your shells!

Have fun creating these simple trinket dishes! You could also drill a hole and make them an ornament or add other elements in them like other shells, personal photos, sea glass, etc.!

Art, Art activities, DIY, Drawing, Make, Create, & Share!, Painting

Watercolor Crab!

Follow along to paint your own watercolor crab! My crab was created with just two colors – yellow and blue, however, you can make your crab any colors using these techniques! You can download the crab outline below and transfer it to your watercolor paper or draw your own crab outline (or outline of your choosing).

What you need:

  • Watercolor paper (I used Canson XL cold press 140lb)
  • Watercolor paints – I used Rembrandt brand in Azo Yellow Medium & Van Gogh brand in Phthalo blue
  • Sea Salt
  • Brushes
  • Pencil

Step one: Transfer the crab outline to your watercolor paper or draw your own outline! Download the crab outline above and follow this quick tip to transfer the crab outline here.

Step two: The crab is created with a wet on wet technique – I did sections of my crab at a time, starting with the shell, I brushed on a layer of water.

Step three: Before the water dries that you applied in the last step, add blue watercolor to your shell – the paint will spread wherever the water was placed.

Step four: While your blue paint is still wet, add dabs of green or yellow paints to your crab shell and let them spread! I used a little yellow painted mixed with my blue.

Step five: While your paint is still wet, sprinkle some sea salt on it! The paint pools under the pieces of salt, when the paint dries, we’ll gently remove the salt pieces and have a unique effect left on our papers created by the salt!

Step six: Repeat steps for all the crabs legs!

Step seven: If desired, flick paint, to add some interest to your background! I used watered down blue.

Step eight: Let your paint dry – I don’t recommend speeding up with a hair dryer when the salt is involved as it can blow the salt pieces around and disrupt the textured effect!

Step nine: Once the paint is completely dry, gently rub off the salt pieces. Enjoy your crabby painting! 🙂

Art, Art activities, Drawing, Make, Create, & Share!

Quick tip: DIY transfer paper

Ever want to transfer a drawing or printed image to another piece of paper or copy it multiple times? I typically draw my outlines on just a plain piece of printer paper and transfer onto my final drawing paper with this method….you can easily and quickly transfer your drawings this way and the transfer is also erasable!

All you need is your drawing or image you’d like to transfer (these work best on thin papers), a graphite pencil & and the canvas, paper, or surface you want to transfer your drawing to! You may also prefer to have some tape handy to help hold your paper in place.

Gather all your supplies!

Turn over the drawing, or outline you’d like transfer. Using the side of your pencil tip, shade in the back of your outline. You only have to shade where the lines you’ll be tracing on the flip side are – you can check this by flipping your paper back over and holding it up to the light (looking through your paper) to see if you’ve missed any areas with the shading.

Once you have the backside shaded in, line up your outline on the surface you’d like to transfer it to. Use tape to hold your paper in place while you trace.

Pressing firmly, trace your outline with a pencil. You can take a peek to make sure the transfer is working or to check and see if you’ve missed any lines! You can also trace your outline with a colored pencil to clearly indicate where you’ve already traced!

Once you’ve traced your outline, carefully remove the tape and your paper to reveal your copy! Since this is a graphite transfer you can also erase or lighten any lines before using your transfer in a finished project! 🙂

This is also a great method to transfer the sand dollar template for this acrylic painting!

Art, Art activities, Craft, decorating, DIY, Happenings, Make, Create, & Share!, Painting

Painted Stepping Stones

Brighten your garden with a colorful hand painted paver! Paint just one or paint many and create a fun path through your garden!

What you need:

  • Cement Paver – The ones I’m using are 12″x12″
  • Outdoor primer
  • Pencil
  • Acrylic paint – I used Apple Barrel Craft paints in Bright Blue, Bright Yellow, Bright Red, Black, & White. You can also use Patio Paints for longer lasting results!
  • Krylon indoor/outdoor, gloss sealer

Step one: Prime you paver – I used an outdoor primer, brushed it on & let it dry.

Step two: Draw your design onto your paver (you can also use stencils or templates).

Step three: Begin to paint your design! I like to start with my background and work forwards.

You may need to apply more than one layer of paint with certain colors – if this is the case let layers dry between new coats!

If you want to blend colors it’s easiest to do so while the paints are still wet – brush back and forth to help blend colors!

Create effects with your paint – like splatters for stars or texture by “flicking” your paint!

Fill in your foreground with base colors…

Add your details! Leave your stepping stone as is or add in some whimsy with additional lines, colors, & patterns!

Step four: Finish your stepping stone by sealing your paint with krylon indoor/outdoor gloss sealer!

Check out the video below for more ideas or join us for a stepping stone class to create your own!

Be sure to send along a picture of your finished stepping stone! 🙂

Art, Art activities, Happenings, Make, Create, & Share!, student artwork

Back to class coloring pages!

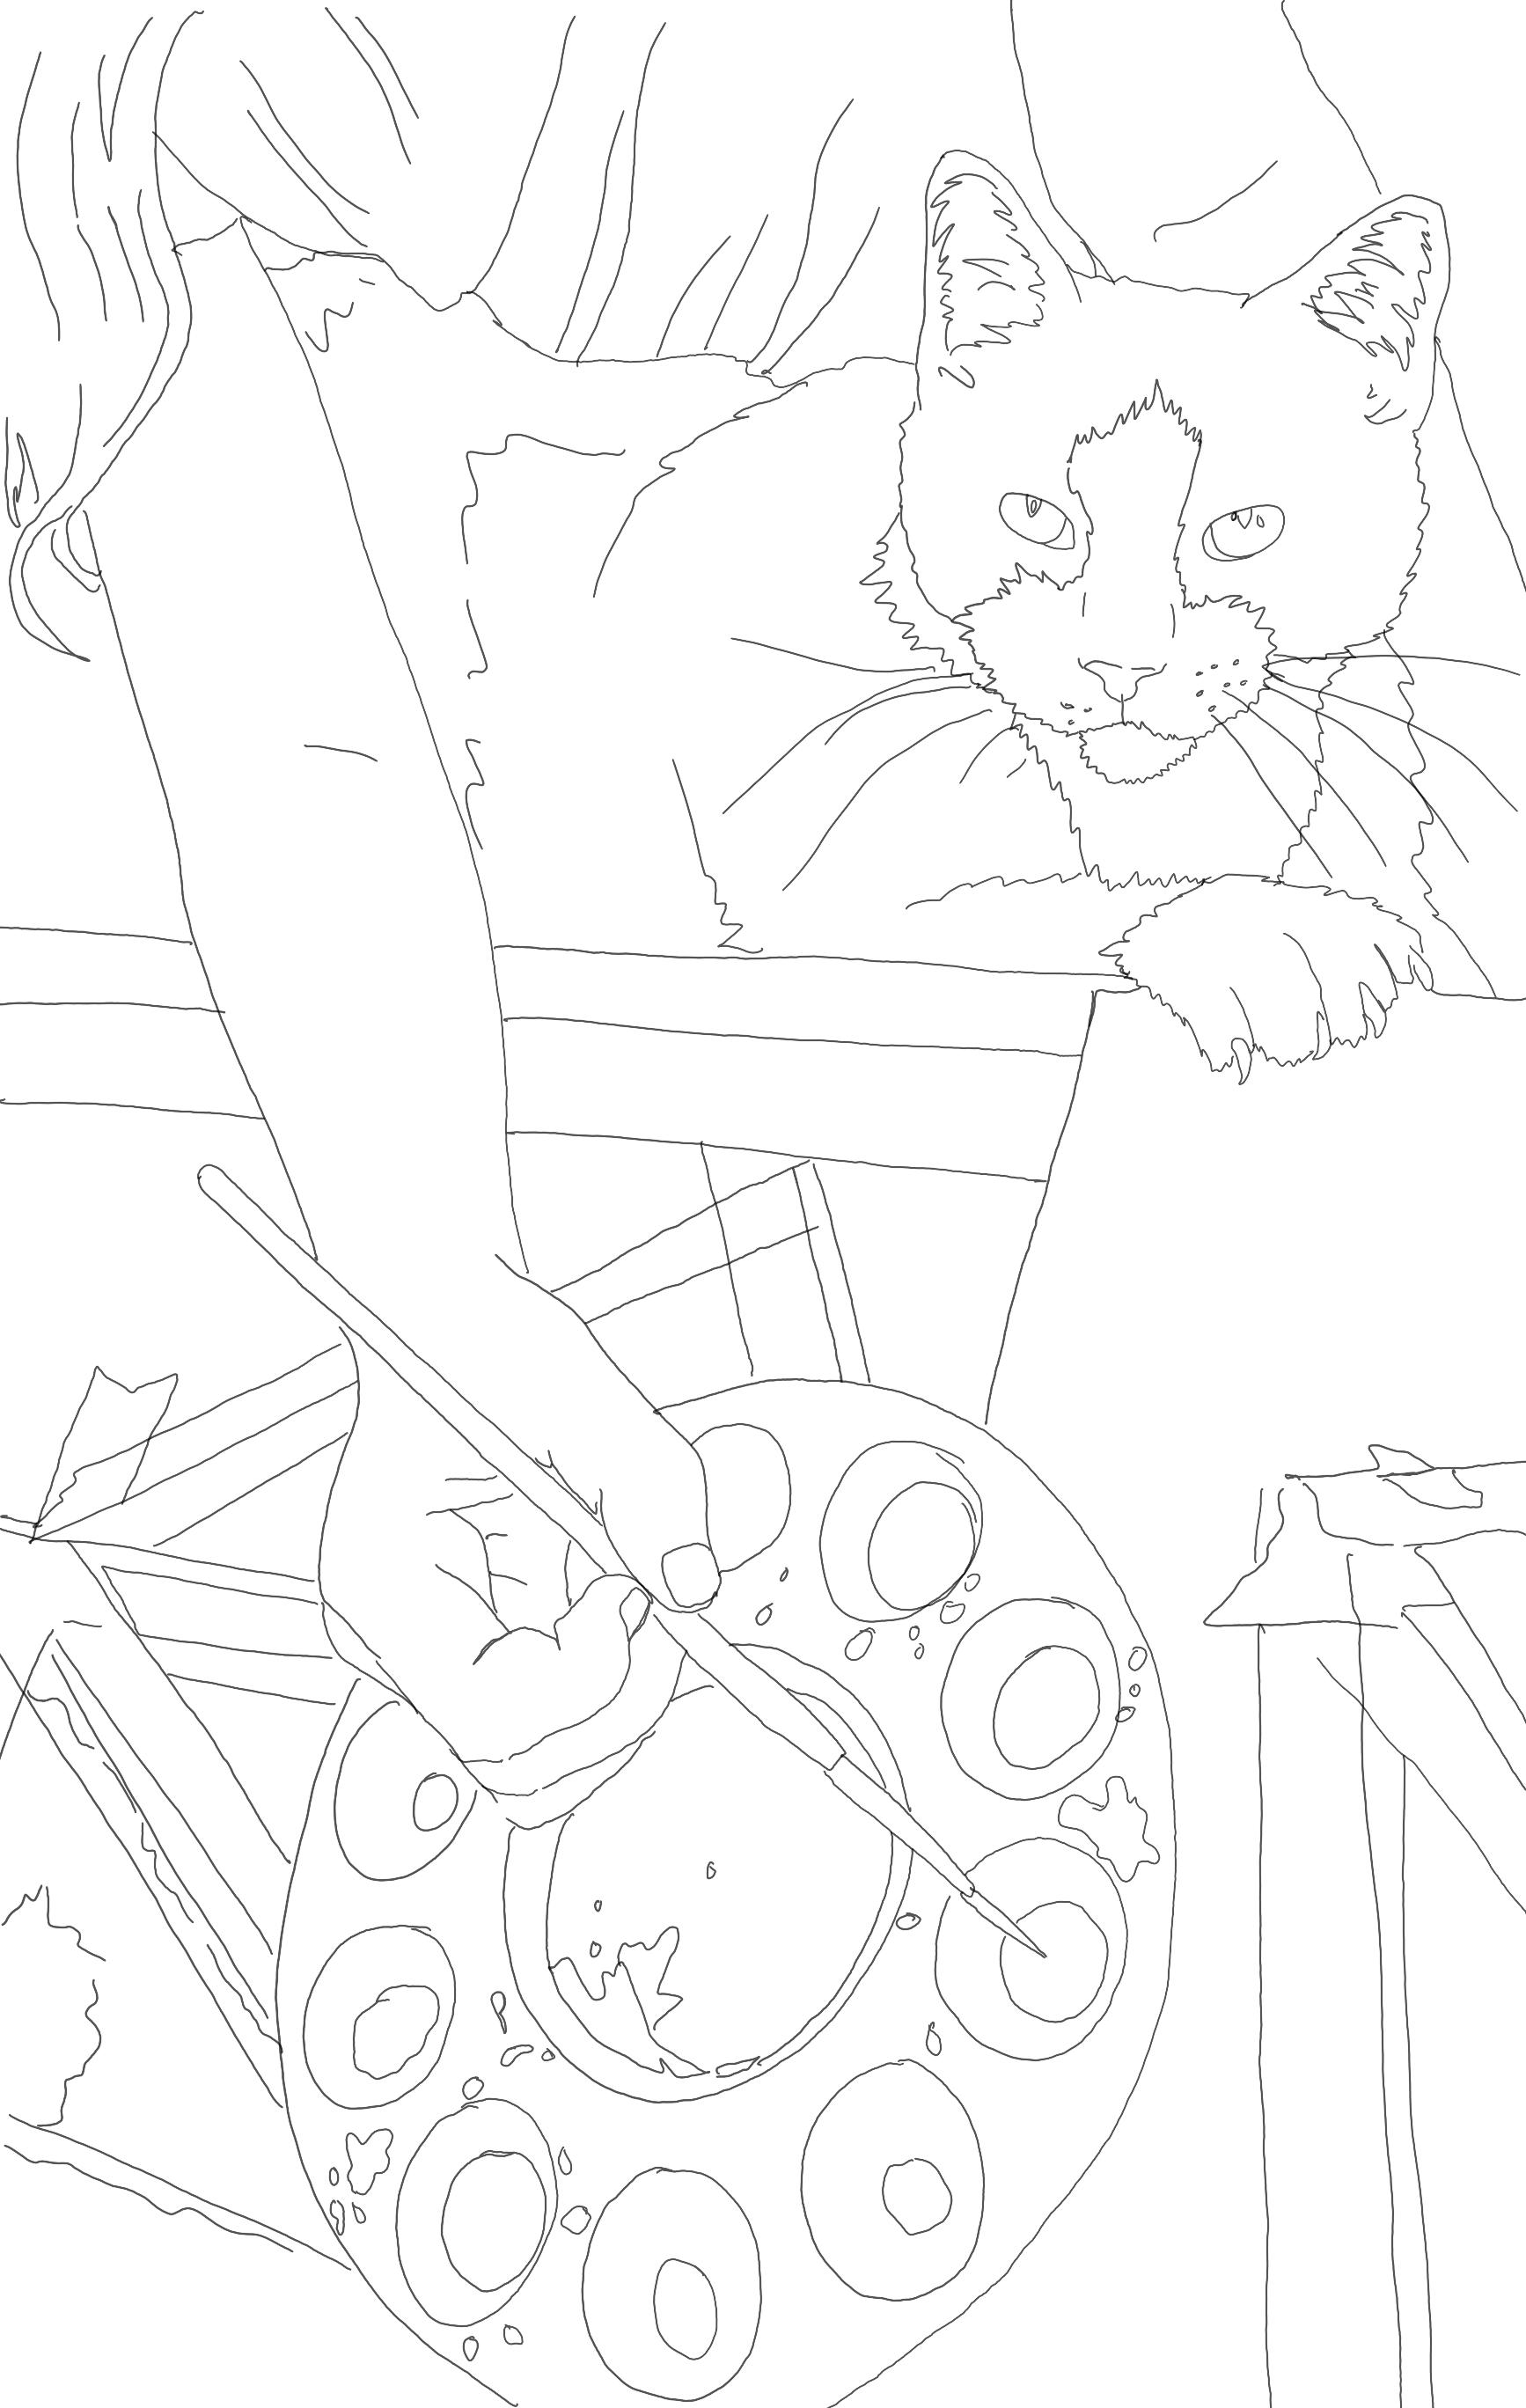
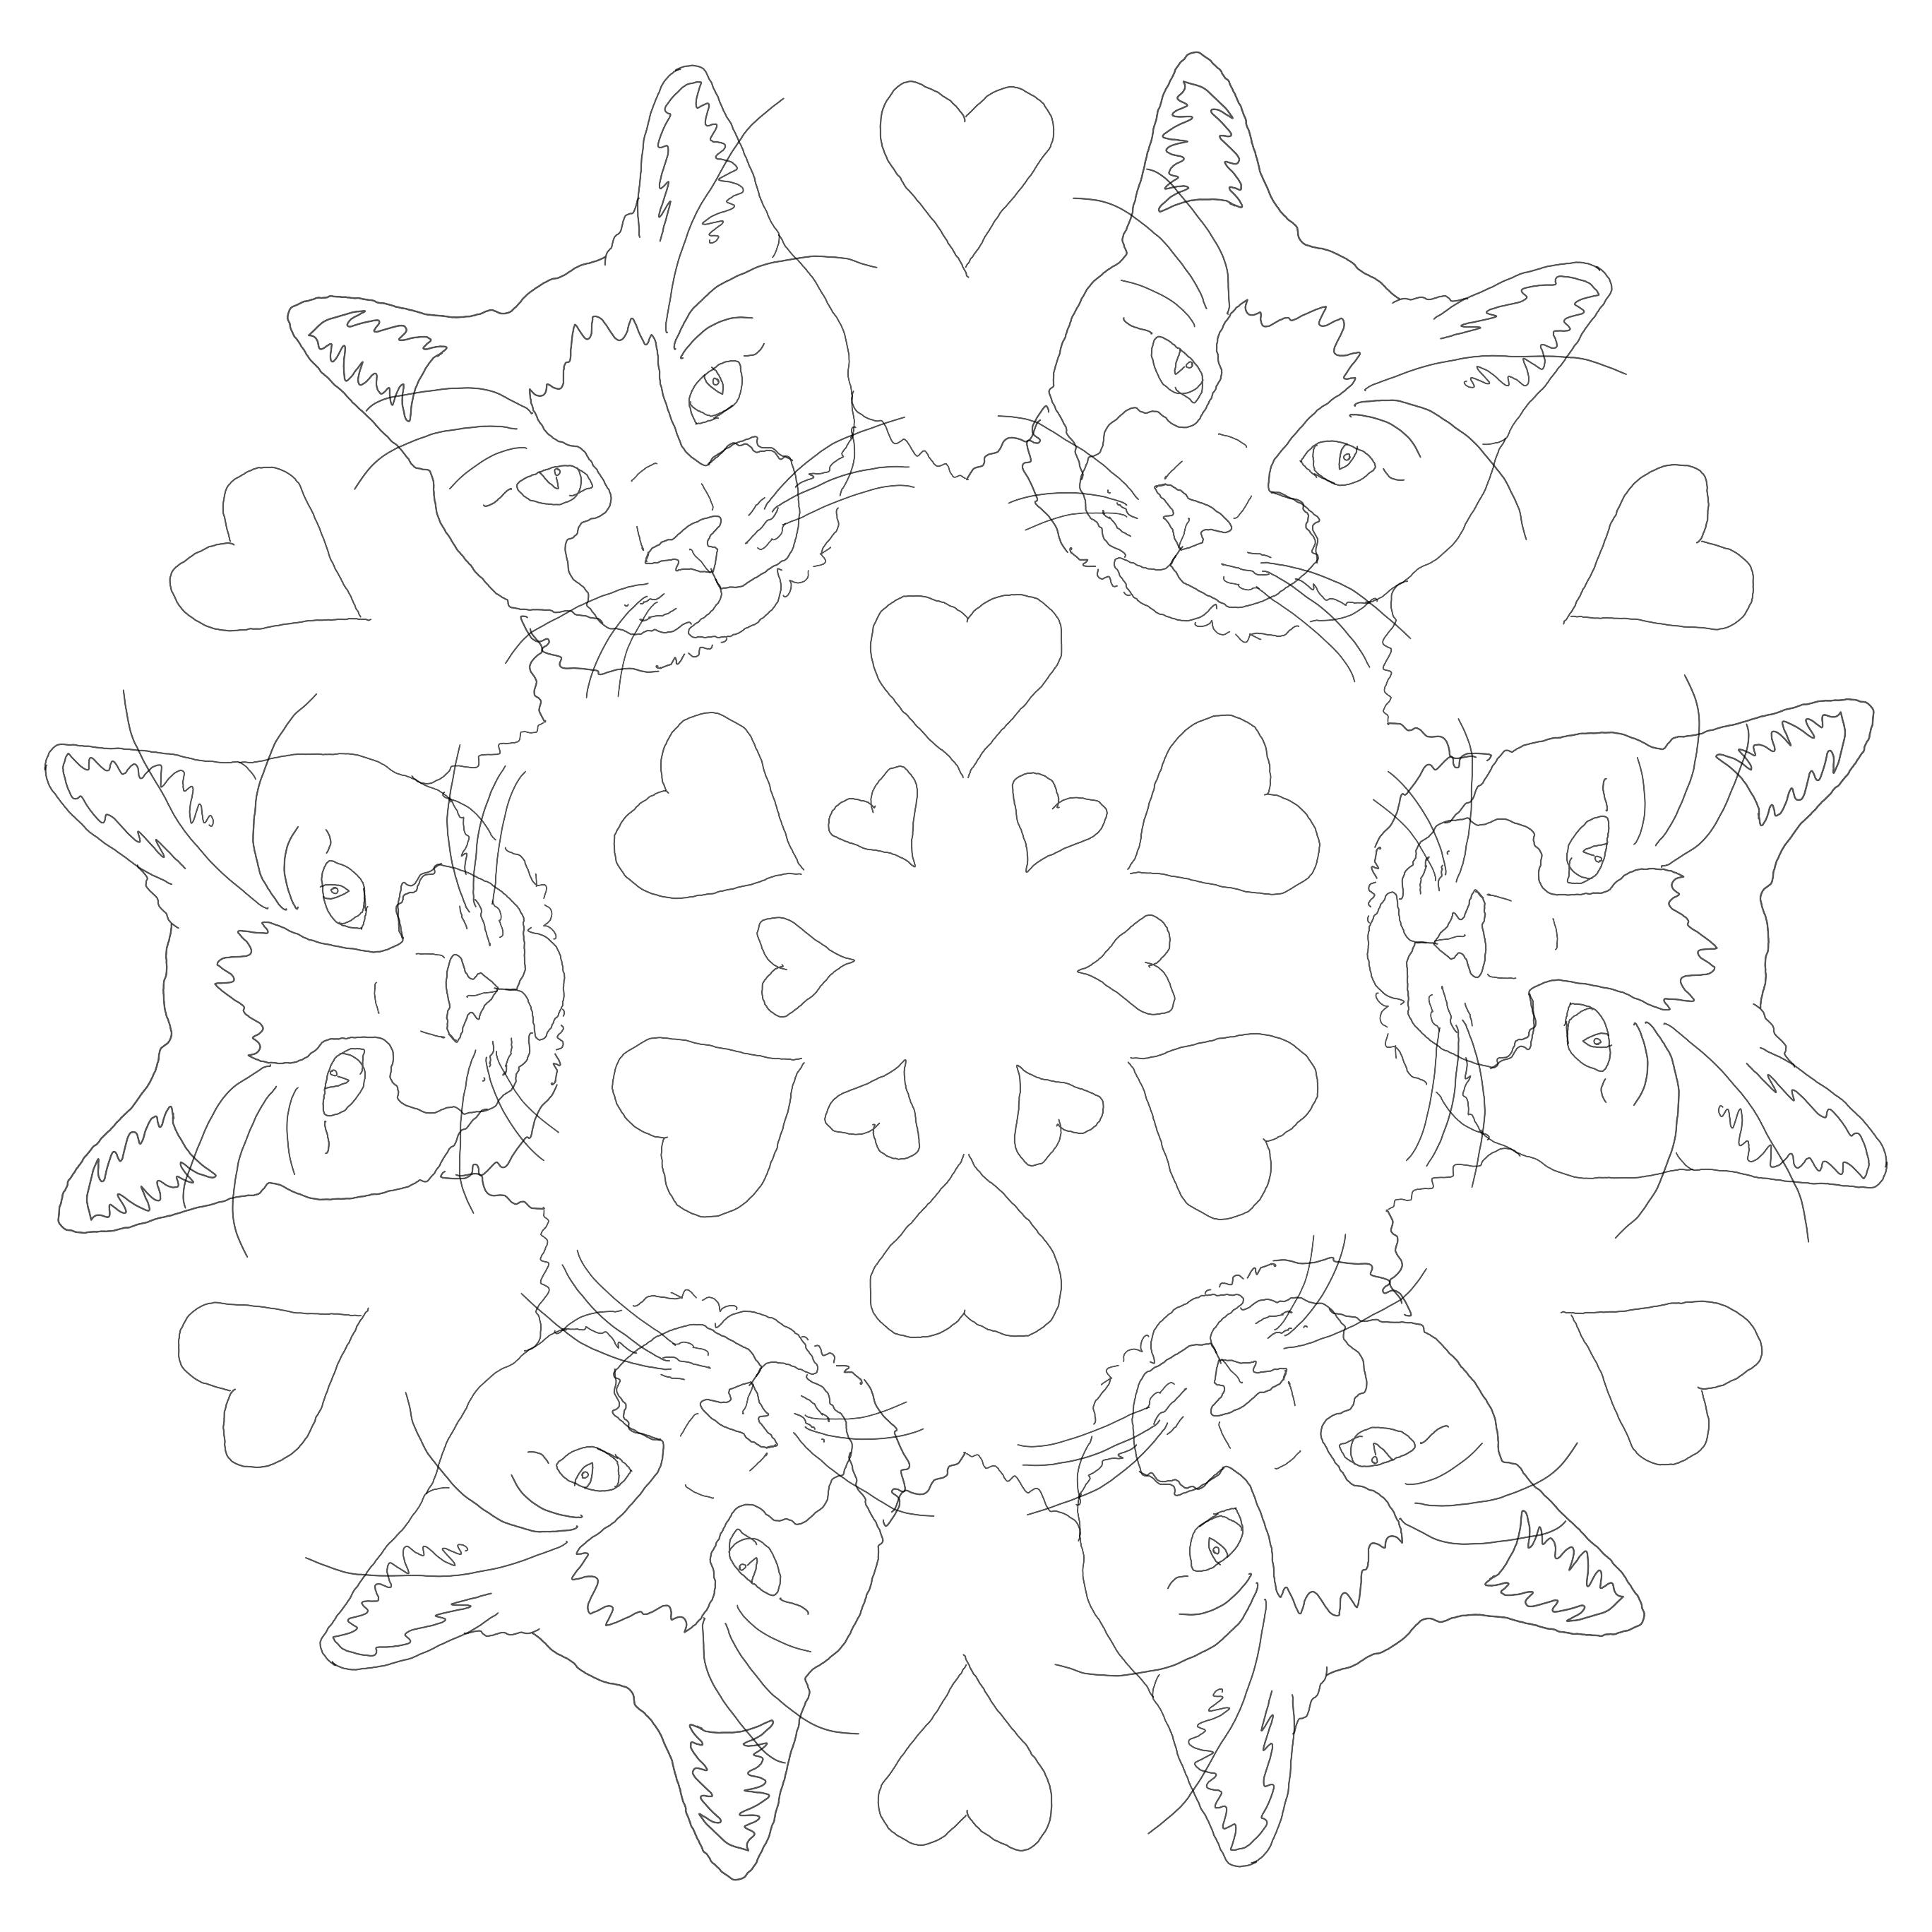
The fall schedule of classes is now available here! Tux, the art room kitty, is excited to get back to having some classes in the art room and being able to “help” out on some art projects! In celebration, enjoy some Tux coloring pages! Pages are downloadable below!

You can download all these pages below! Be sure to send me a photo of your colored in pages – I’ll add them to Tux’s fan art page! 🙂 Also check out more info on Tux here!

Art, Art activities, DIY, Drawing, Make, Create, & Share!, Painting

Sand Dollar Painting!

Follow along to paint your own sand dollar in acrylics! You can download the template for the sand dollar outline below or draw your own!

What you need:

  • Canvas (I used an 8″x8″ stretched canvas)
  • Acrylic Paints – I used Apple Barrel craft paints in Bright Blue, Teal, White, & Black
  • Paint brushes
  • Sand dollar template (unless you’re drawing your own) & Pencil
  • Paper towels

Step one: Draw your sand dollar on your canvas or download the outline below – cut and trace onto your canvas or use transfer paper.

Step two: Mix together a little black paint with some blue paint to create a dark blue and fill your background and inside details with it!

Step three: Pain the white portion of your sand dollar with teal paint. Then double dip your brush into the teal and dark blue and add a layer onto your background – it’s okay to see brush strokes and areas of different colors! Don’t wash your brush – we need it for the next step!

Step four: Using the same brush in the previous step, without washing out the dark blue/teal paint, paint your sand dollar with white paint (if you have a lot of dark blue or teal paint left on your brush make sure to wipe some off before applying the white). By using the same brush some of the dark blue & teal paint will come through on your sand dollar – creating a more realistic texture and a painterly style! Once your layer of white is dry you can add more white to brighten some areas if needed!

Have fun with easy sand dollar paintings! Try creating them in different colors or multiple sand dollars on one canvas! 🙂

Art, Drawing, Make, Create, & Share!

A Few Of My Favorite Things: Paper

A look at some of my favorite mediums, brands, and supplies.

The surface on which you create your art is just as important as your mediums! There’s like a million papers to choose from – Also I may have realized I have a small paper collection while taking photo for this 😉 There are many different papers to use for all sorts of mediums, but these are a few of my favorite papers!

Bristol paper: Bristol paper is a thick card stock like paper, it comes in Smooth or Vellum surfaces. I use both depending on what I’m drawing! I use this paper for several mediums too, including, pen, marker, graphite & charcoal. The vellum surface has a little more tooth to it and takes more layers than the smooth. We use this paper a lot in classes!

The first two pieces were creates with mixed media (watercolor, colored pencil & pen) on bristol smooth & vellum. Then graphite and charcoal both completed on bristol smooth.

Watercolor paper: When I was first introduced to watercolors they weren’t my favorite medium….then I was introduced to Arches watercolor papers and watercolors quickly became one of more favorite mediums – all because of the surface. Arches is super expensive but totally worth it! The paper holds up to washes, layering and lifting techniques like no other. It comes in hot press or Cold Press in multiple weights. I prefer 140lb in cold press for paintings like my Westside series and hot press for any paintings where I don’t want as much surface texture. As it is rather costly, when starting out with watercolors in classes and for making simple little hand made cards or quick paintings I always use Canson XL watercolor paper – it’s a great paper that holds up well with watercolors and we also often use it for color pencils & mixed media!

Watercolors completed on Arches cold press and hot press papers.

Stonehenge: Is one of my more recent discoveries. I’ve only used it with color pencils and it’s amazing how many layers this paper can take and still have a pretty smooth surface texture!

Work in progress and completed work both on Stonehenge with colored pencil.

Pastel Paper: Pastels are one of my all time favorite mediums. I started off using Canson Mi-tenis papers and still use them on occasion (this is also the paper I use in classes), however, most of my pastel work is completed on PastelMat. It’s an amazing surface that has a velvety texture and takes layers upon layers of pastels. It also holds the pastel well and comes in various colors.

Soft pastels created on Mi-Tenis and PastelMat.

These are just a few of my favorite papers to work with my favorite mediums but there are so many to choose from – what are some of your favorite surfaces?

Art, Art activities, Craft, decorating, DIY, Make, Create, & Share!, paper art

Faux Stained Glass

This is an easy method to create a stained glass like piece of art! Stained glass artwork can be dated back thousands of years. Most traditional stained glass is created from cut pieces of colored glass brought together to create panels for decorative windows. For this project we will be inspired by stained glass to create a fun piece you can display in your window!

What you need:

  • Picture frame (Mine is 8″x10″ and came from the dollar store)
  • Colored tissue paper
  • Black construction paper or black card stock
  • Mod Podge (I used matte)
  • Paint brush
  • Scissors
  • Pencil
  • Stencil or template for your design

Step one: Cut out your design out of your black paper! You can use stencils, create templates or use cookie cutters to trace!

Step two: Take the backing off of your picture frame and carefully remove the glass. Glue your cut out on the glass with Mod Podge – applying a layer in the glass and then over your cut out.

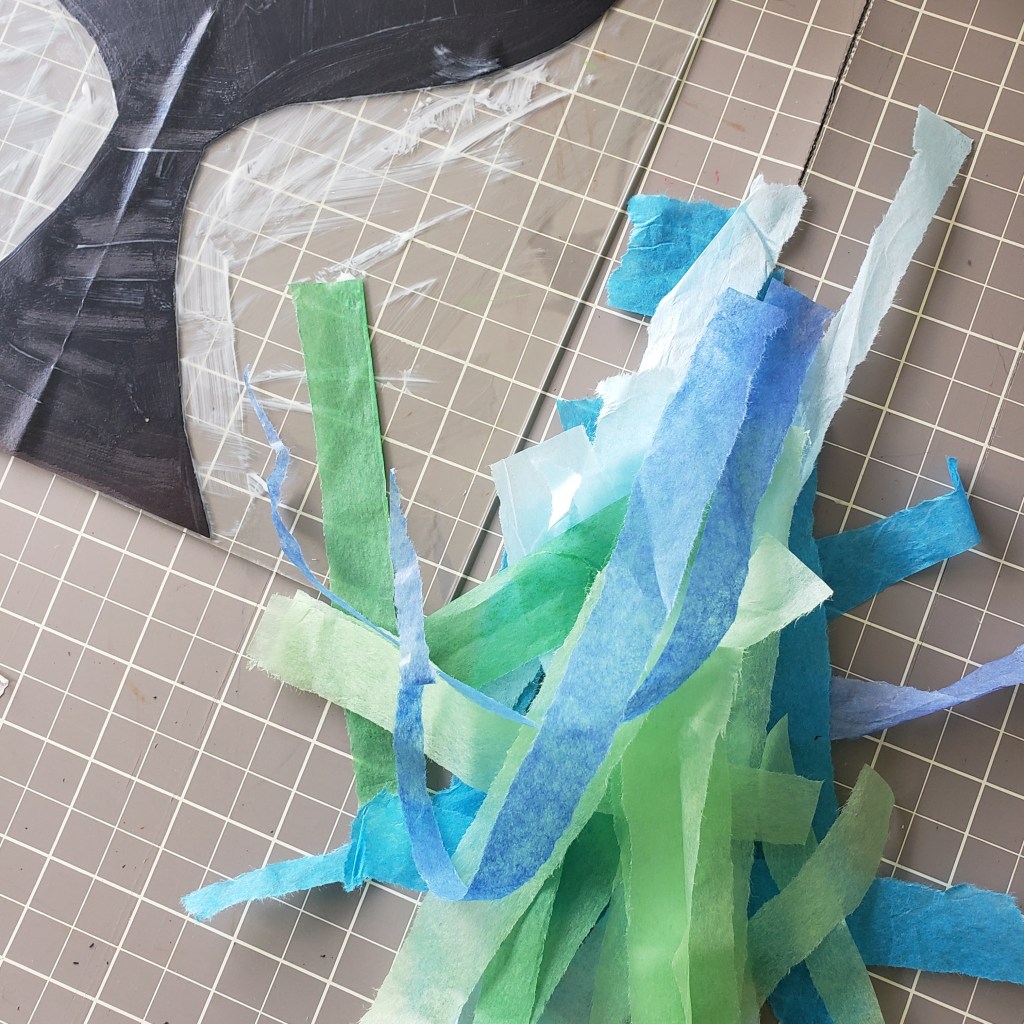
Step three: Tear your tissue paper into smaller pieces – I tore mine into strips but you can make them any shape and in various sizes!

Step four: Using the Mod Podge, begin to glue down your tissue paper on your glass. It’s okay if your tissue paper covers your cut out and goes off the edge of your glass. You can also overlap your tissue paper – just keep in mind by overlapping new colors will be seen when held up to the light! Also be sure to add layers of Mod Podge between any overlapping tissue paper.

Step five: Once you have all the tissue paper you’d like on your glass, apply a layer of Mod Podge over the whole thing and let it dry!

Step six: Flip your glass over and trim off any pieces of tissue paper that went over the edge.

Step seven: Place your glass back in the frame – don’t add any of the backing, we want it to be just the glass so the light can come through! If needed, you can use some E6000, Goop Glue, or hot glue, to secure your glass in your frame!

Step eight: Set your picture in a sunny window! You can also glue a ribbon to hang it from, or depending on your frame, add eye hooks to attach a ribbon, chain or string.

Art, Happenings, Make, Create, & Share!, student artwork

Student Spotlight! (July 2020)

Each month I will be spotlighting one of my students – past or present, and their artistic ventures! I work with students of all ages and abilities and you’ll get to learn a little bit about these amazing artists and their work!

Our July spotlight is on:

Haley Clark

My name is Haley Clark, and I just recently turned 16 years old. I started home schooling in 7th grade, and I absolutely love every minute of it. This upcoming school year I will be going into the 11th grade. I’ve always loved the arts because I feel that I really can express myself through dance, music and my art work. I’ve been dancing since I was 3, and I can definitely say that dance is my passion. This year I was even given the opportunity to teach dance to younger kids at my dance studio. My goal is to become a Radio City Rockette. I even danced with them this past fall at Radio City Music Hall in NYC. I have been taking art with Ms. Jenell for the past 3 years working on various types of mediums including textiles, painting & pottery. Growing up, my dad was always amazing at art. I think somewhere along the road, I wanted to try my hand at it. Being able to express myself through bright and uplifting pieces of art just inspires me even more to create. Being able to express myself through my art is something that is very special to me.


Title: Tarzan and Jane 
Medium: Acrylic paint
Description: “I’ve always enjoyed animated movies and Tarzan is one of my favorites. I decided to use my love for art to paint one of my favorite scenes from the movie. I not only wanted to recreate the characters themselves, but the mystery of the setting behind them.”

What are your favorite subjects for your artwork? “I absolutely LOVE to paint Marvel movie characters and Disney characters and animals etc.”


When you’re making your art do you like to listen to music? “I always listen to music while painting! It really inspires me to be creative. My favorite group is Maroon 5.”

Title: The Antique Keys
Medium: Pastels
Description: “My goal for this piece was to make the keys look as antiqued as possible. I wanted to recreate an aged effect. Using pastels, I feel that I was able to achieve this visual effect.”


How long does it take you to complete your artwork? “The time it takes to complete a piece of art really depends on the piece itself. The painting I have been working on and completing at home usually take 2 to 3 hours.”


Do you enter your art in any shows or contests? “I have entered my art in several contests and/or shows with Ms. Jenell. Some of the shows have been in Chincoteague VA as well as at the Ward Museum in Salisbury.”

Title: Sunflower
Medium: Acrylic paint and textiles
Description: “Using wire and fabric, I was able to turn a normal acrylic painting of sunflowers into an eye catching 3D piece. To the best of my ability, I created a 3D sunflower that was as similar to my painted sunflowers as possible. My mom loves flowers, so I guess you can say she was my inspirations for this piece.”


Is there a certain type of art you would like to try in the future? “I would love to experiment more with various textiles.”

Haley’s upbeat and fun loving nature comes through in her artwork – bringing a sense of joy to the viewer! She has an openness in trying new mediums and techniques. This, along with her positivity & natural ability, cause her to be successful in artistic endeavors. She also has a unique knack for sharing and encouraging these abilities in others, creating inspiration as she follows her passions!