Check out some of our current projects happening in the art room and how they’re made!
We were finally able to start back with some classes in September!! Check out our first month of class projects! We are still in the midst of finishing up a few of the projects but be on the lookout for instructions to create some of the projects at home!
Radial Mandala designs! Students created a four fold radial design of their choosing by designing 1/4 of their design and then repeating it to complete their full radial designs. They outlined their designs on glass with Gallery Glass black out-liner and are working on adding colored glass paints!
Abstract Wall Hangings! Students created non objective abstract art on 3 fabric panels with Pantel fabric crayons, Tee Juice fabric markers, and Sharpies. They then sewed their fabric together to create one large panel. Our next step is to add a dowel to hang their panel from and adorn them with a few finishing details!
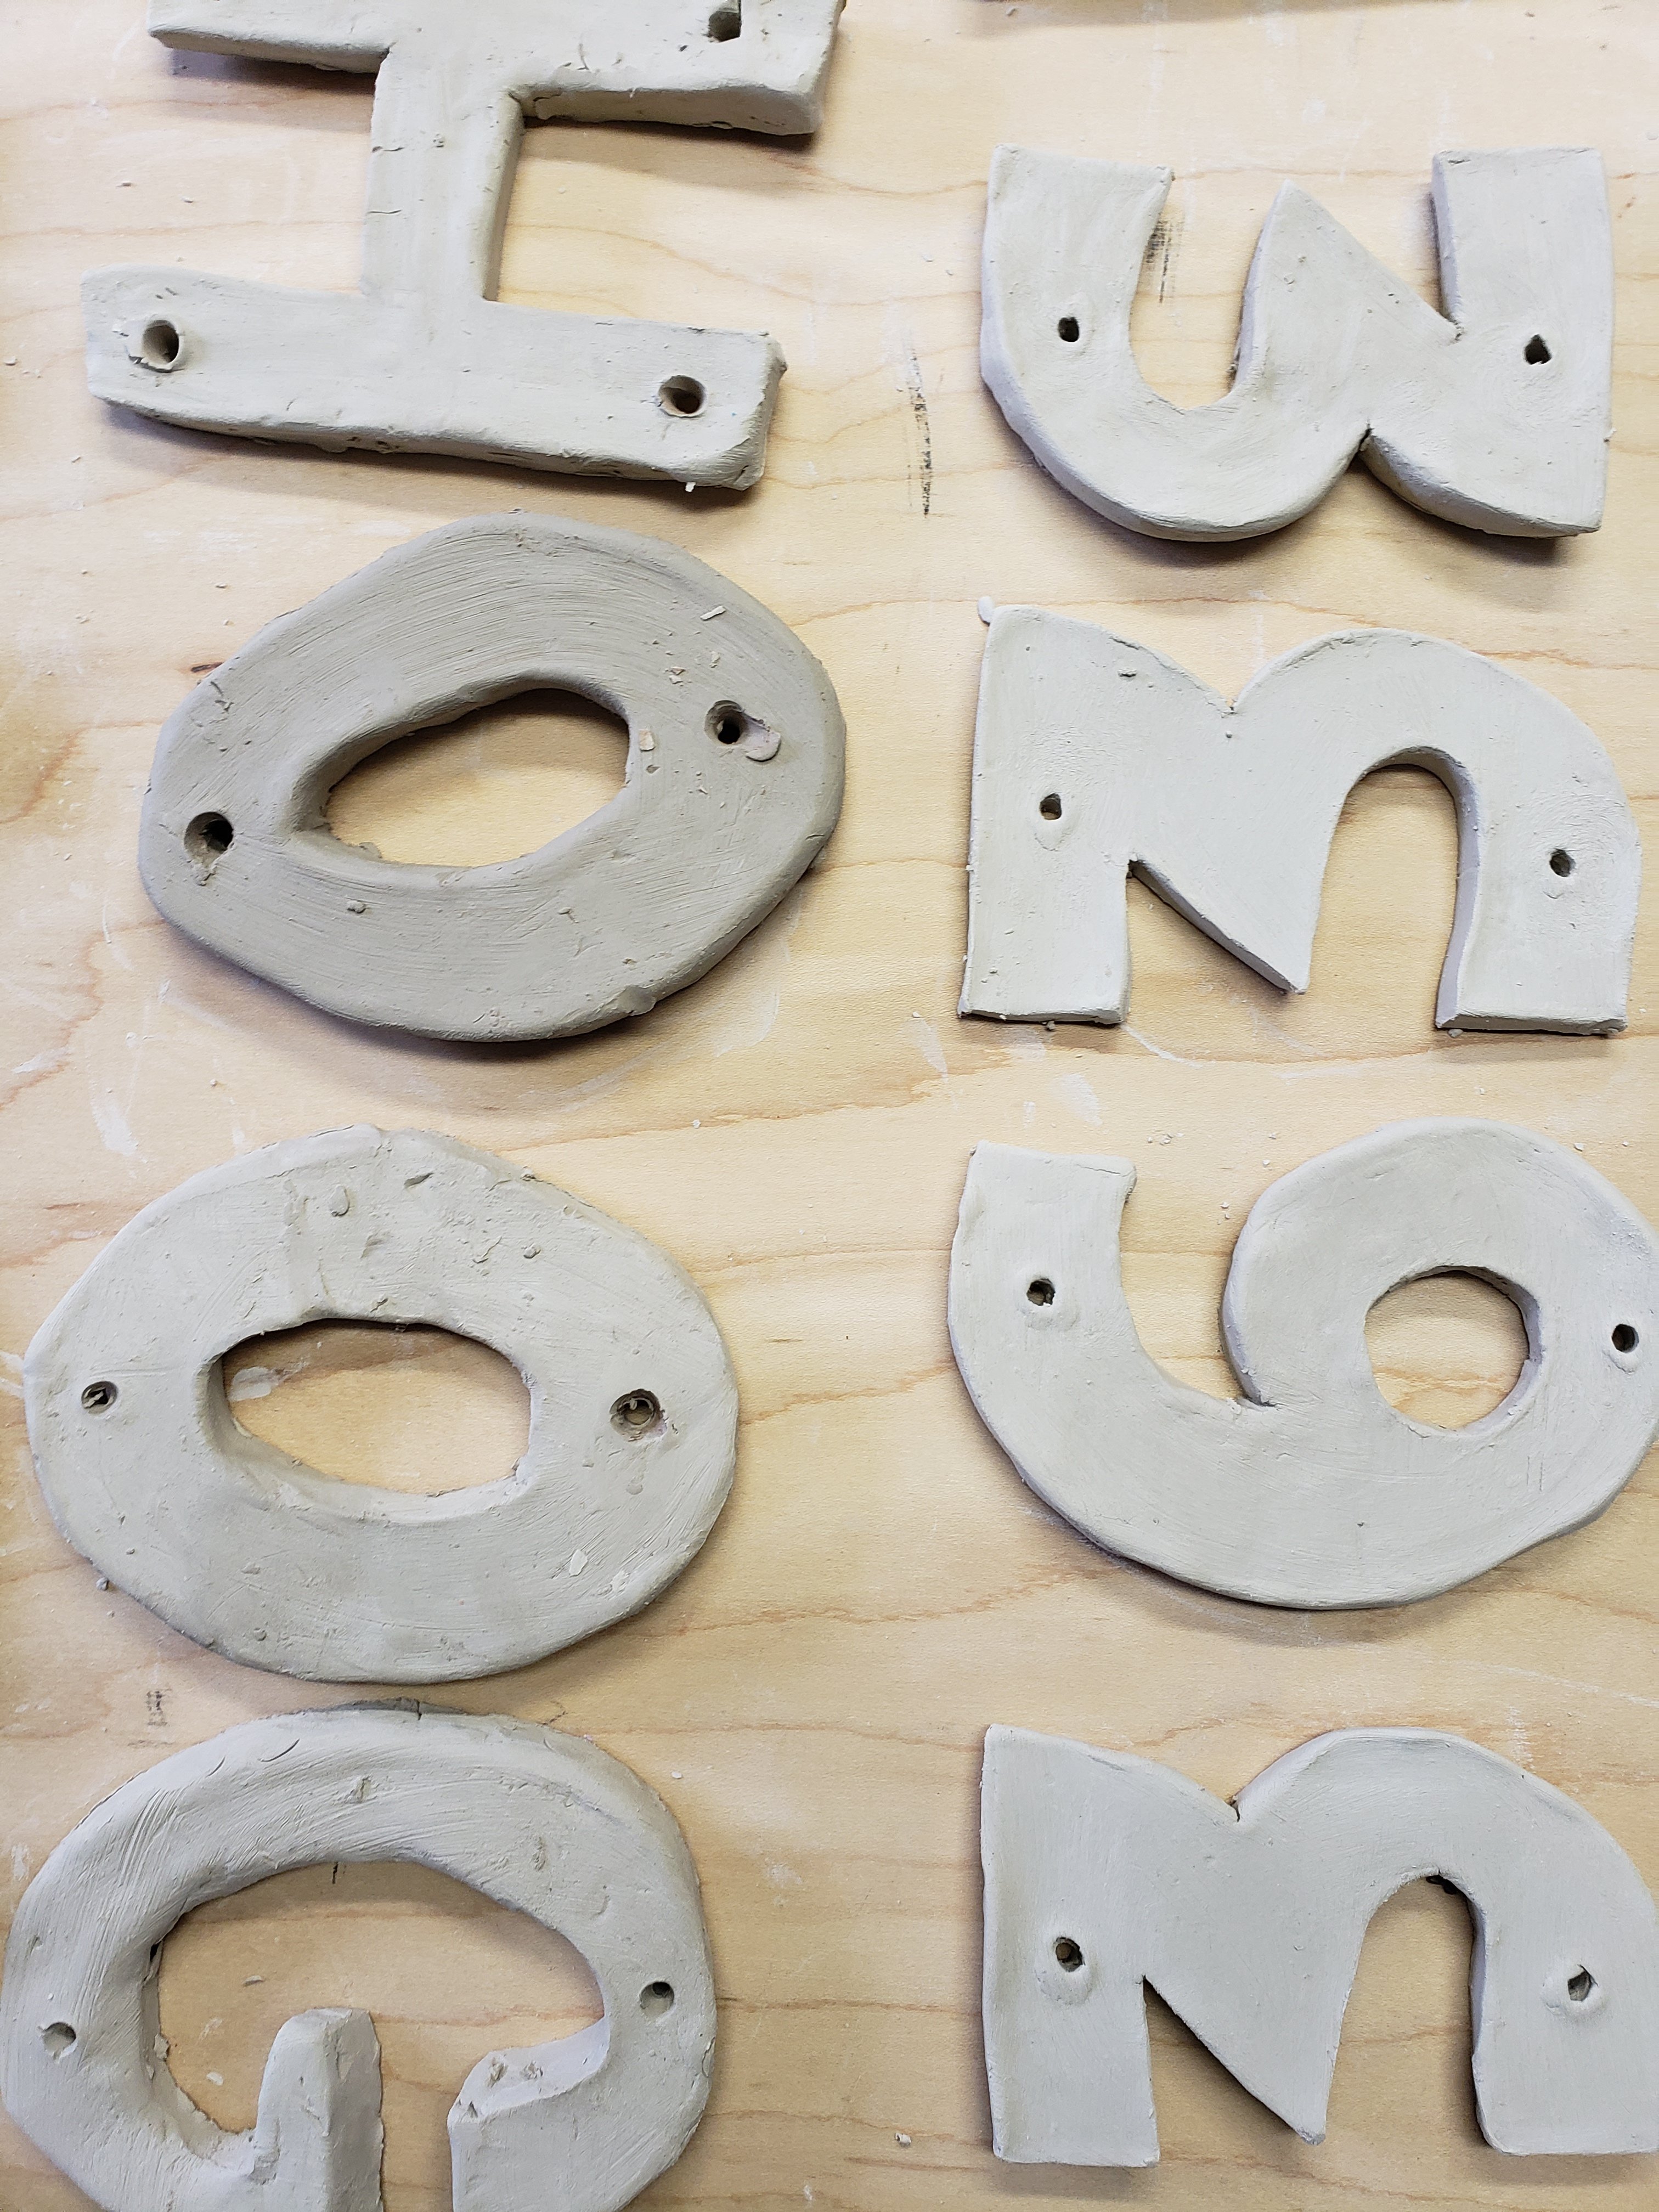
Ceramic Letters & Numbers! Students are in the process of creating a wall hanging with ceramic lettering and numbers! We’ll be glazing and attaching them to wooden boards to hang and display their works!
Embossed Metal Zentangles! Students learned about Zentangles and how to create their own inspired versions. They then created a Zentangle on foil by embossing their design into the surface! They used Sharpies to color their metal and then glued them to a piece of poster board! Check out instructions for creating your own inspired Zentangle here!
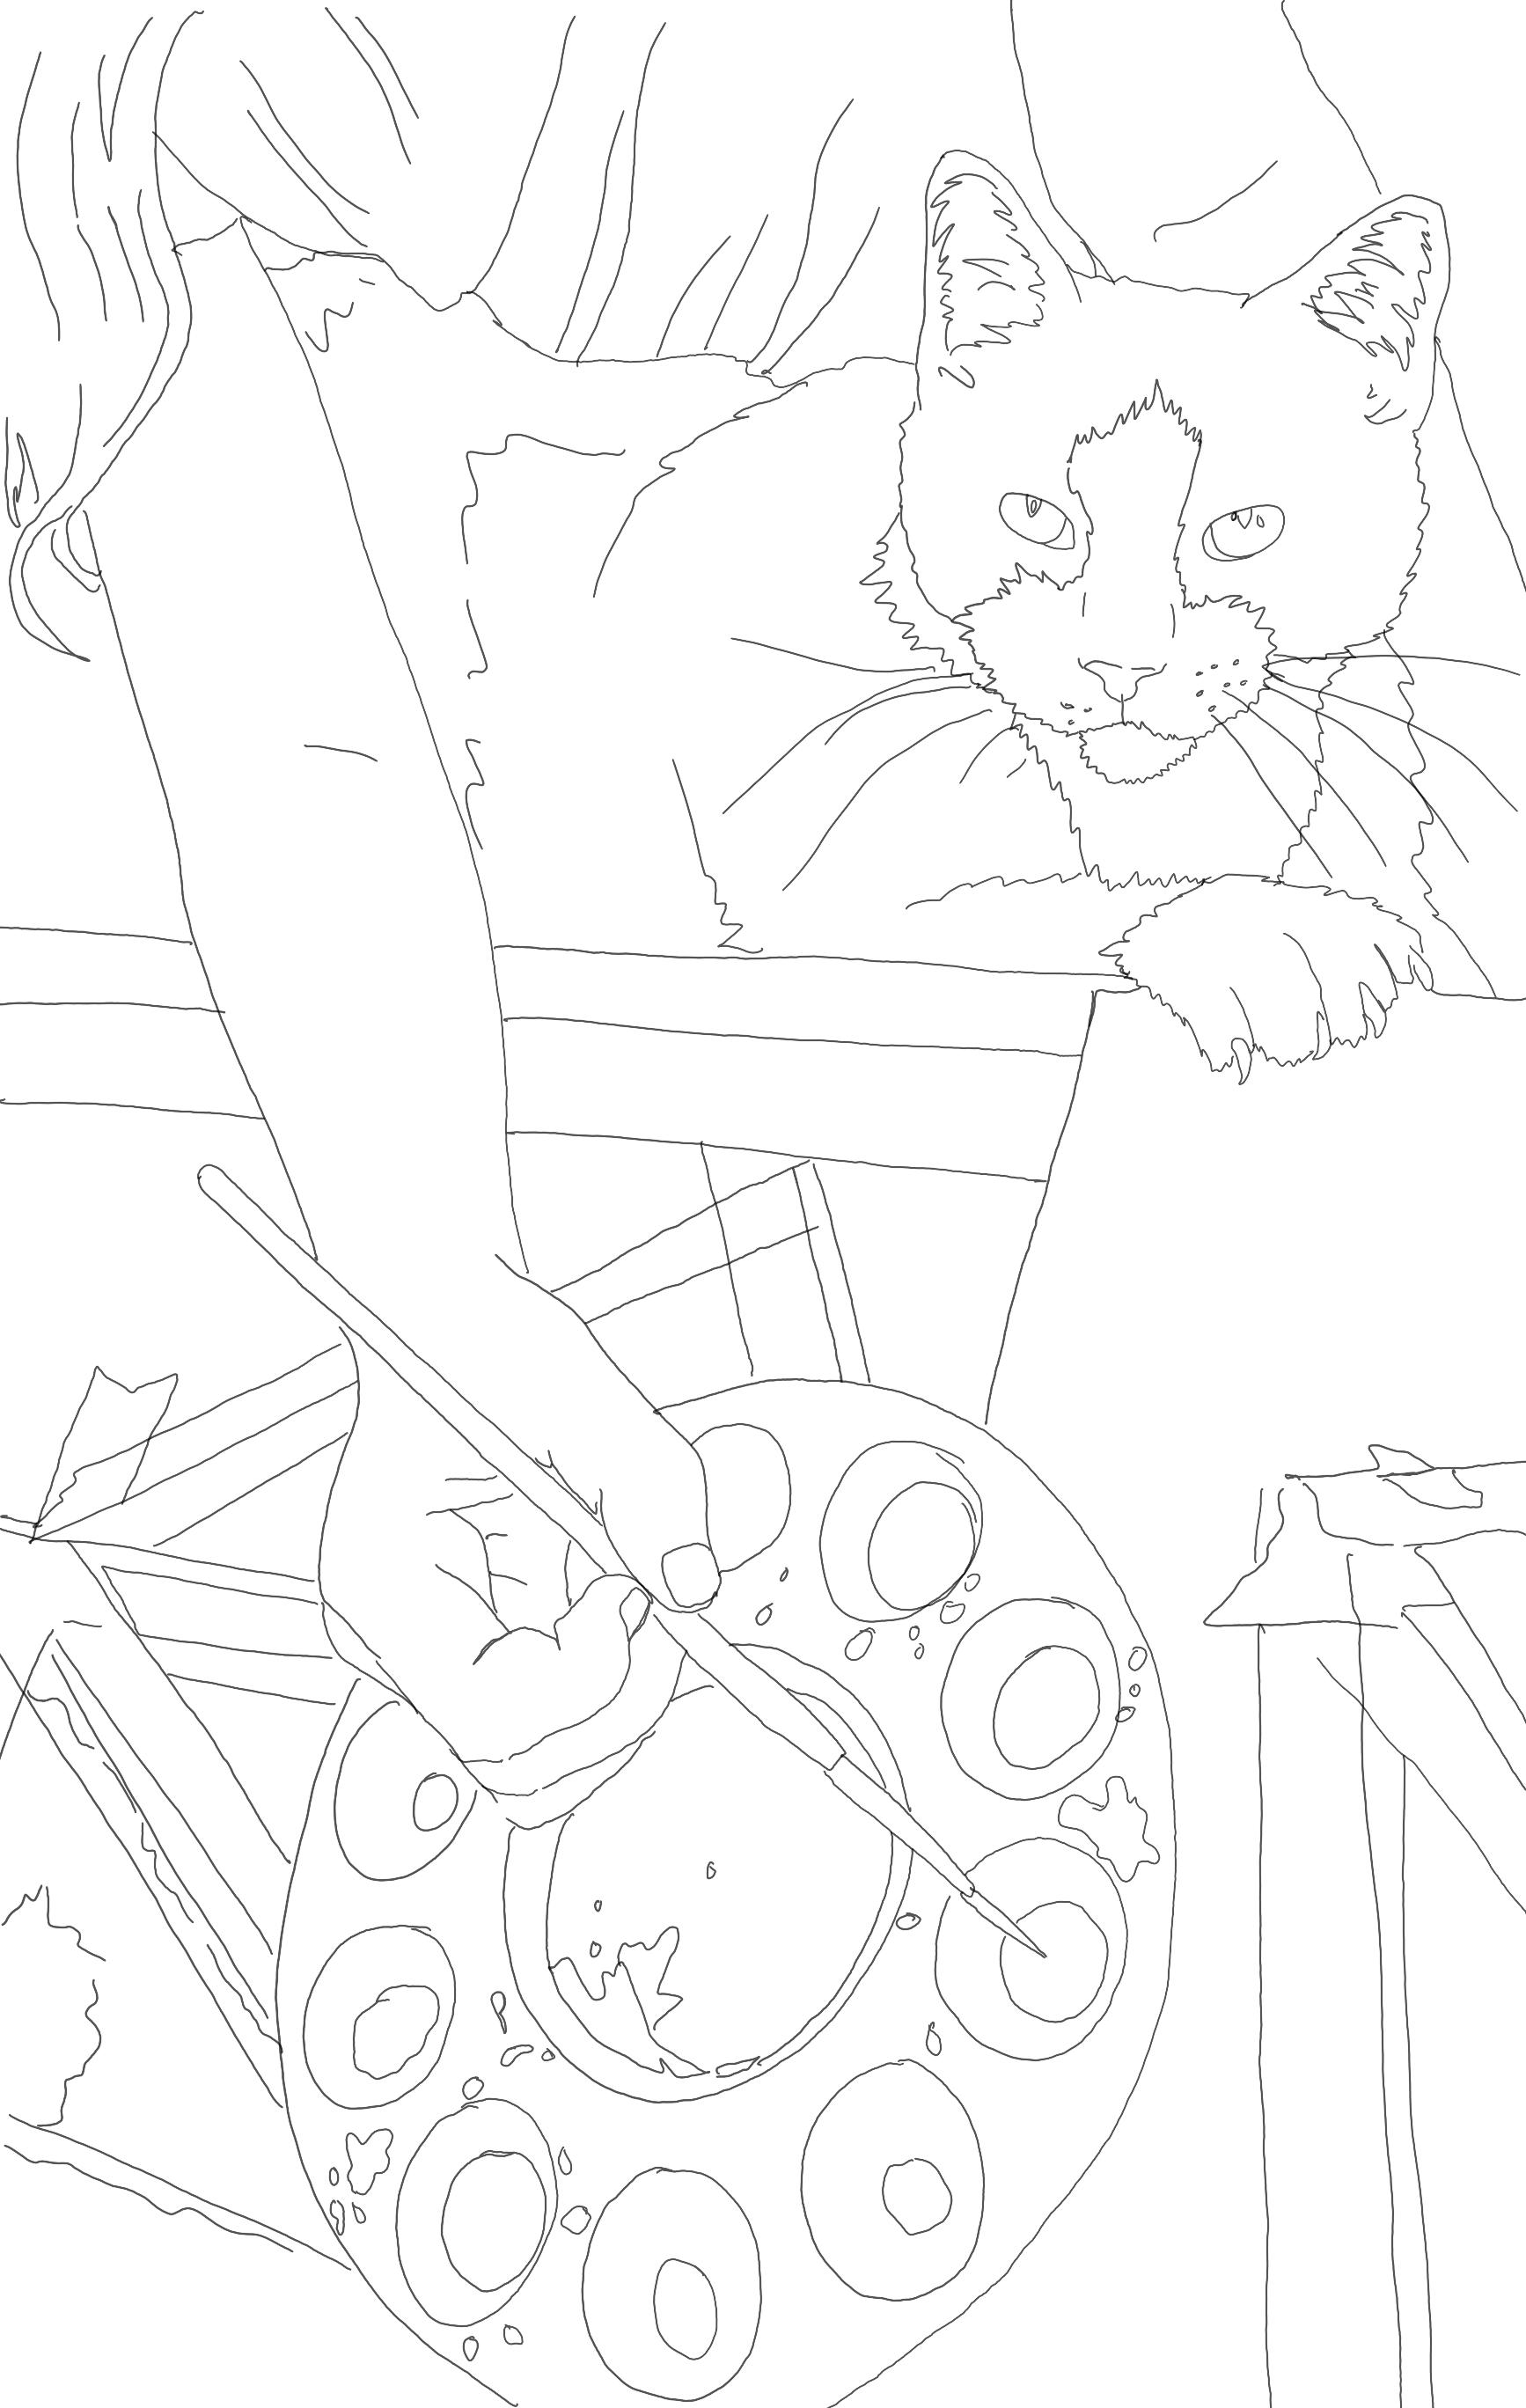
Tux has been so excited for classes to start this past month! Check out some of the cool coloring pages by students! Grab your crayons and colored pencils and download your own Tux coloring pages here!
Each month I will be spotlighting one of my students – past or present, and their artistic ventures! I work with students of all ages and abilities and you’ll get to learn a little bit about these amazing artists and their work!
Our September spotlight is on:
Liam St.Pierre
My name is Liam St. Pierre and I will be 11 in September. I am homeschooled and am entering 6th grade. I live in the woods with my 2 golden retrievers, my sister’s cat, and our chickens and ducks. I love living in the woods, because there is just my family and me and we can go exploring. I enjoy swimming, fencing, art, playing video games, going to the beach and swimming in the ocean with my friends and eating tacos and burgers
Five Keys
Pastels
“I started taking art lessons with Miss Jenell about 6 years ago, because my big brothers were already taking lessons and I thought it was interesting. I remember one of my earliest art projects was making origami frogs that actually hopped! When I get an assignment, I use my imagination and a picture of what I want to make just pops into my mind! Then, I just start creating it.”
The “L” Bot
Acrylic
“This is probably one of the pieces I like the most. I like it because it looks like the robot is actually standing up.”
“My favorite mediums are colored pencils and pens, but I also like acrylic paint, and pastels. I have entered quite a few art shows with Miss Jenell’s help and it’s always fun to go and see my work on the wall! It usually takes about 8-10 hours to complete my projects.”
Sunset Leaf
Paints on an actual leaf
“This one was hard. I drew inspiration from magazine pictures and added the sunset and boat from my imagination. Painting on a dry leaf is very hard because it is so fragile.”
“I like a lot of forms of art, but I don’t really like abstract art because if I look at it, I always try to find something in the picture. I feel mad at myself if I can’t find something realistic!”
A Different Galaxy
Paper, paints, pastels, pencils
“It’s hard to see in the picture, but this piece is made of layers and layers of frames so that you can reach your hand into the middle of the galaxy. It’s a 3D final product that I really think is cool.”
“My favorite color is blue- green… kind of like a mix of aqua and teal… more blue then green…. I’ll call it telaqua! In addition to visual art, I also have been playing the piano for about 4-5 years.”
Liam is imaginative and positive with his artwork and creations! He is always able to take an idea or project and add his own creative and unique twist to it. Putting forth his best efforts into his artwork, while still having fun, he creates happy pieces of art for viewers to enjoy! Nice job Liam! 🙂
Each month I will be spotlighting one of my students – past or present, and their artistic ventures! I work with students of all ages and abilities and you’ll get to learn a little bit about these amazing artists and their work!
Our August spotlight is on:
Ella St. Pierre
My name is Ella St. Pierre. I am 8 and a half years old and I’m going into 4th grade. I like to paint on the easel in my room, talk to my friends, go to the beach, swim, and jump on my trampoline. I also like to play board games including chess and Connect 4 and I love to play with my cat. Besides, visual arts, I like to sing and dance… and sing while dancing! I also like culinary arts. When I grow up, I want to be a surf instructor and a YouTuber.
“Party of two”, Acrylic Paint
The robot was having a party at night and no one came. He got sad, but remembered that God was at the party. This is a reminder that you can have fun even by yourself. Sometimes I look at this photo and think about the fact your never alone but with God.
How long have you been taking art lessons? “I have been taking lessons for 4 or 5 years. I started taking art lessons because my mom signed me up! But I am really glad she did. It’s really fun.”
Who or what inspires you to make your artwork? “I look around and get inspired by things I see or things that pop into my head.”
“Meteor Shower”, Remnant of my old lipstick
What are your favorite mediums or subjects for your artwork? “Pencil…. not colored pencils, but pencils, are my favorite medium. I also like puffy paint and I like to draw or paint with unusual items, like old lipstick or makeup.”
Is there a certain style, or type, of art that you’d like to someday try? “Someday, I’d like to try sculpting with clay or throwing pottery.”
“Night Sky’s”, Paint
What is your favorite color? “My favorite color is pastel yellow and pastel green.”
Is there an aspect of art you don’t like and why? “I don’t like pastels because my pastel projects end up messy. I also don’t like colored pencil because of its texture and the detail.”
“Ocean Waters”, Stamp-making
Why do you think art is important? – Why is it important for you? “The arts are fun! They are fun to learn and when I mess up, I laugh at it.”
Ella is creative and imaginative in her artwork! I’m always excited to see what she comes up with next – whether it’s her unique use of mediums, or the originality of the scenes, characters and subjects she creates within her artwork! Keep up with all the awesome artwork Ella! 🙂
Turn some of those beach treasures into a lovely trinket dish! These make great personalized gifts too!
What you need:
Clean shells – larger, smoother shells are easiest to start with!
Mod Podge – I used gloss
Paint brushes
Decorative tissue papers, or thin papers (like origami paper).
Scissors
Acrylic paints in desired colors
Metallic paints – I used Lumiere by Jacquard
Step one: Gather and clean your shells – ones that have larger, flat/smooth insides will be easiest to start with!
Step two: Find printed tissue papers, pieces of maps, origami papers, or any other thin paper to decoupage your shells with
Step three: If using tissue papers to decoupage your shell with, first paint the inside surface of your shell with acrylic paint. I used white, as my tissue paper was white with printed blue designs – this way the white parts of the tissue looks like it disappears in the back ground of my shell. You may need to apply more than one layer of paint to cover your shell with – if this is the case, let your paint dry between layers.
Step four: Cut your papers for your shells – if using tissue papers that match with the background of your shell, you don’t have to be too careful in cutting out the design precisely. If using papers that will completely cover the inside of your shell, cut it quite a bit larger than your shell!
Step five: If using tissue paper – Add Mod Podge to the inside of your shell and place your tissue paper on top
Step six: If using other papers – brush a layer of mod podge in your shell and on the back of your paper, then place in your shell
Step seven: Gently brush a layer of mod podge on top of your tissue paper or if you’re using paper follow the steps below!
Step eight: If using paper, vs. tissue paper, use your fingers to firmly press your paper into your shell…..start from the center of your shell and work out
Step nine: Use a firm brush to add a layer of mod podge on top of your paper – use the brush to help push and smooth out the paper on the shell surface! Just be careful not to tear your paper as it can become fragile!
Step ten: Let your mod podge dry and trim off any extra paper – you may also need to add in extra mod podge around the cut edges if you have some areas that are not quite stuck! Don’t worry if your cut edge is not perfect – as long as it’s glued down well, the cut edge will get covered with the metallic paints!
Step eleven: Use your metallic paints to create a painted outline on your shells!
Have fun creating these simple trinket dishes! You could also drill a hole and make them an ornament or add other elements in them like other shells, personal photos, sea glass, etc.!
Brighten your garden with a colorful hand painted paver! Paint just one or paint many and create a fun path through your garden!
What you need:
Cement Paver – The ones I’m using are 12″x12″
Outdoor primer
Pencil
Acrylic paint – I used Apple Barrel Craft paints in Bright Blue, Bright Yellow, Bright Red, Black, & White. You can also use Patio Paints for longer lasting results!
Krylon indoor/outdoor, gloss sealer
Step one: Prime you paver – I used an outdoor primer, brushed it on & let it dry.
Step two: Draw your design onto your paver (you can also use stencils or templates).
Step three: Begin to paint your design! I like to start with my background and work forwards.
You may need to apply more than one layer of paint with certain colors – if this is the case let layers dry between new coats!
If you want to blend colors it’s easiest to do so while the paints are still wet – brush back and forth to help blend colors!
Create effects with your paint – like splatters for stars or texture by “flicking” your paint!
Fill in your foreground with base colors…
Add your details! Leave your stepping stone as is or add in some whimsy with additional lines, colors, & patterns!
Step four: Finish your stepping stone by sealing your paint with krylon indoor/outdoor gloss sealer!
Check out the video below for more ideas or join us for a stepping stone class to create your own!
Be sure to send along a picture of your finished stepping stone! 🙂
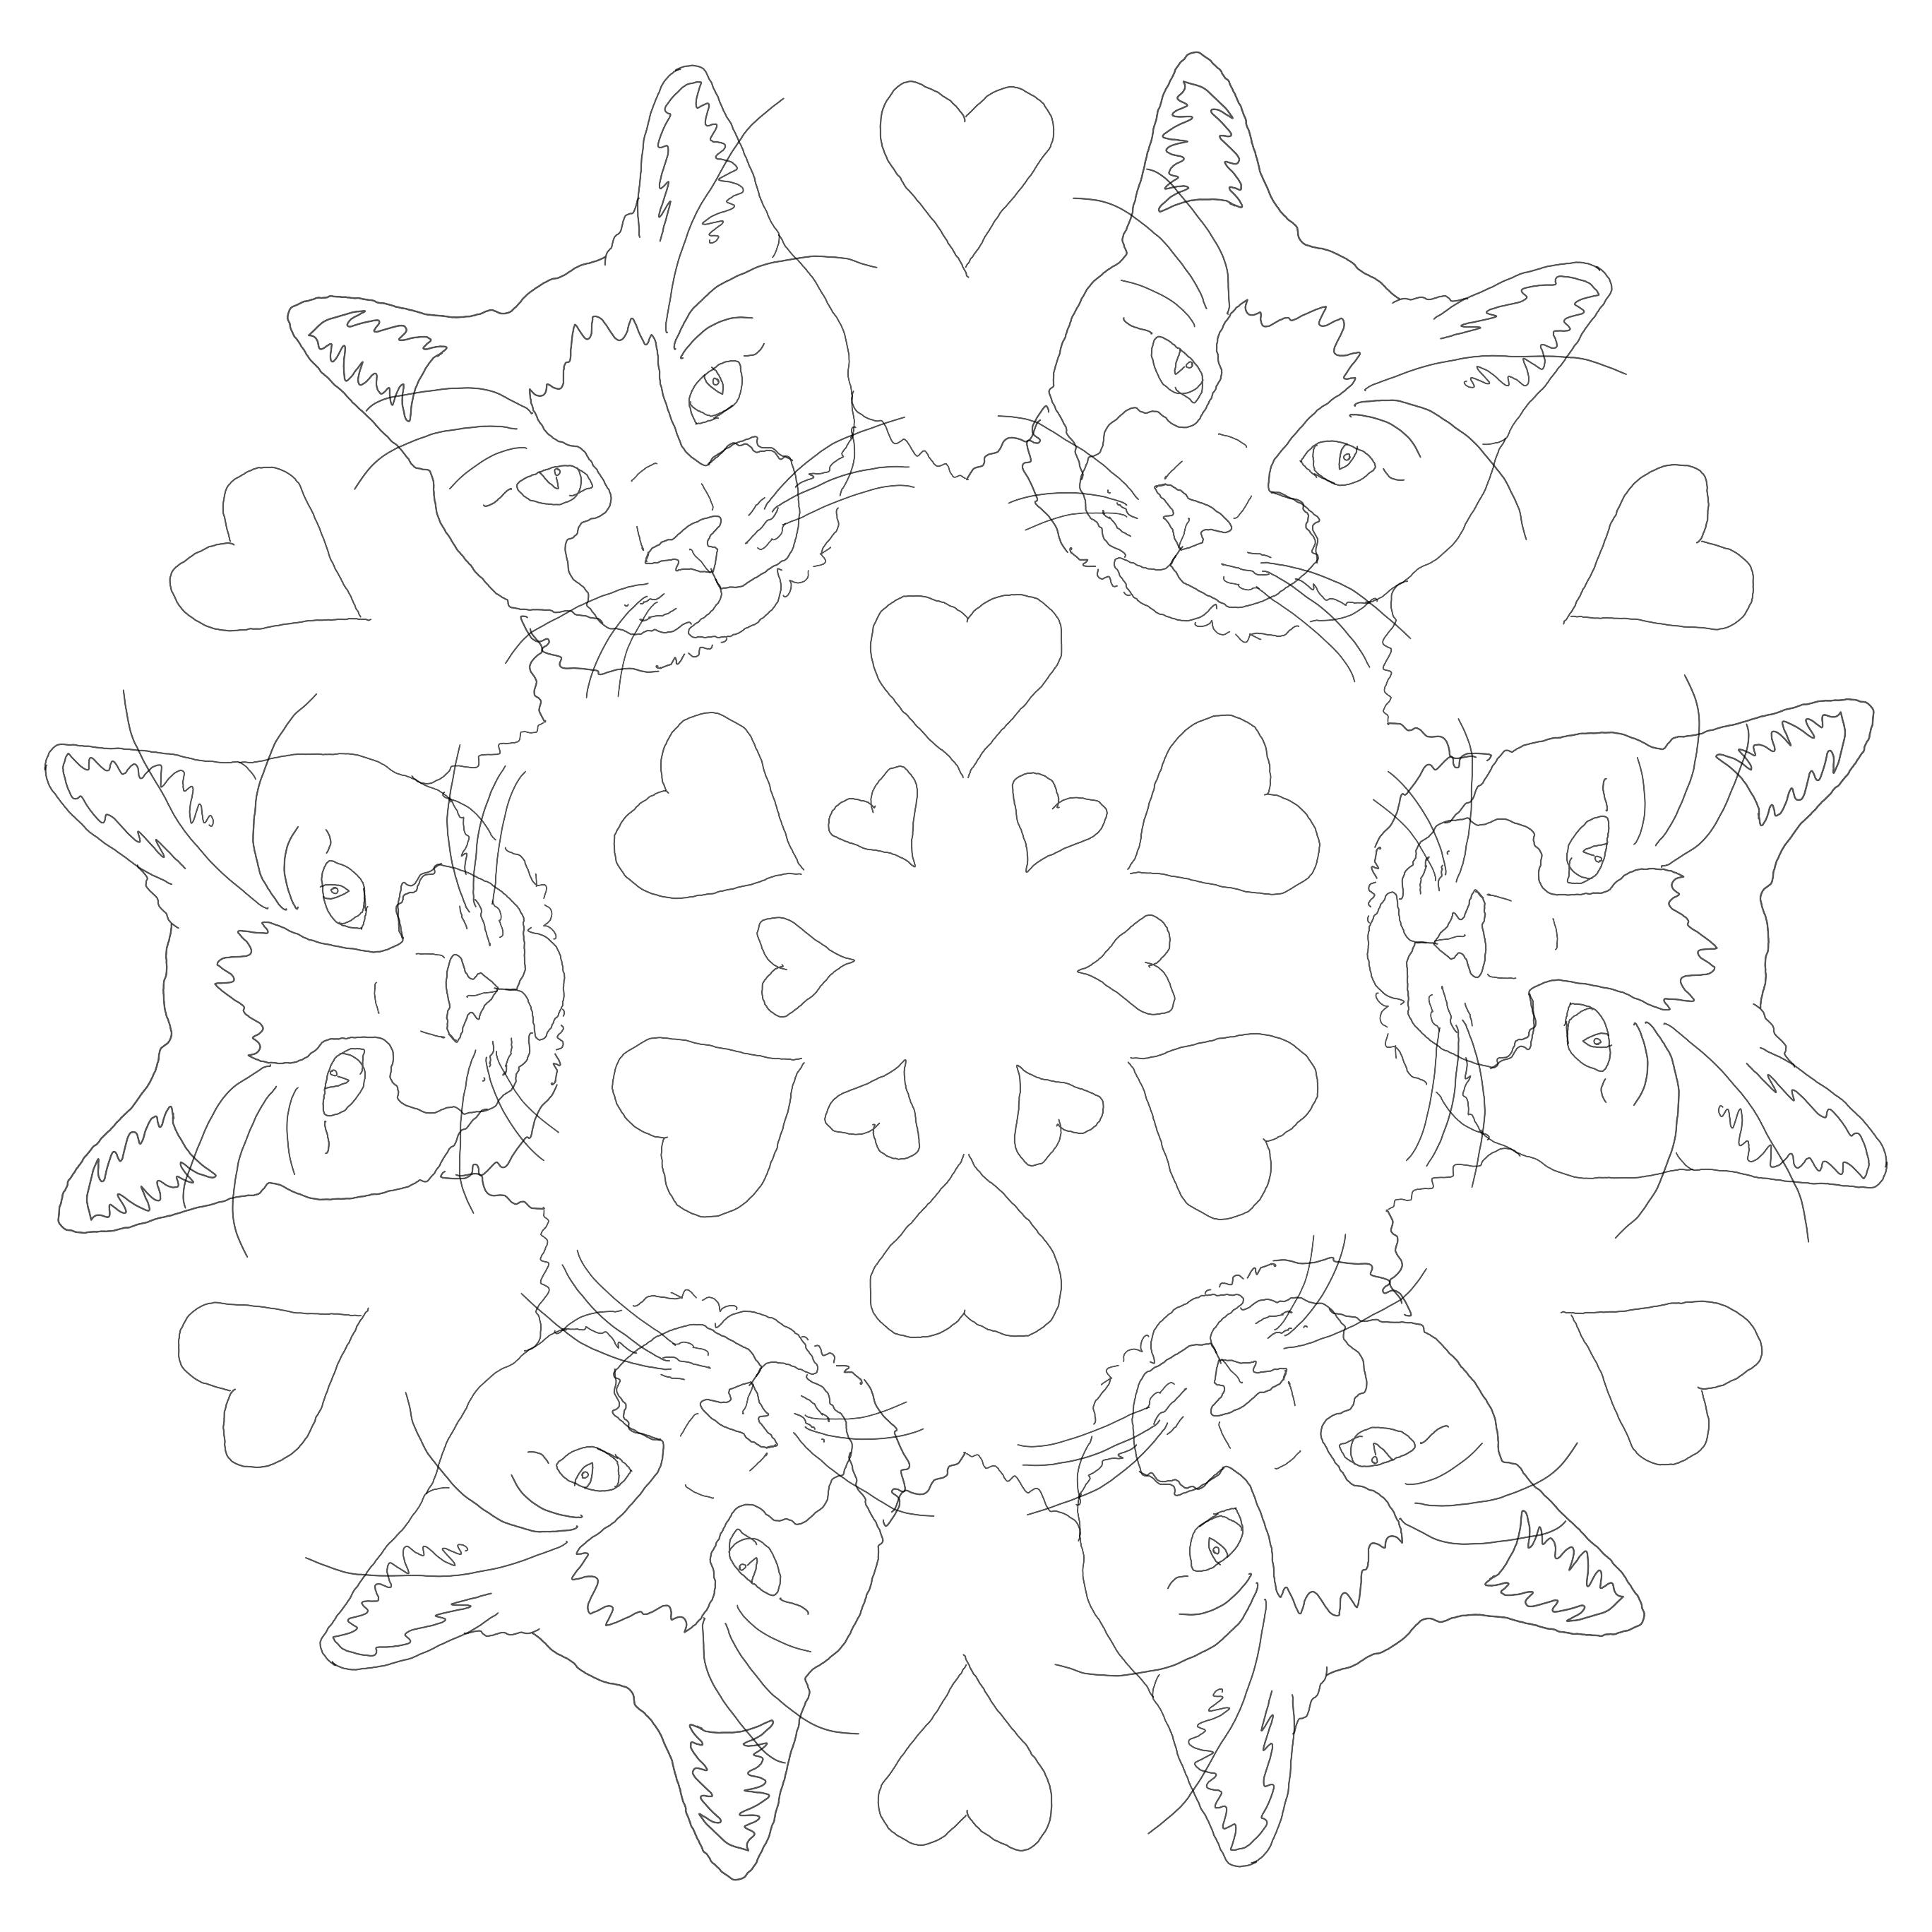
The fall schedule of classes is now available here! Tux, the art room kitty, is excited to get back to having some classes in the art room and being able to “help” out on some art projects! In celebration, enjoy some Tux coloring pages! Pages are downloadable below!
You can download all these pages below! Be sure to send me a photo of your colored in pages – I’ll add them to Tux’s fan art page! 🙂 Also check out more info on Tux here!
Follow along to paint your own sand dollar in acrylics! You can download the template for the sand dollar outline below or draw your own!
What you need:
Canvas (I used an 8″x8″ stretched canvas)
Acrylic Paints – I used Apple Barrel craft paints in Bright Blue, Teal, White, & Black
Paint brushes
Sand dollar template (unless you’re drawing your own) & Pencil
Paper towels
Step one: Draw your sand dollar on your canvas or download the outline below – cut and trace onto your canvas or use transfer paper.
Step two: Mix together a little black paint with some blue paint to create a dark blue and fill your background and inside details with it!
Step three: Pain the white portion of your sand dollar with teal paint. Then double dip your brush into the teal and dark blue and add a layer onto your background – it’s okay to see brush strokes and areas of different colors! Don’t wash your brush – we need it for the next step!
Step four: Using the same brush in the previous step, without washing out the dark blue/teal paint, paint your sand dollar with white paint (if you have a lot of dark blue or teal paint left on your brush make sure to wipe some off before applying the white). By using the same brush some of the dark blue & teal paint will come through on your sand dollar – creating a more realistic texture and a painterly style! Once your layer of white is dry you can add more white to brighten some areas if needed!
Each month I will be spotlighting one of my students – past or present, and their artistic ventures! I work with students of all ages and abilities and you’ll get to learn a little bit about these amazing artists and their work!
Our July spotlight is on:
Haley Clark
My name is Haley Clark, and I just recently turned 16 years old. I started home schooling in 7th grade, and I absolutely love every minute of it. This upcoming school year I will be going into the 11th grade. I’ve always loved the arts because I feel that I really can express myself through dance, music and my art work. I’ve been dancing since I was 3, and I can definitely say that dance is my passion. This year I was even given the opportunity to teach dance to younger kids at my dance studio. My goal is to become a Radio City Rockette. I even danced with them this past fall at Radio City Music Hall in NYC. I have been taking art with Ms. Jenell for the past 3 years working on various types of mediums including textiles, painting & pottery. Growing up, my dad was always amazing at art. I think somewhere along the road, I wanted to try my hand at it. Being able to express myself through bright and uplifting pieces of art just inspires me even more to create. Being able to express myself through my art is something that is very special to me.
Title: Tarzan and Jane Medium: Acrylic paint Description: “I’ve always enjoyed animated movies and Tarzan is one of my favorites. I decided to use my love for art to paint one of my favorite scenes from the movie. I not only wanted to recreate the characters themselves, but the mystery of the setting behind them.”
What are your favorite subjects for your artwork? “I absolutely LOVE to paint Marvel movie characters and Disney characters and animals etc.”
When you’re making your art do you like to listen to music? “I always listen to music while painting! It really inspires me to be creative. My favorite group is Maroon 5.”
Title: The Antique Keys Medium: Pastels Description: “My goal for this piece was to make the keys look as antiqued as possible. I wanted to recreate an aged effect. Using pastels, I feel that I was able to achieve this visual effect.”
How long does it take you to complete your artwork? “The time it takes to complete a piece of art really depends on the piece itself. The painting I have been working on and completing at home usually take 2 to 3 hours.”
Do you enter your art in any shows or contests? “I have entered my art in several contests and/or shows with Ms. Jenell. Some of the shows have been in Chincoteague VA as well as at the Ward Museum in Salisbury.”
Title: Sunflower Medium: Acrylic paint and textiles Description: “Using wire and fabric, I was able to turn a normal acrylic painting of sunflowers into an eye catching 3D piece. To the best of my ability, I created a 3D sunflower that was as similar to my painted sunflowers as possible. My mom loves flowers, so I guess you can say she was my inspirations for this piece.”
Is there a certain type of art you would like to try in the future? “I would love to experiment more with various textiles.”
Haley’s upbeat and fun loving nature comes through in her artwork – bringing a sense of joy to the viewer! She has an openness in trying new mediums and techniques. This, along with her positivity & natural ability, cause her to be successful in artistic endeavors. She also has a unique knack for sharing and encouraging these abilities in others, creating inspiration as she follows her passions!
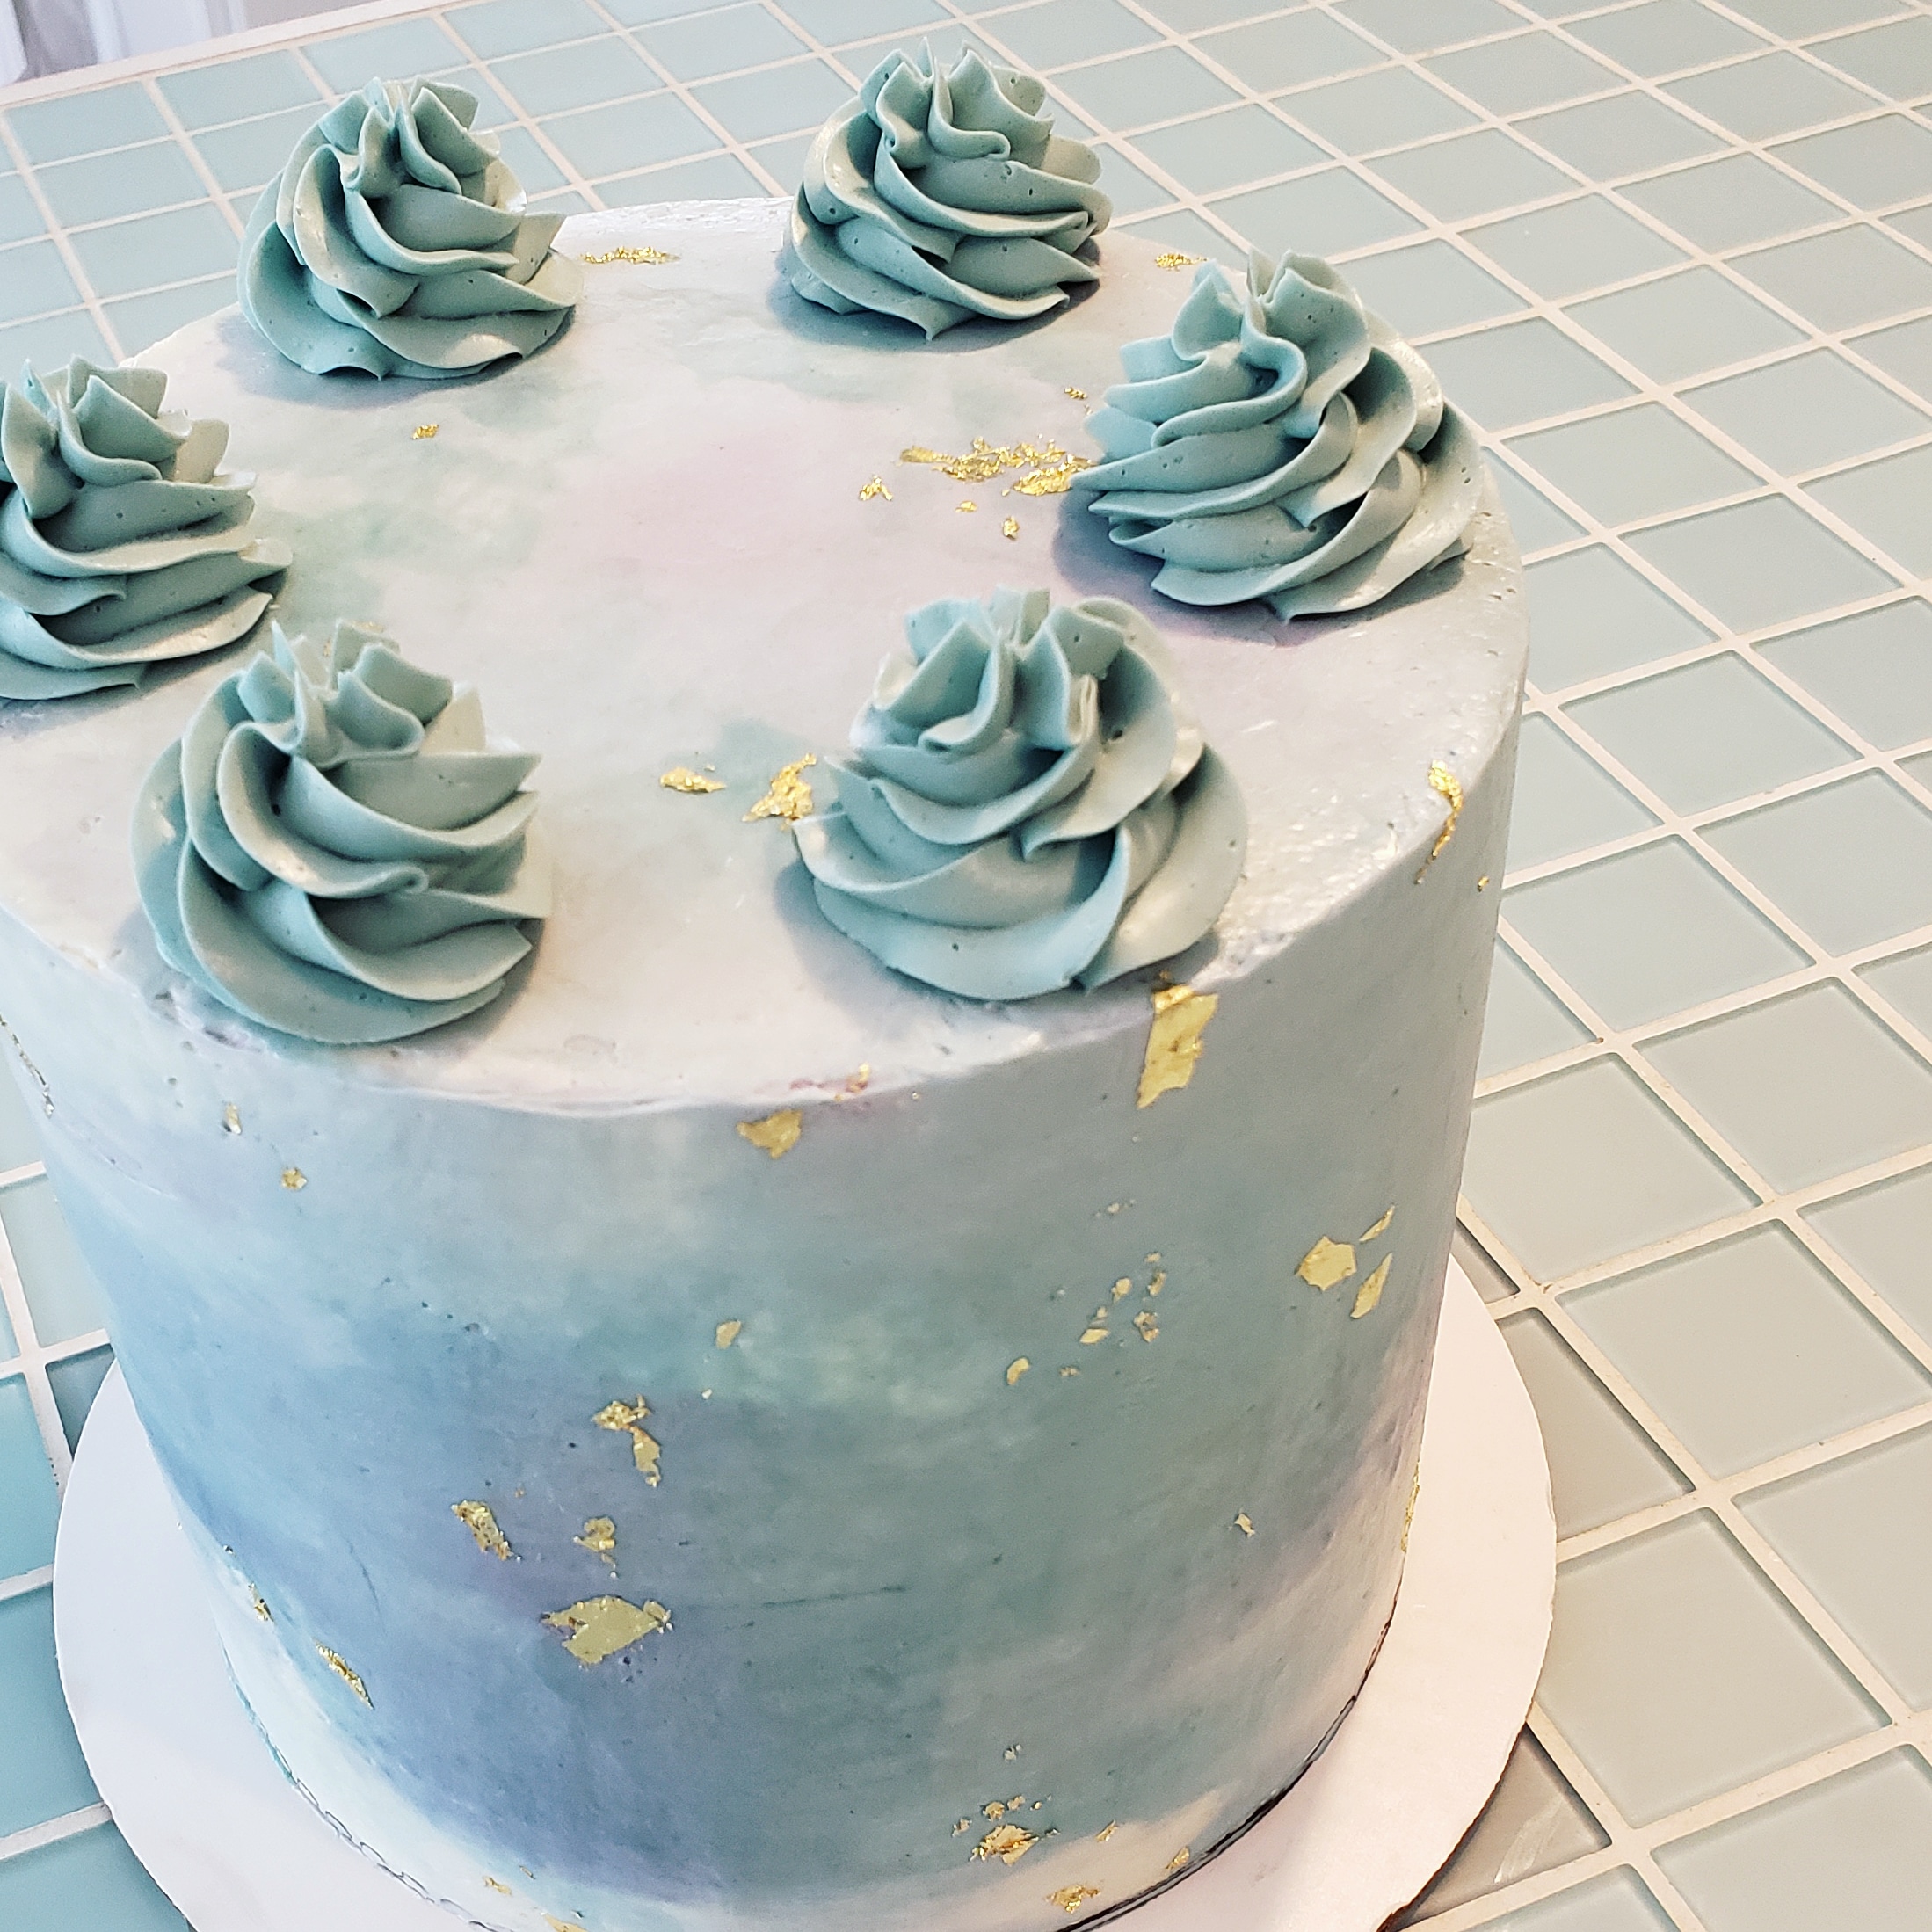
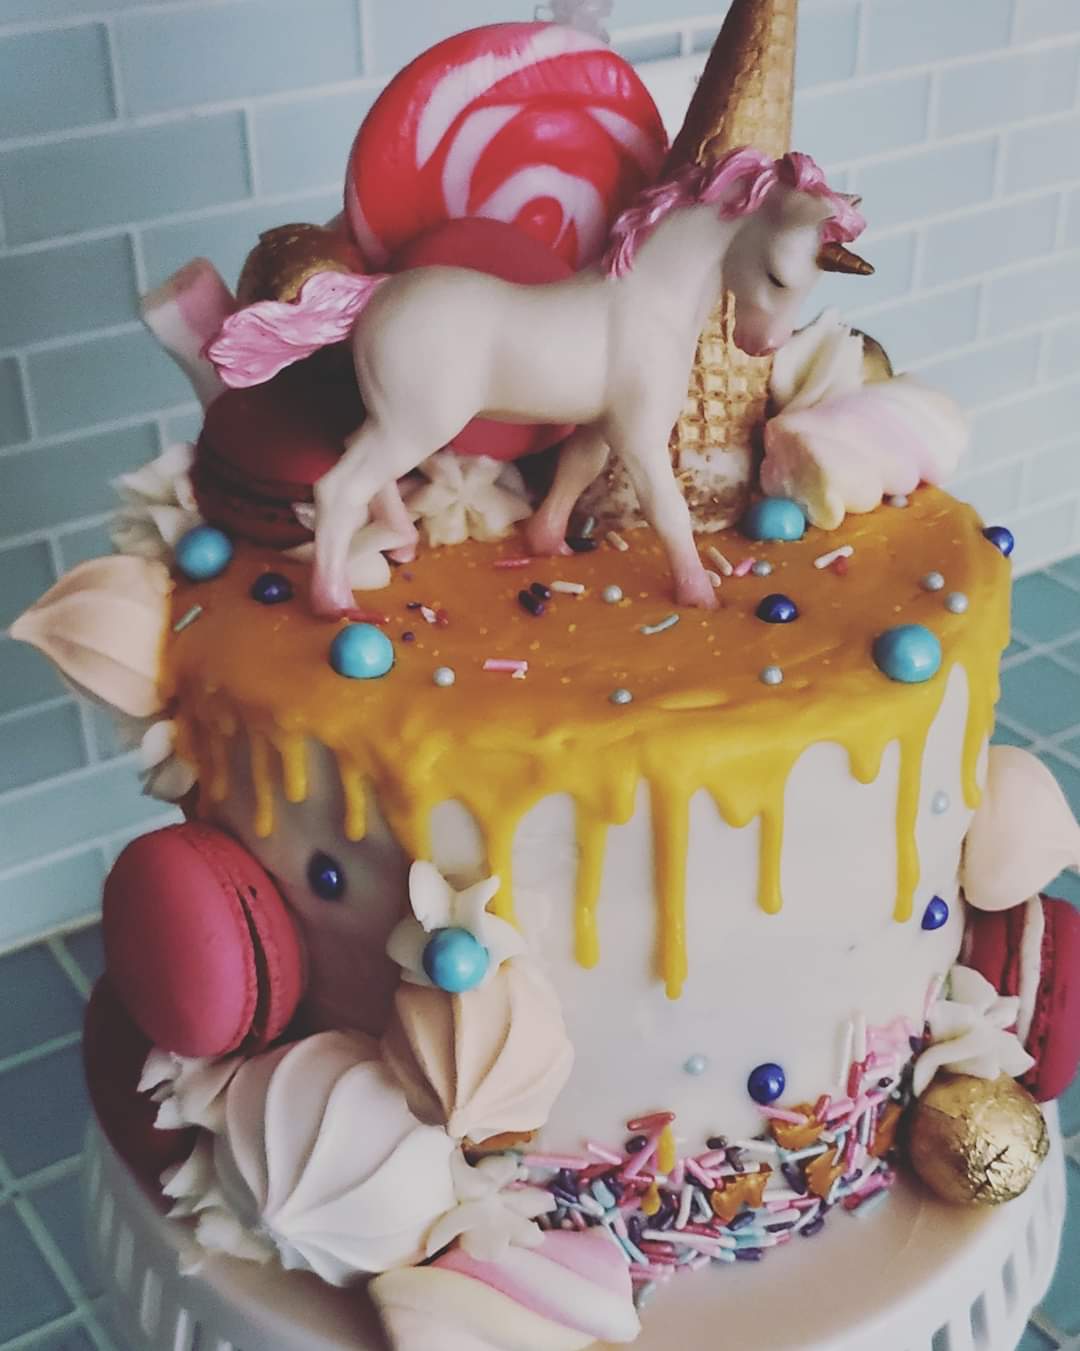
Most of you know I’m into art, some of you know I’m into food……if I can mix the two together – I will 😉 I enjoy cooking and making meals but I like baking most, and especially have fun with cake making. Specialty birthday cakes have always been a thing in my family and I can remember getting an awesome cake each year on my birthday as a kid. We’ve kept the cakes going…..and luckily I have decently sized family so there’s a fair amount of cakes to be made every year for birthdays and gatherings! My siblings also get in on the action to help with the cake creations so these cakes are definitely a collaborative effort – and it’s always nice to be able to get creative with them!
Most of our cake endeavors are purely trial and error mixed with a bit of research. And there have definitely been some cake fails over the years but they’ve only made us more creative with “cover ups”!
We use cake central a lot for recipes and tutorials, my favorite, quick, recipe for cake building and stacking is the original WASC cake. It’s easy, delicious, dense enough to carve, and it’s simple to make various flavors. This is typically the buttercream I use but it varies depending on what it’s being used for!
We “cheat” and use pre-packaged fondant & gum paste! – Fondant is what we’ve used to cover our cakes and create some of the sculptures with. Most fondant sculptures require an armature of some sort to support the fondant, while it does firm up some after setting out, larger pieces need some sort of support to keep it’s shape, and sometimes even with that we run into issues – humidity doesn’t help! For smaller, more delicate decorations, we use gum paste. You can make this paper thin to create flowers, cover armatures, and make toppers. The gum paste will dry out and become hard much faster than the fondant. Wilton brand is what what we use for both. Their fondant comes in large blocks of white and you can create your own colors or they have smaller blocks of various colors! The gum paste comes in a smaller tub of white and we mix our own colors. You can use regular food coloring but gel coloring works best! We use corn starch to keep our fondant and gum paste from sticking and a very small amount of water applied with a paint brush to stick pieces together.
Gumpaste Flowers
Buttercream covered cake with fondant decorations
Gumpaste flowers with petal dust coloring
Some additional cakes that use fondant…….
Armatures are created out of rice crispy treats or tin foil – depending on how edible we want our cake to be! As well as tooth picks, skewers, dowels, foam, & wires have all been used to make some of our armatures. Smaller creations don’t really need an armature but it’s nice to have a toothpick or dowel on toppers to make them easy to attach!
This guy was made from rice crispy treats and covered with fondant
For this cake we used a piece of plywood as the base and attached a length of wire covered with tin foil and fondant create the gravity defying effect!
Recently we’ve upgraded with an airbrush for some of our coloring techniques but for the longest time we used Wilton color mist and still do for some projects 🙂 We also use gel colors and petal dust for some of our decorations.
Gel coloring painted on a gumpaste cutout Airbrushed background with buttercream succulents!
Decorating or using candies and other food for cakes is also a fun way to get creative – the one below was inspired by Roy Lichtenstein’s pop art style that uses Benday dots and is an easy one to try at home – frost a sheet cake with white or light colored frosting. Create an outline of what you’d like to be on your cake with black string licorice, black fondant, or black frosting……since this style represents comic book art, some simple ideas would be a thought bubble, a word (like “ZAP”, “POW”, etc. in bubble letter form, or inside a thought bubble). This was a cake for my sister, so we did a portrait of her – comic book style 😉 Then use m&m’s and/or skittles to to create the Benday dots. You can see some areas where we had to cut the m&ms in half to fill smaller spots!
Cookies, cupcakes, and gingerbread – or really any desserts are just as fun too!! 🙂
In any case, definitely play with your food and turn it into a work of art 😉